Overview and Permissions
This section of the documentation will guide you through the various features and possibilities available to you as an Admin user in the dashboard. With admin permissions, you gain access to a range of powerful tools that allow you to manage events, users, scenes, and more.
Admin Panel
Upon entering the dashboard, you will notice a new sidebar on the left side of the screen. To access it, simply click the arrow located at the top of the panel.
![]()
Depending on your level of permissions, the panel will provide you with different options. With Admin permissions, it should look like this:
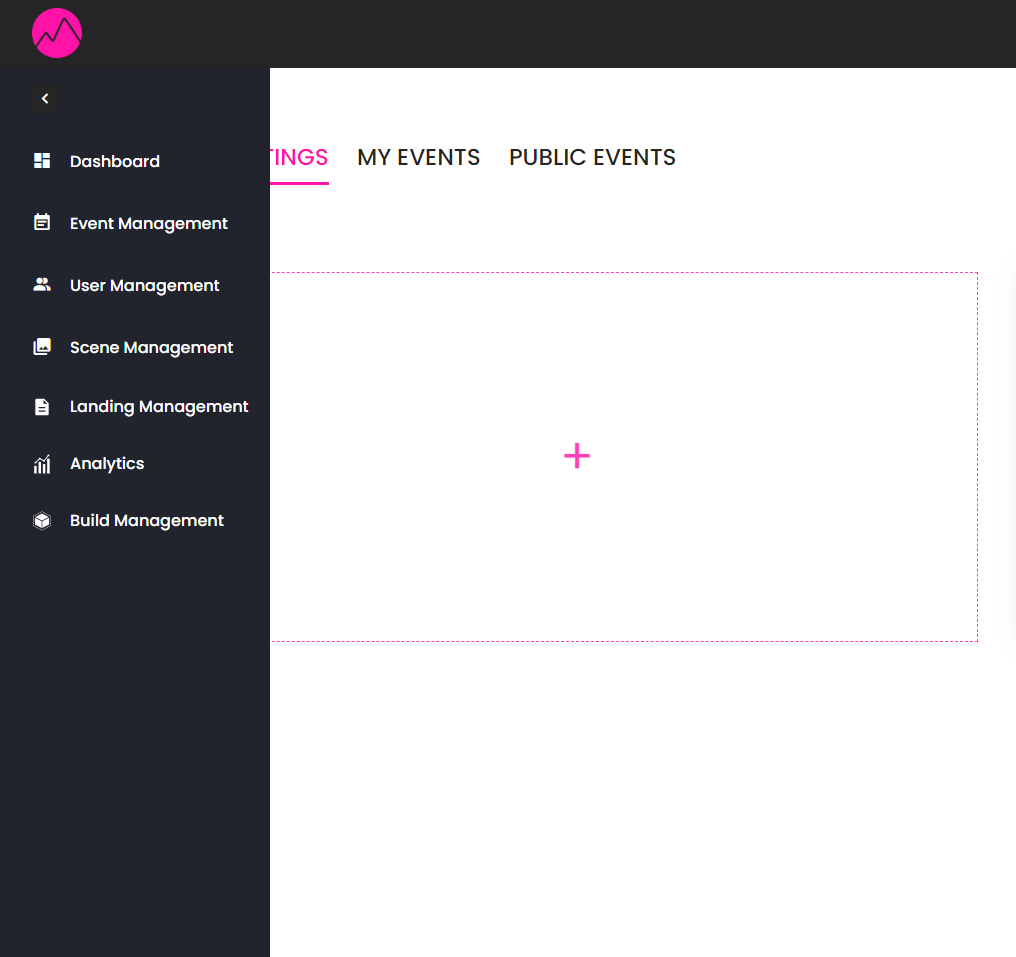
Now, let's explore the different sections of the Admin panel and their functionalities.
Event Management
Just by selecting the Event Management option, you will be able to view a comprehensive list of all the events created on the platform. You can see details such as the event's privacy level, start and end dates, and other relevant information.
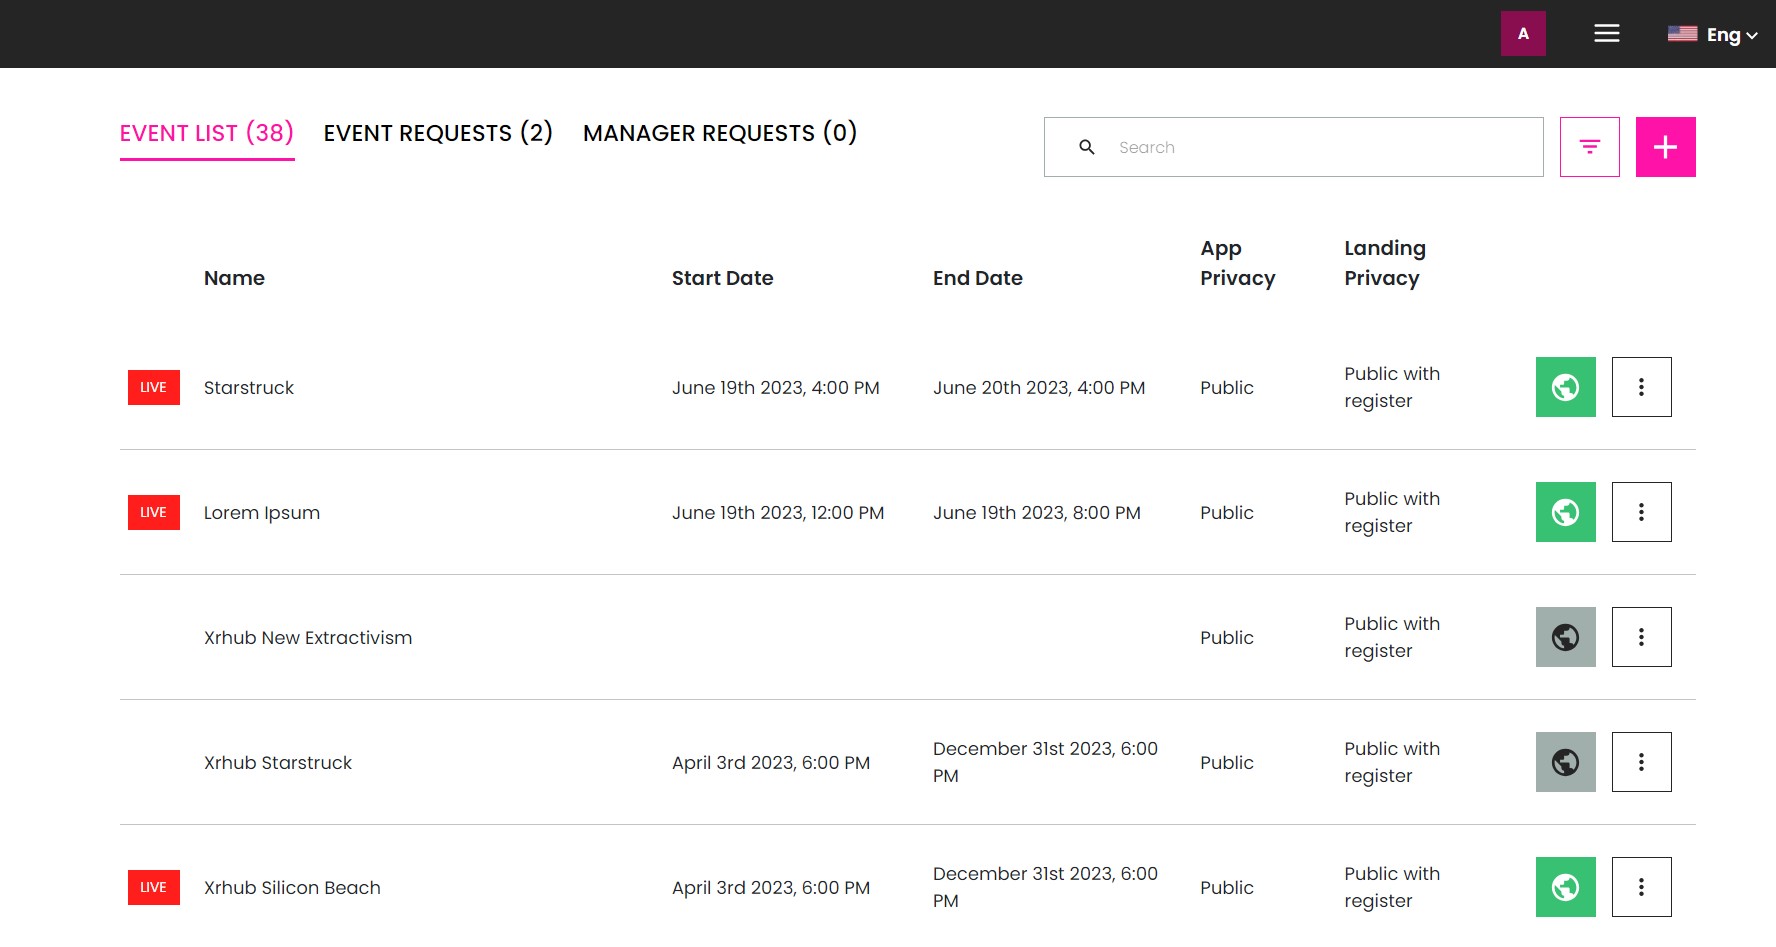
It also allows you to create new events, and edit/manage created events as per your requirements.
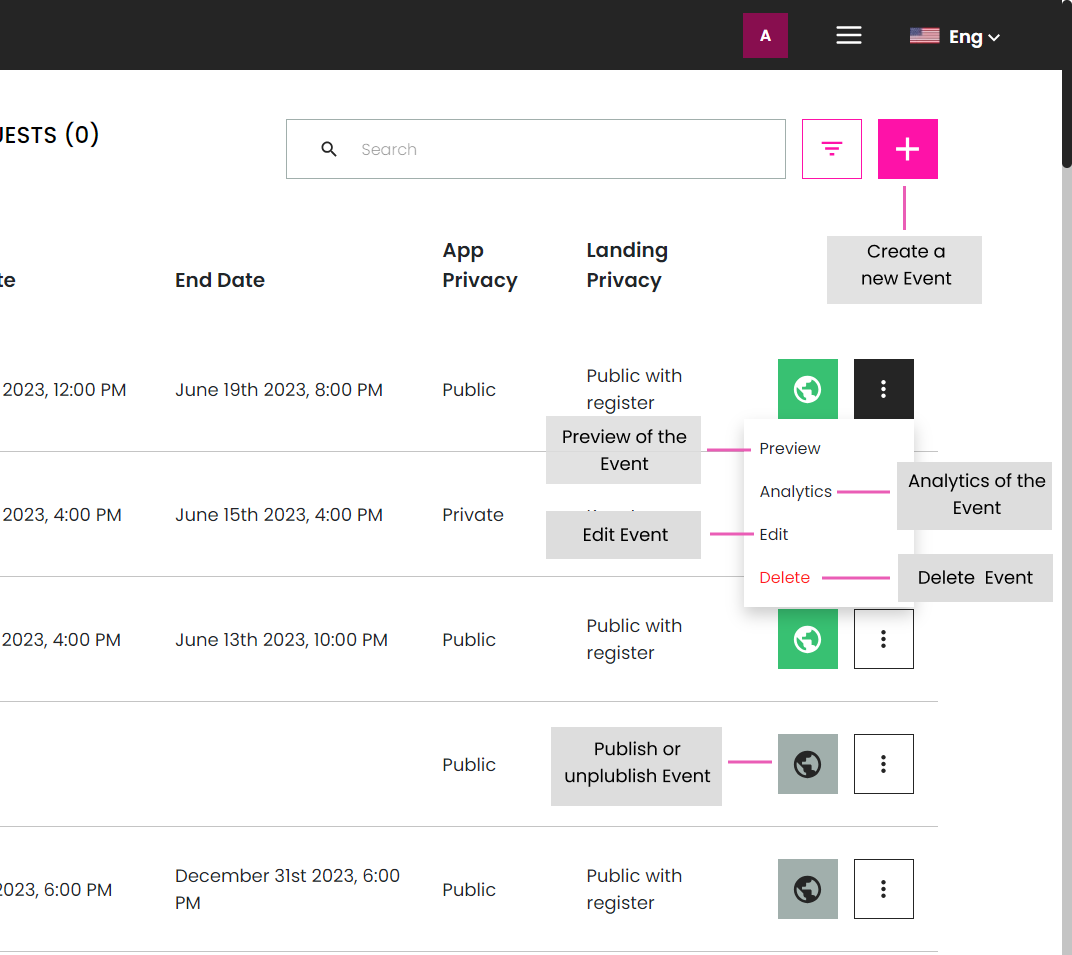
For detailed instructions on how to create events, please refer to our Event creation guide.
User Management
The User Management section allows you to efficiently manage any users with accounts on the platform. You have full control over user-related functionalities and permissions. Additionally, you can manage the scenes shared with users and customize their access rights.
Granting permissions to other users and banning them from the platform is also possible.
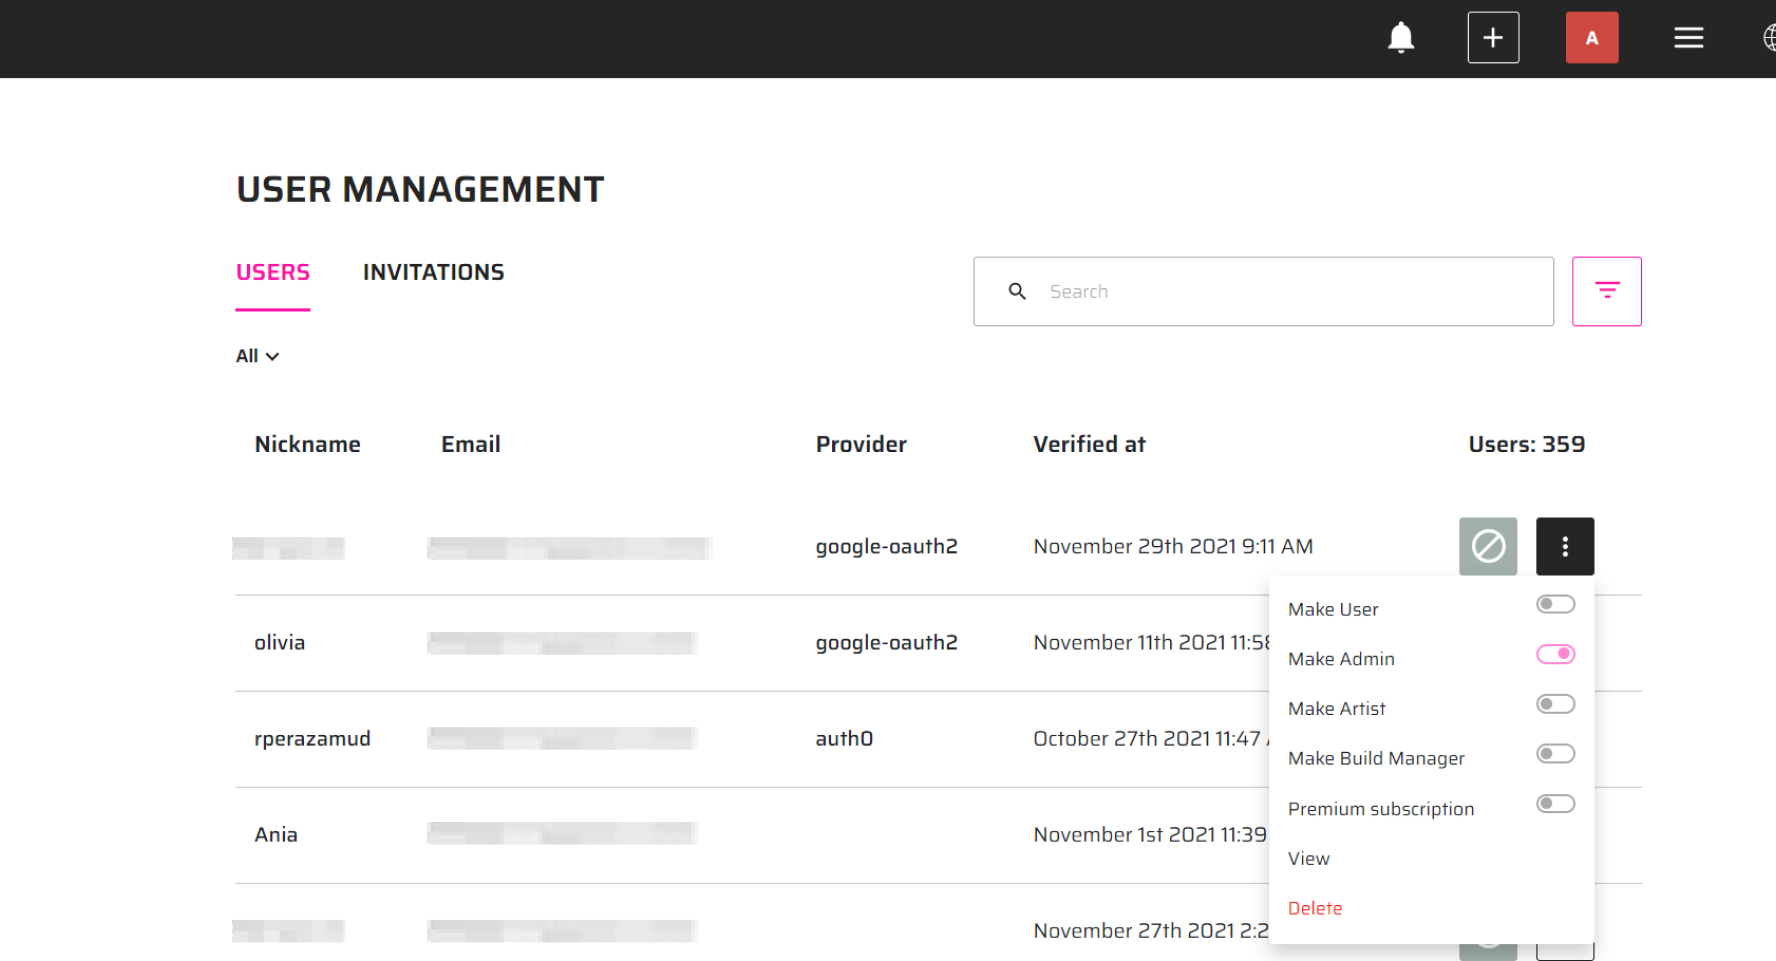
Make Build Manager: The user will be able to access the Build Management page, upload builds and create spaces for events.
Make Circle Member: Enables the Event Management page and gives permission to create public and private events on the platform.
Make Super Admin: The user will have access to all features in the dashboard and will be able to give permission to other users.
Premium Subscription:
View: Let's you view the information the user has saved in their profile and their statistics.
Delete: Deletes the user from the platform.
Invitations
You can invite people to the platform directly with a specific role or group.
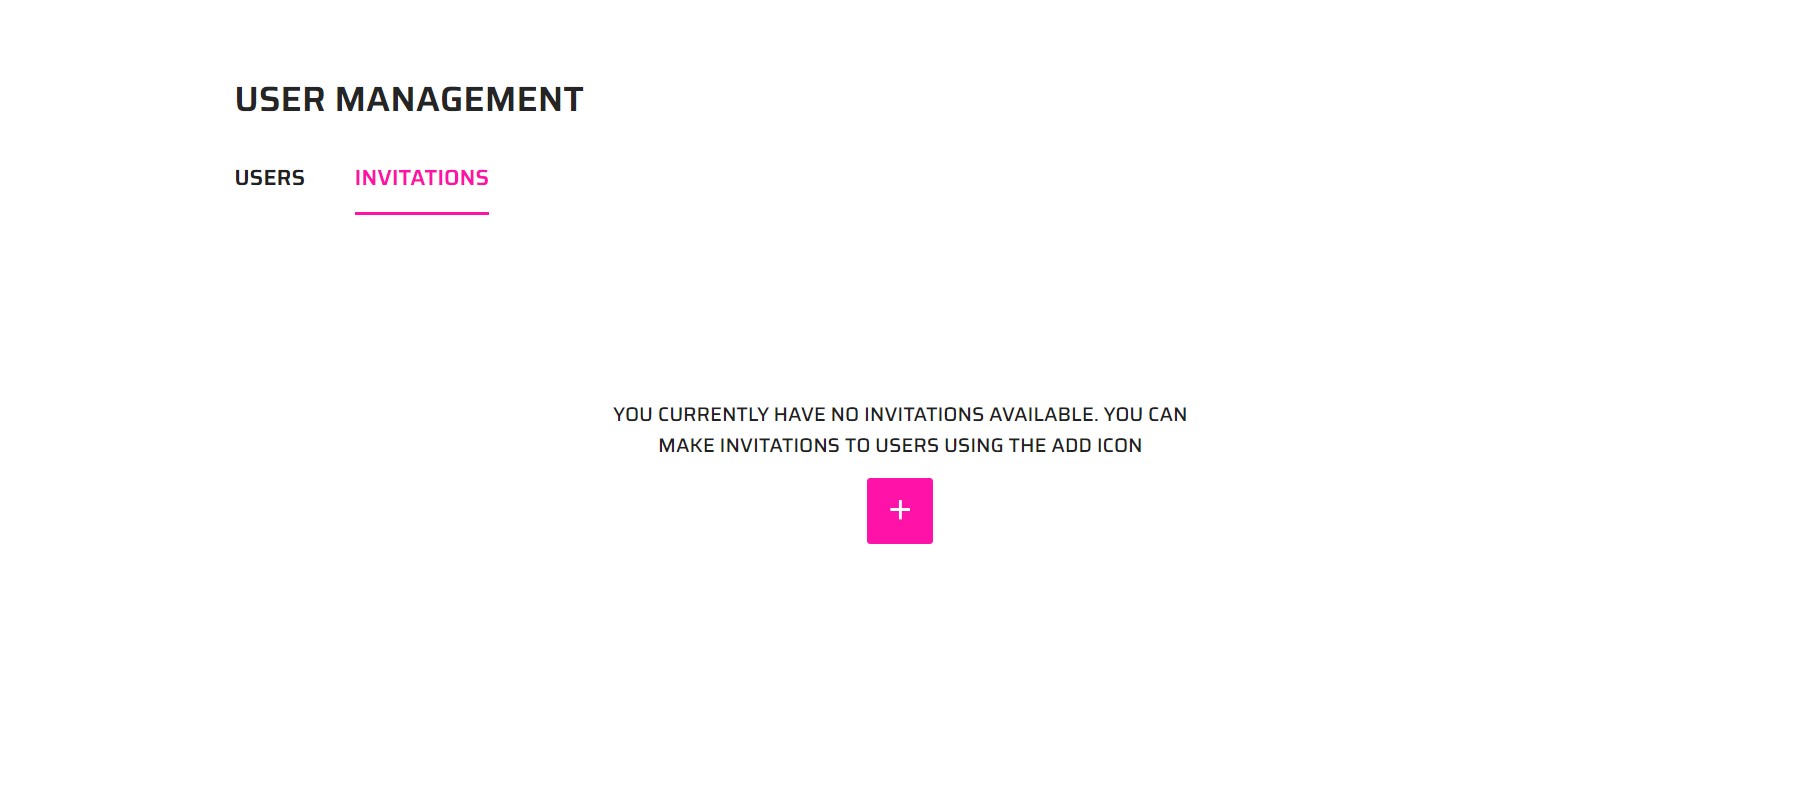
To do so, only click in the invitations tab and select the option that works best for you.
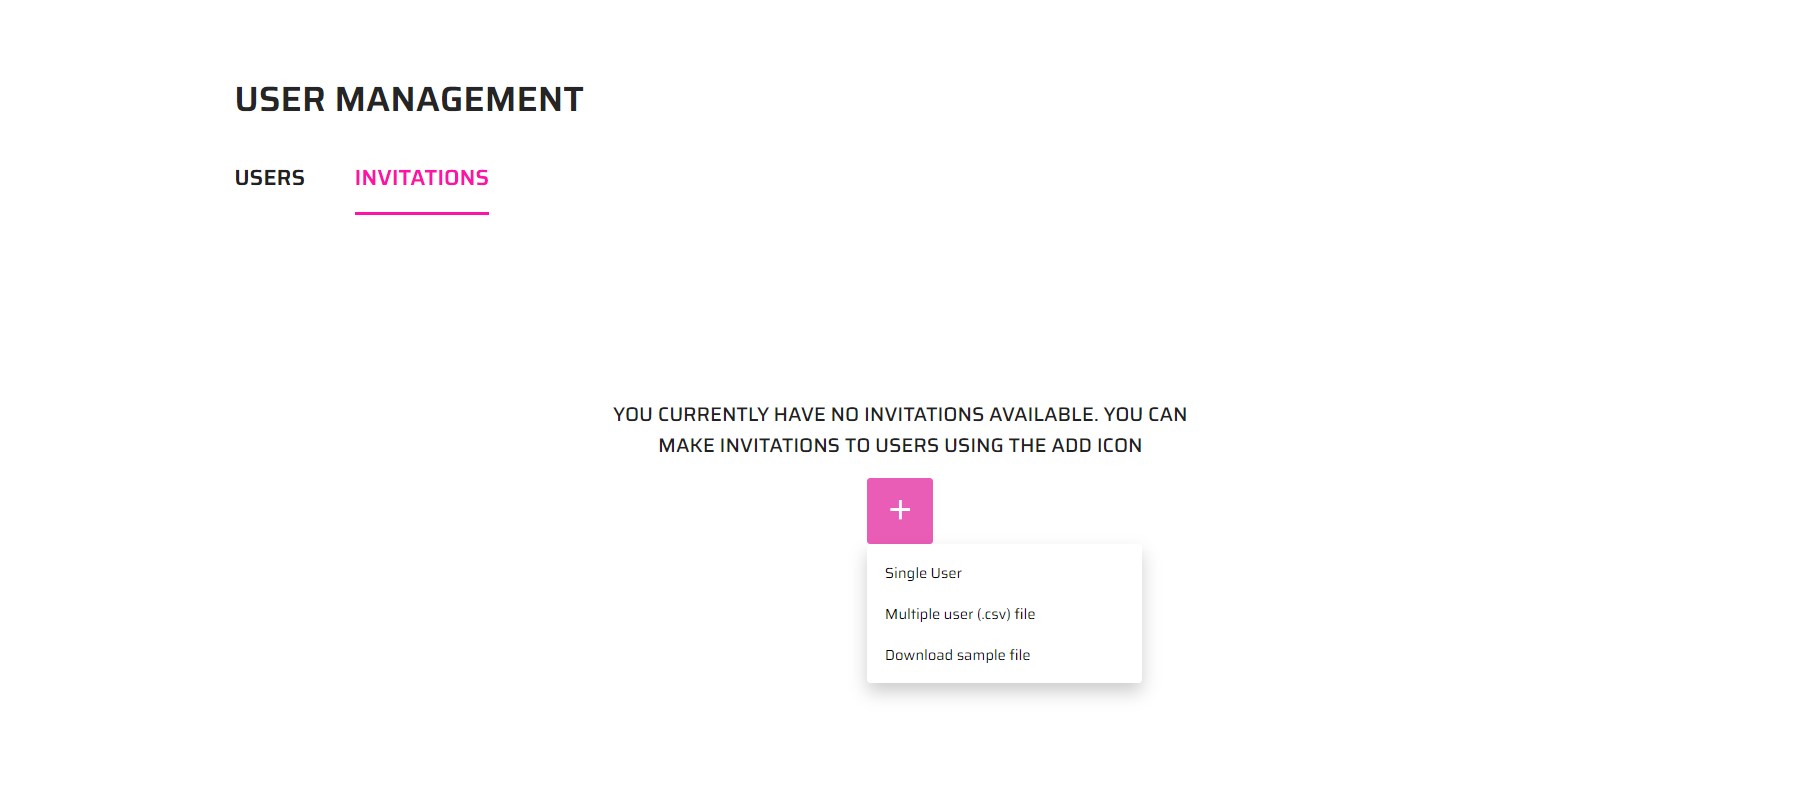
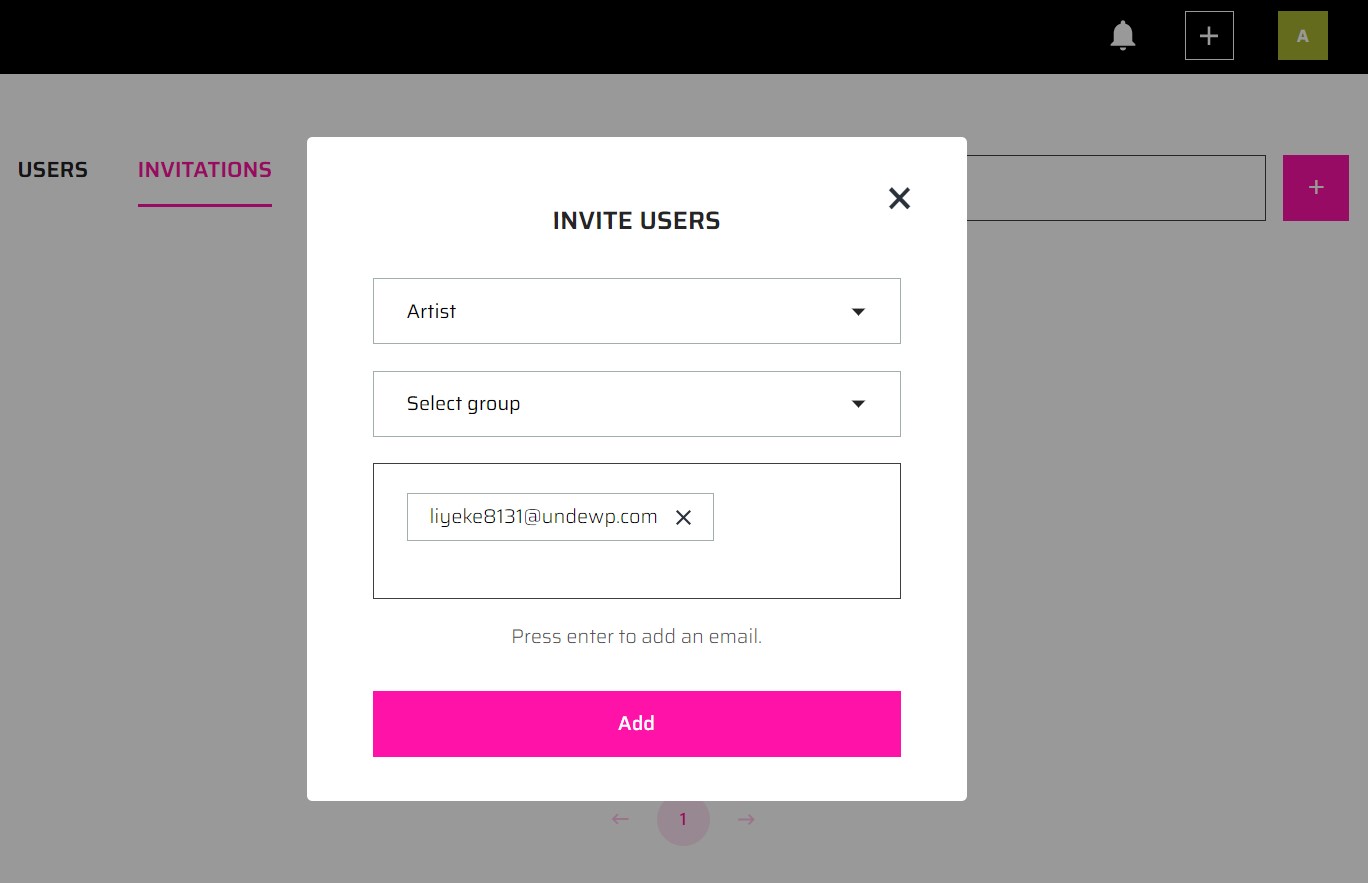
Single user
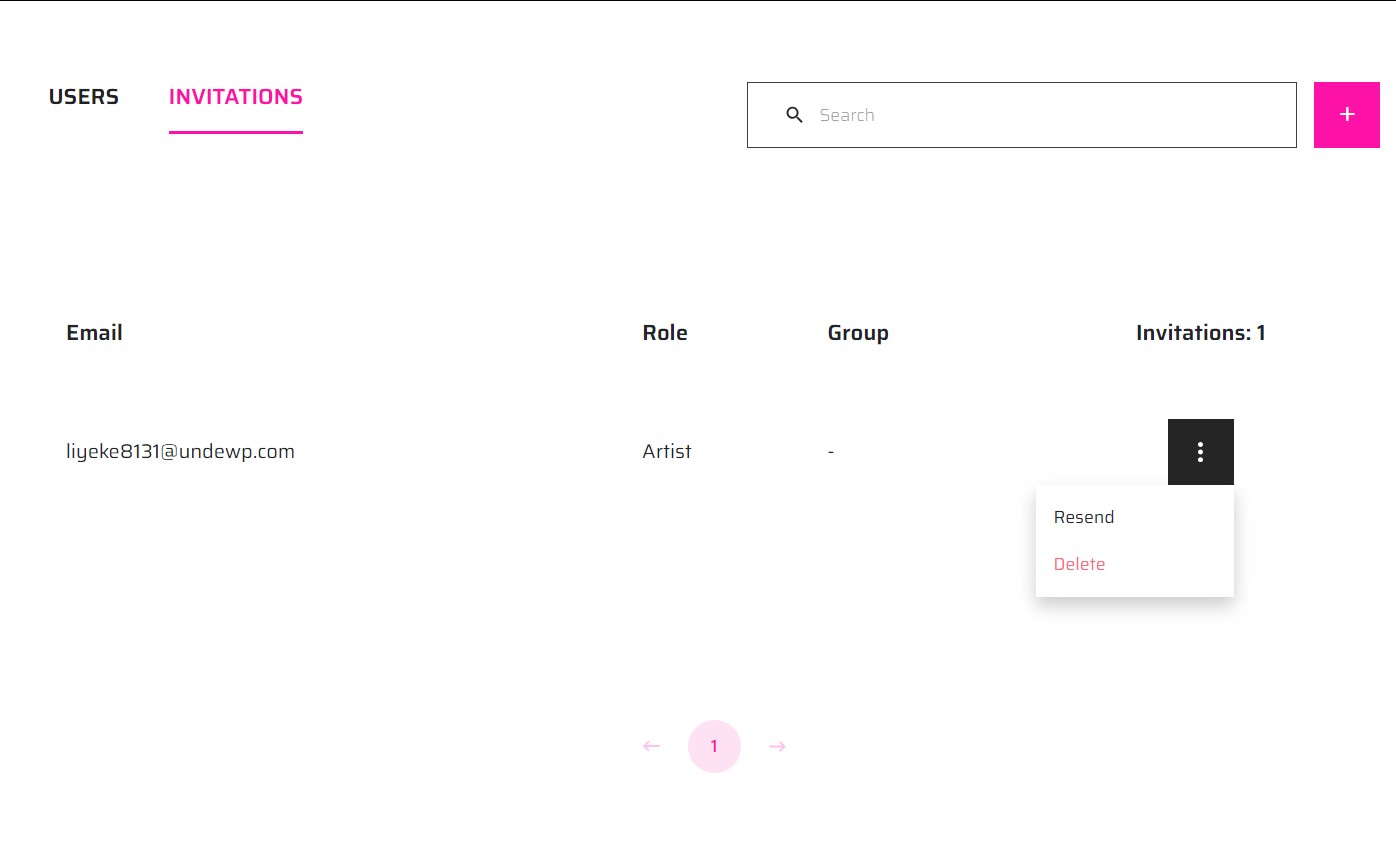
You can invite a single user by selecting the role you want them to have and the email of the person.
Once you invite them, they will appear in the table and you can delete the user or resend the invitation anytime.
Multiple invitations
You can send multiple invitations by following the .csv example that appears in the dropdown, to do so, only download it and add the emails, roles, and groups you want each user to have
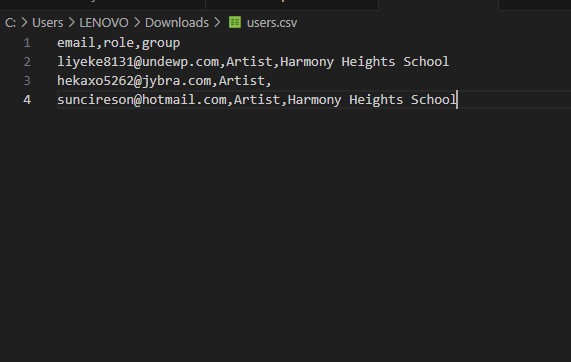
You only have to upload the .csv with the emails and roles in format, and they will be sent and appear in the table.
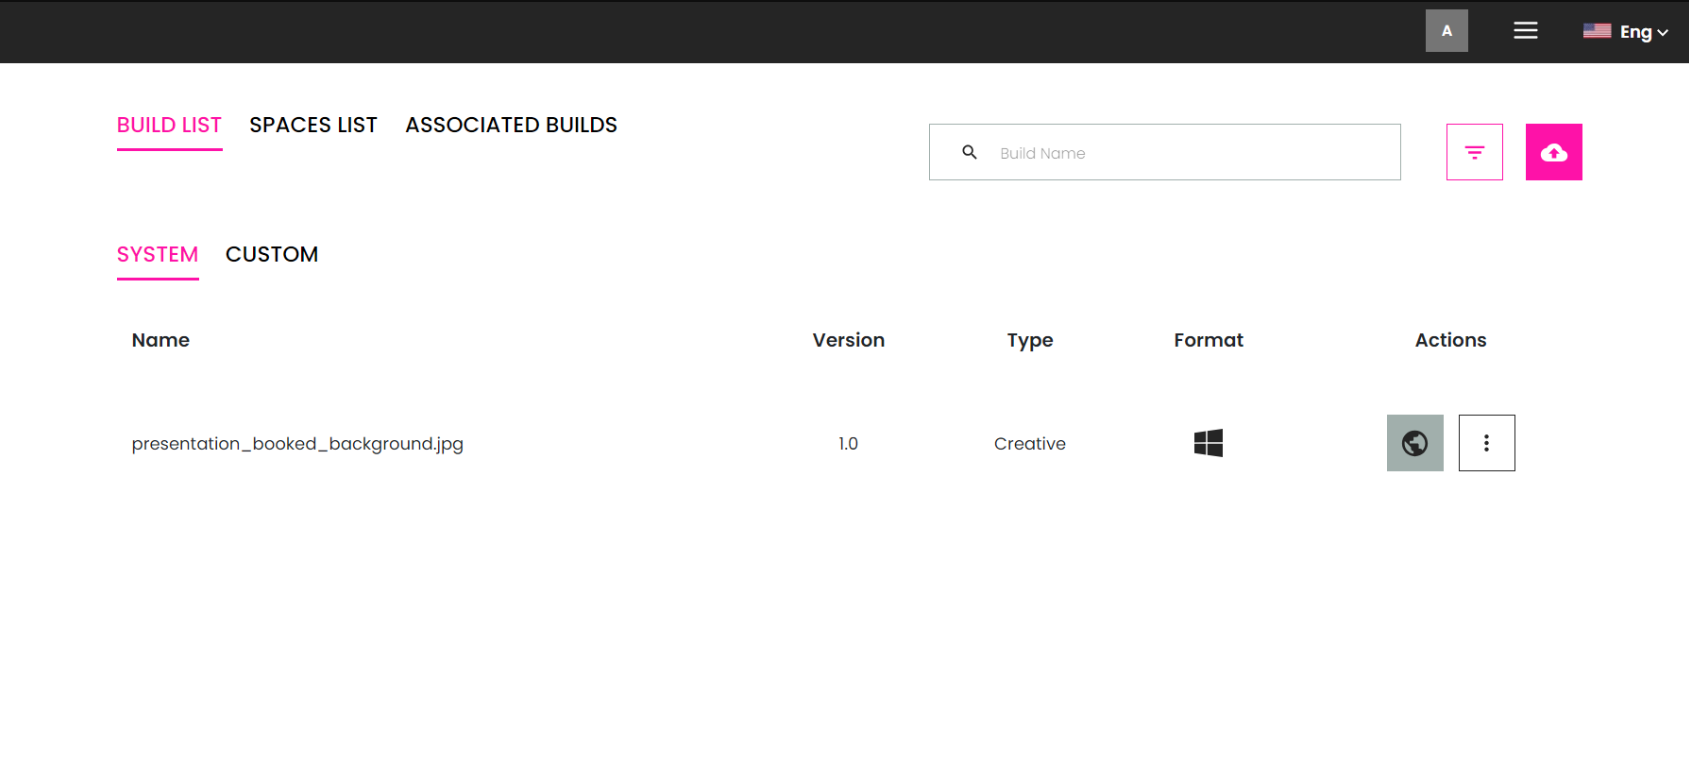
Build Management
This section enables you to upload Unity builds and create spaces for events within the Oculus app. It offers seamless integration of your builds and allows you to provide immersive experiences to your users.
Scene Management
By opening the Admin panel ang going to the Scene Management section, you can oversee all the private and public scenes on the platform. This feature allows you to manage scene visibility, ensuring that only the intended audience can access specific scenes.
You can assign scenes to artists or other individuals for private sharing purposes.

To make scenes private, you need to be approved but unfeatured, to see how to approve scenes, see the Managing content section for the metaverse.
Analytics
We provide comprehensive analytics to help you monitor events and track user success metrics. Analyzing event management and event marketing KPIs (key performance indicators) is essential for understanding customer pain points and enhancing their experience. Our analytics include metrics such as the number of users/events, engagement rate, average engagement time, bounce rate, average session duration, and views on posts.
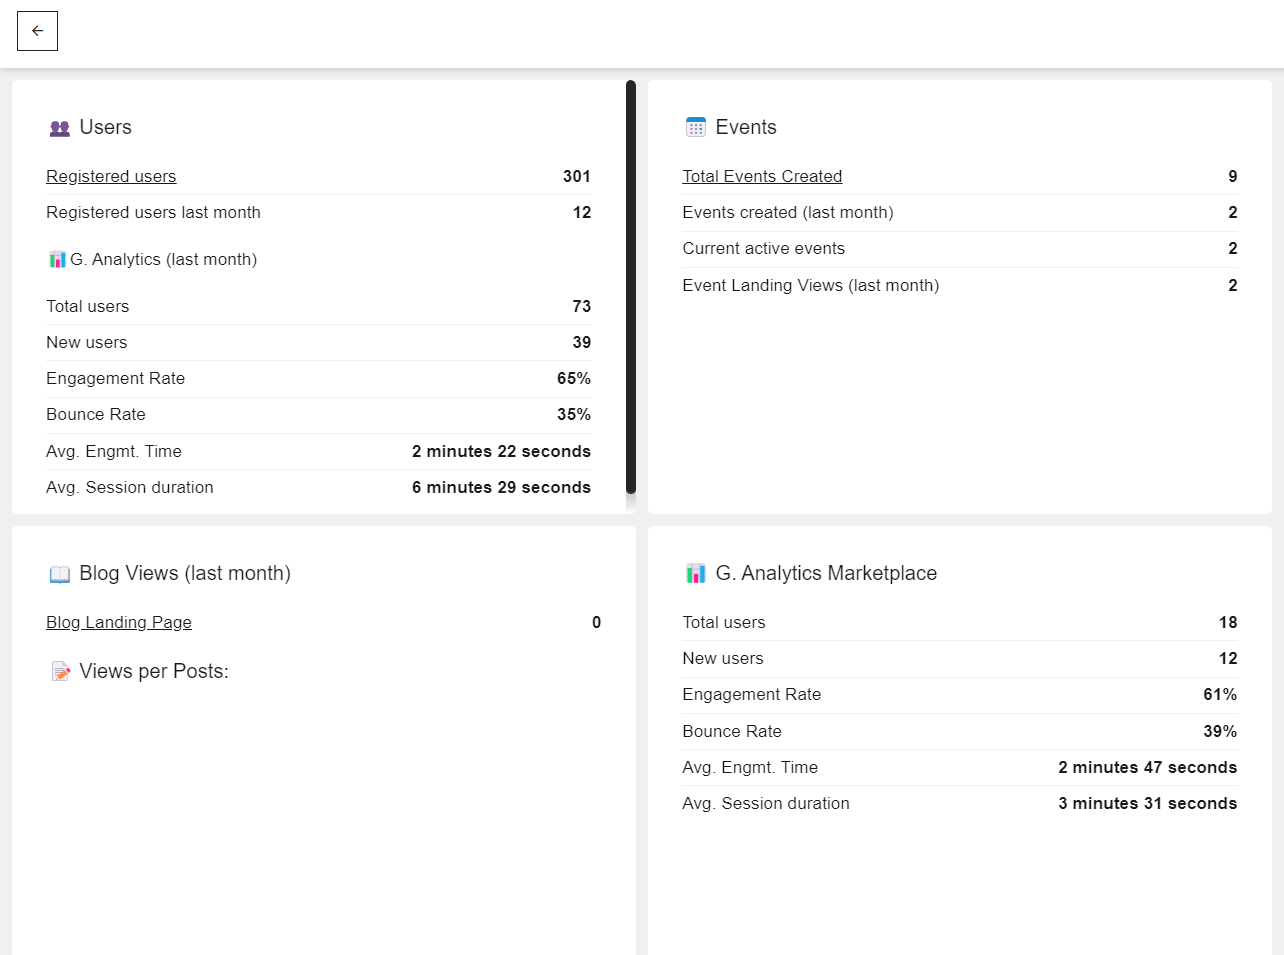
By utilizing these analytics, you can gain valuable insights and make data-driven decisions to optimize your events and improve user satisfaction.
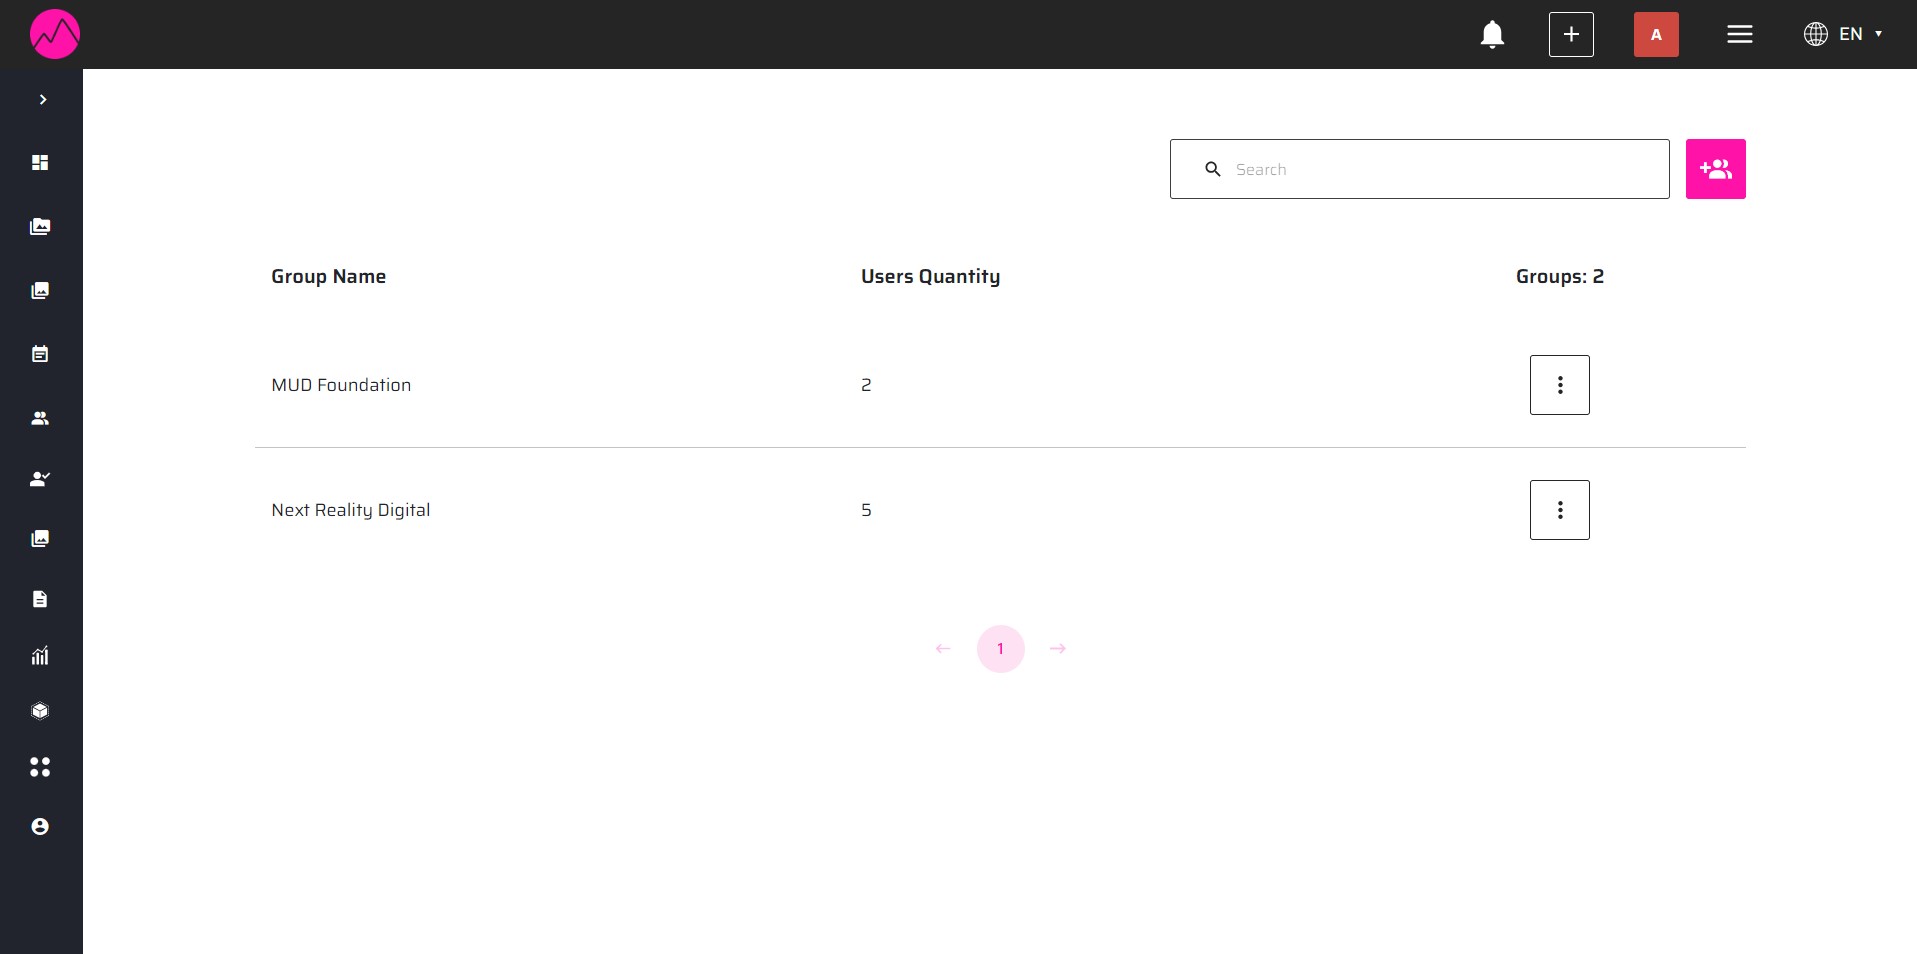
Group Management
The Group Management section empowers you to establish user groups with specific access to private scenes.
These user groups can serve various purposes, such as facilitating the sharing of scenes created in Creator with a designated group leader. This functionality proves particularly beneficial for educational institutions and organizations seeking to access scenes produced by students or artists.
Additionally, you have the option to create groups for the allocation of scenes to their respective members. For instance, you can create a group specifically for artists within the context of scene management
For a more comprehensive understanding of how this feature operates, please refer to the Managing Private Scenes section.