Scene Management
The Scene Management page provides you with the ability to view both public and private scenes within the platform. Scenes from the metaverse are handled through the Content Management System (CMS). In order for a scene to become public or private and be visible on the dashboard, it must first be featured in the CMS.
To access the CMS, navigate to your metaverse site and locate the "Admin" link in the dropdown menu on the navigation bar.
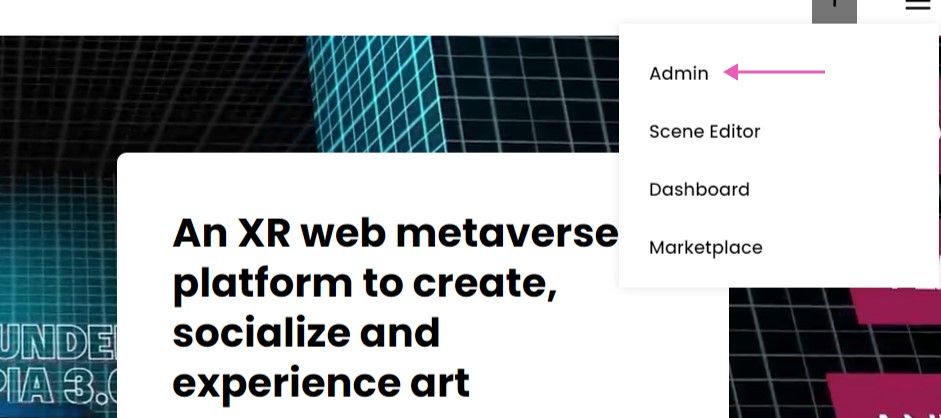
Please note that you need to have admin permissions within the metaverse to access this link.
Making Scenes Private
Once you've entered the CMS, you can review all the scenes available in the platform under the Scenes tab. You'll find a comprehensive list of scenes that have not yet been reviewed and have been recently created or updated. At this point, you'll need to decide which scenes you want to approve.
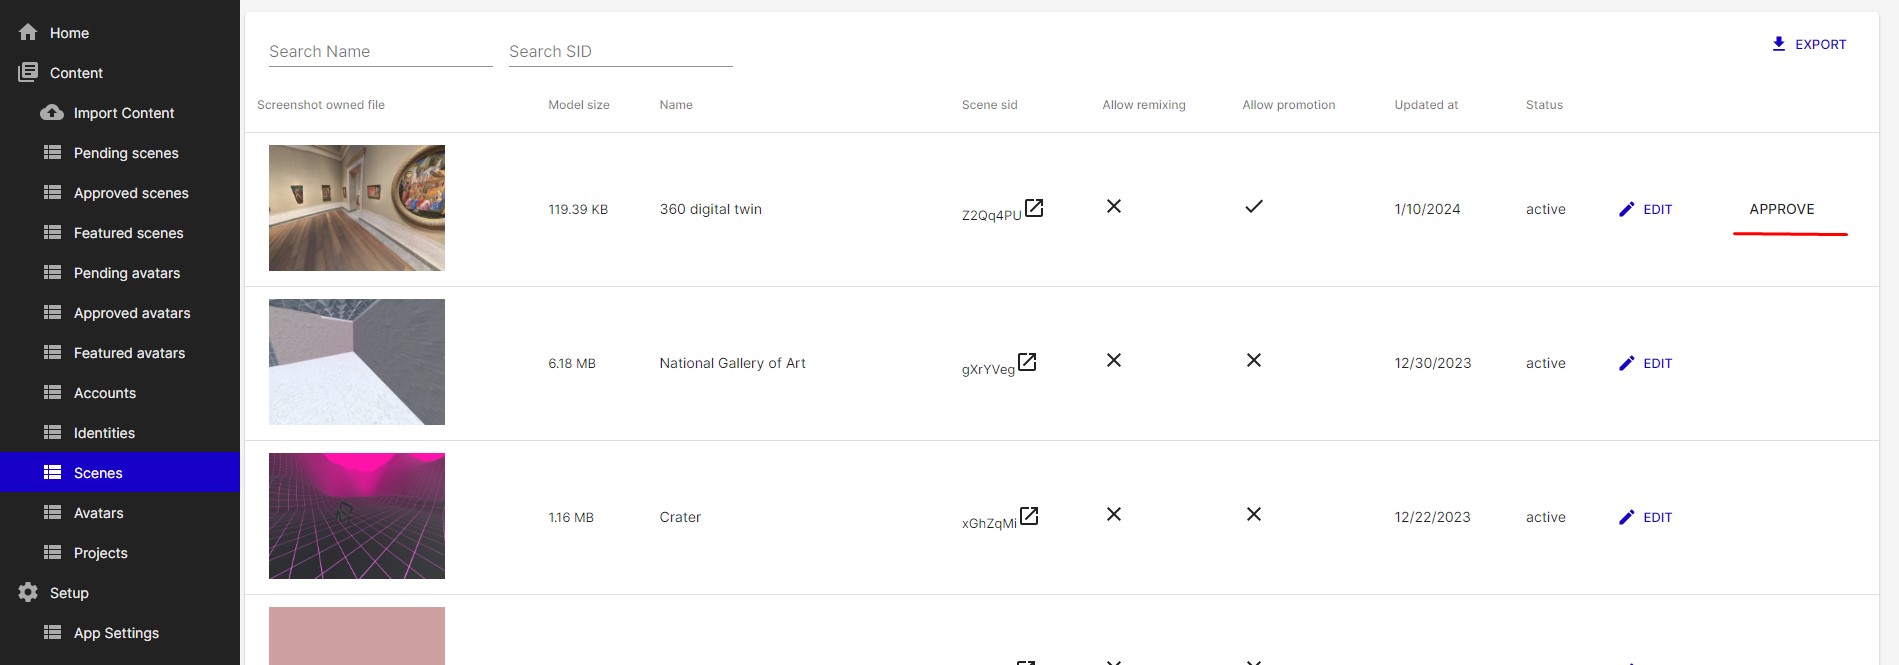
After approving a scene, it will be listed in the Approved Scenes tab.
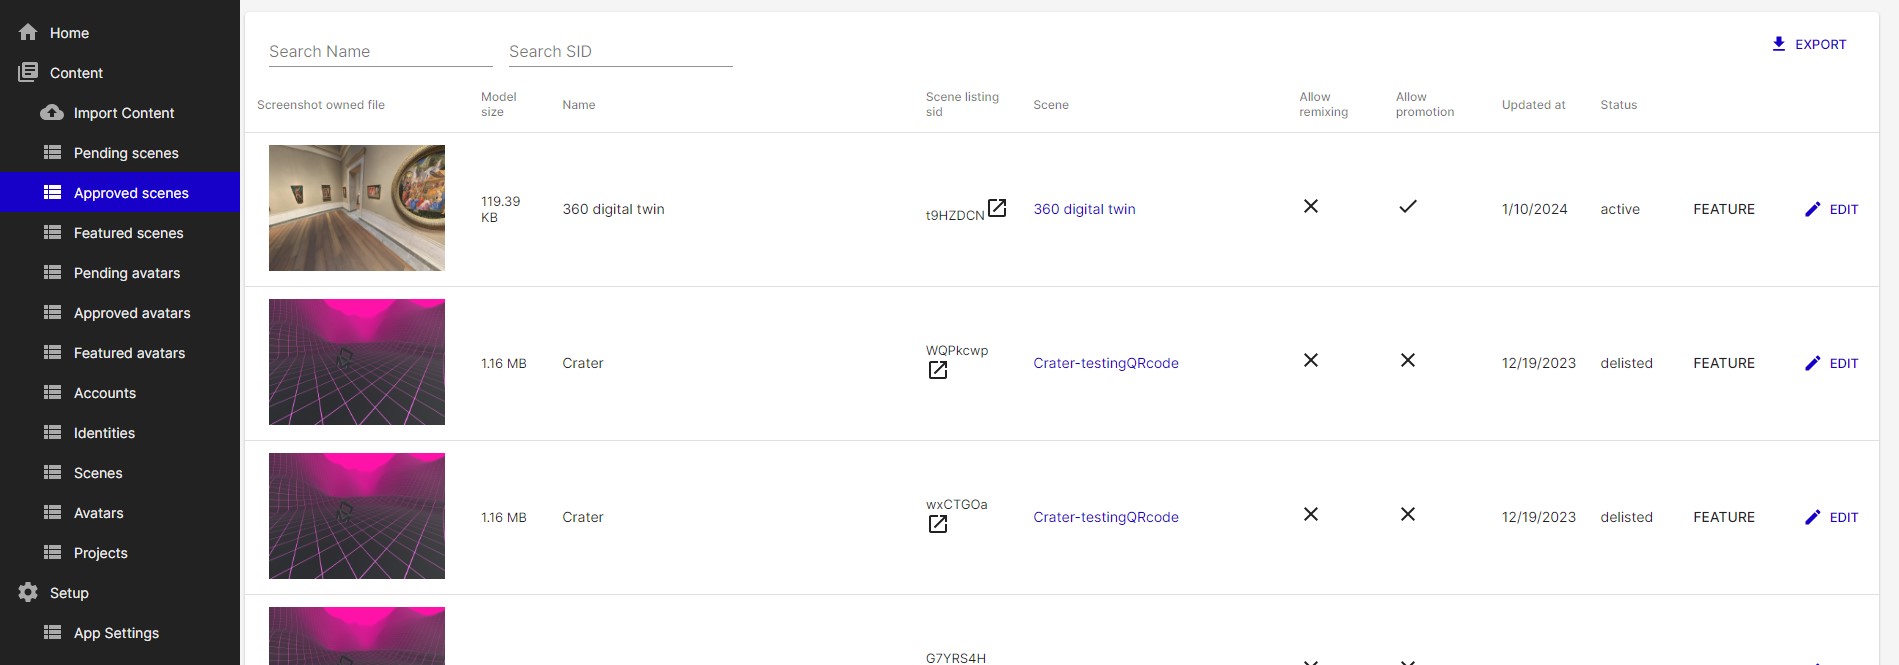
It will subsequently appear on the Scene Management page after a few minutes.
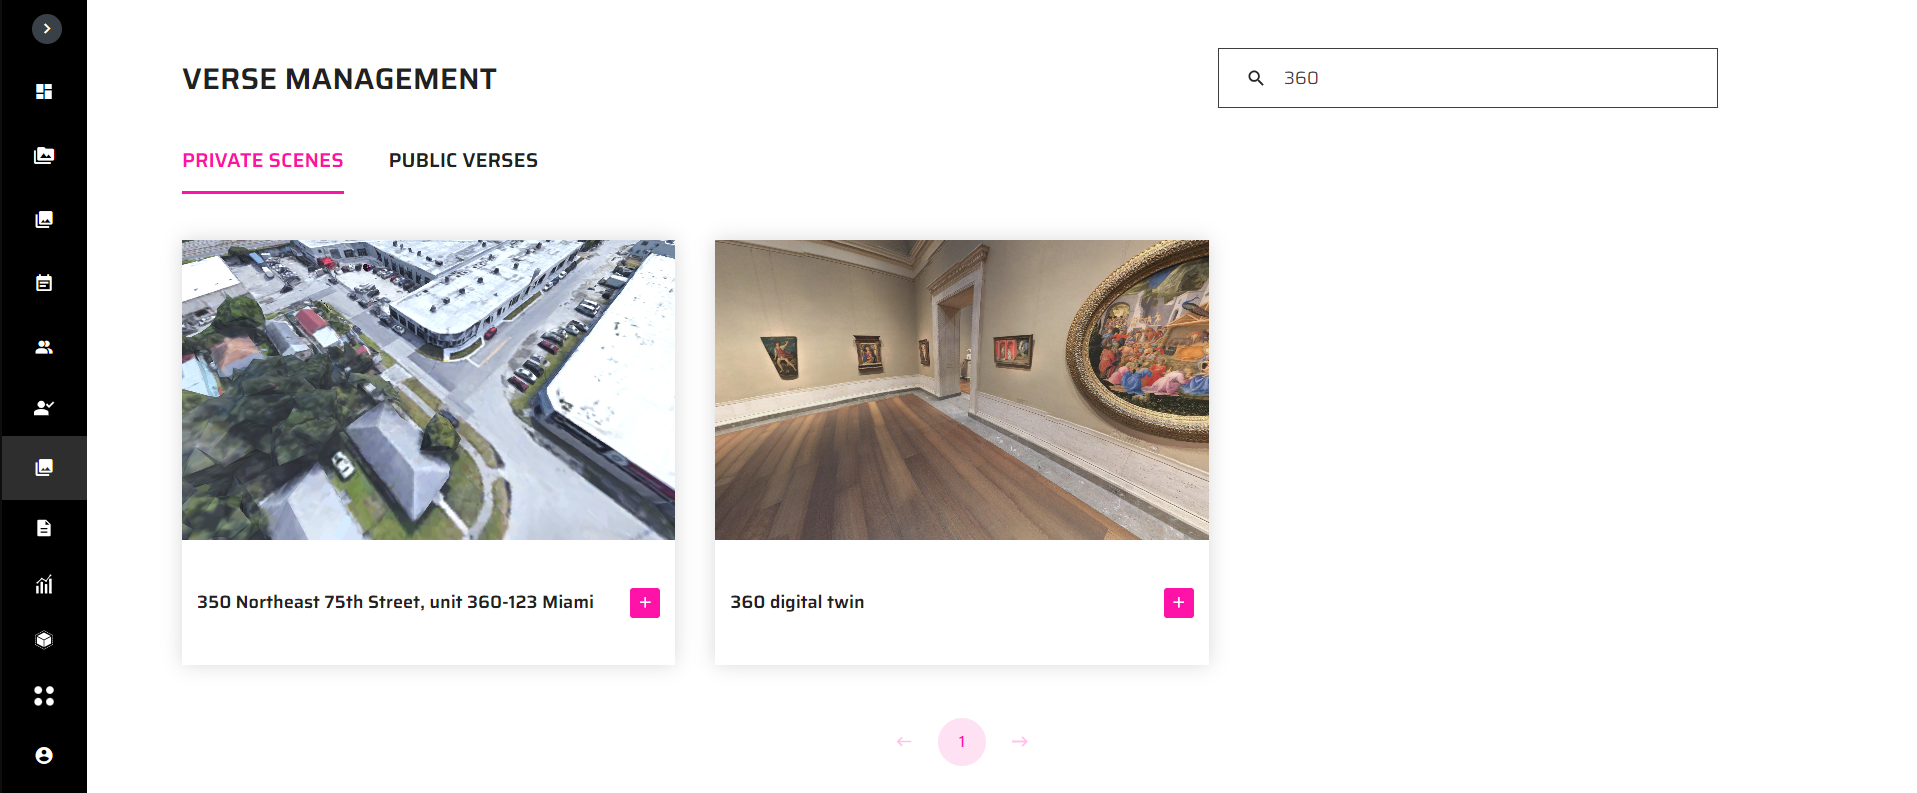
To learn more about assigning these private scenes, refer to the dedicated section in the Managing Private Scenes and Groups section.
Making Scenes Public
To make scenes public, follow the same process as for private scenes. Locate them in the Scene tab and approve them.
Then, in the Approved tab, click on the "Featured" option. Conversely, you can remove the featured status of an item by using the “Unfeature” button.

This will ensure that the scene is displayed on the Scene Management page as a public scene, also allowing all users to access it when they create a meeting.
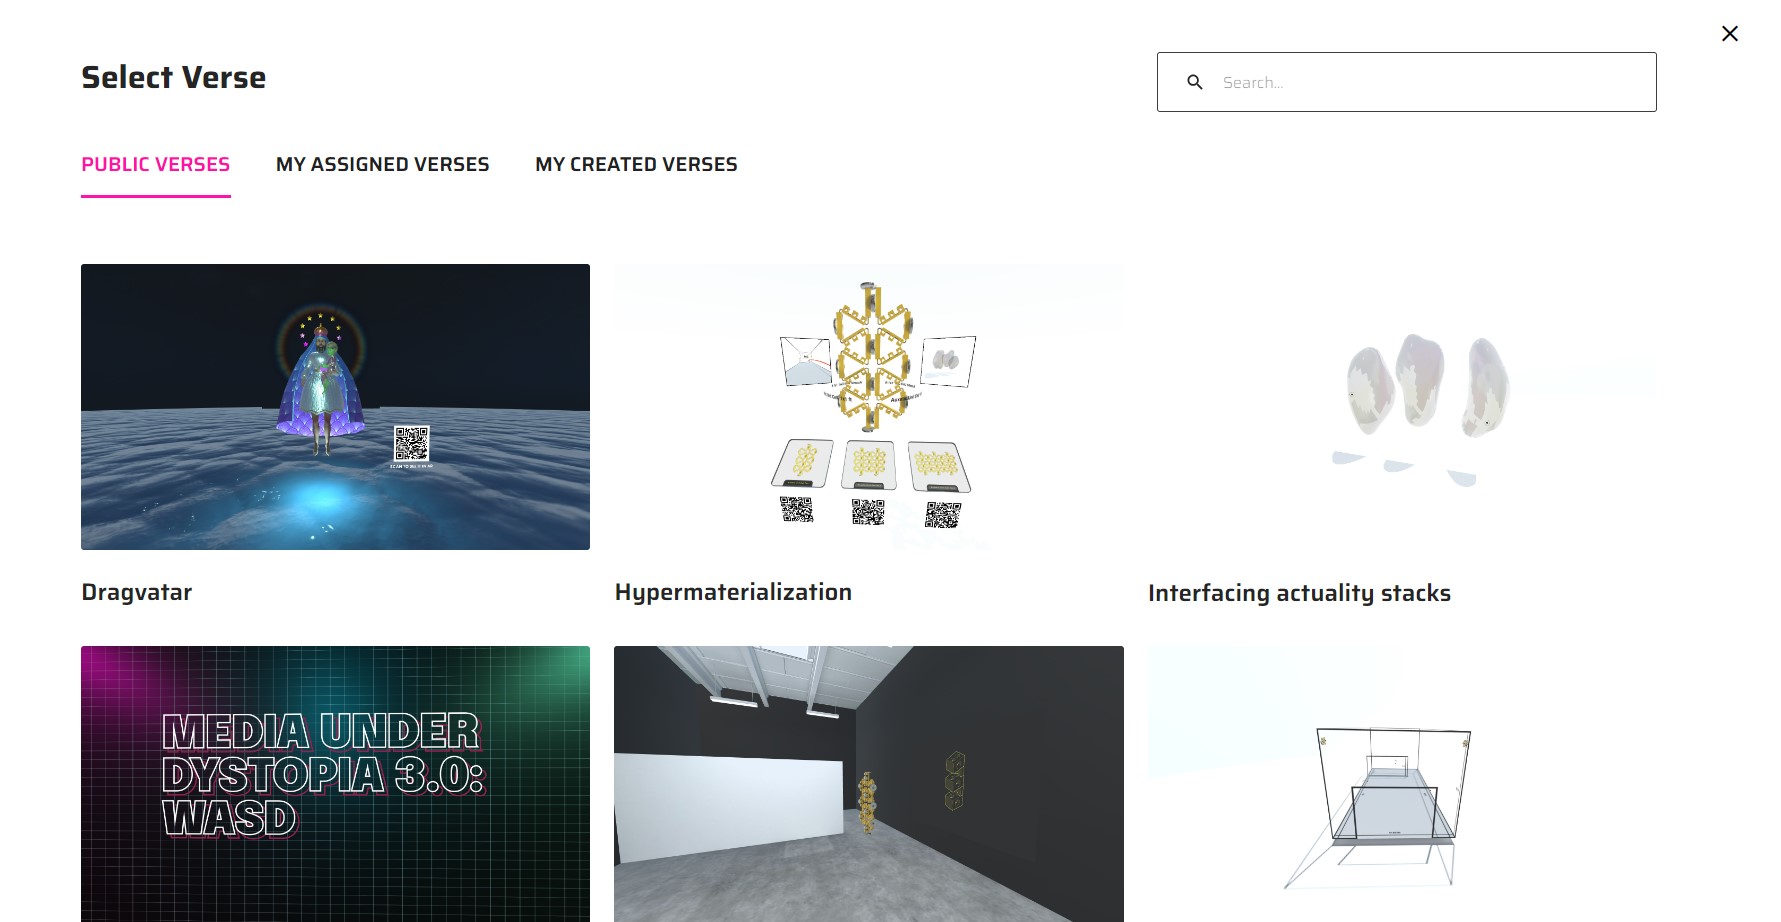
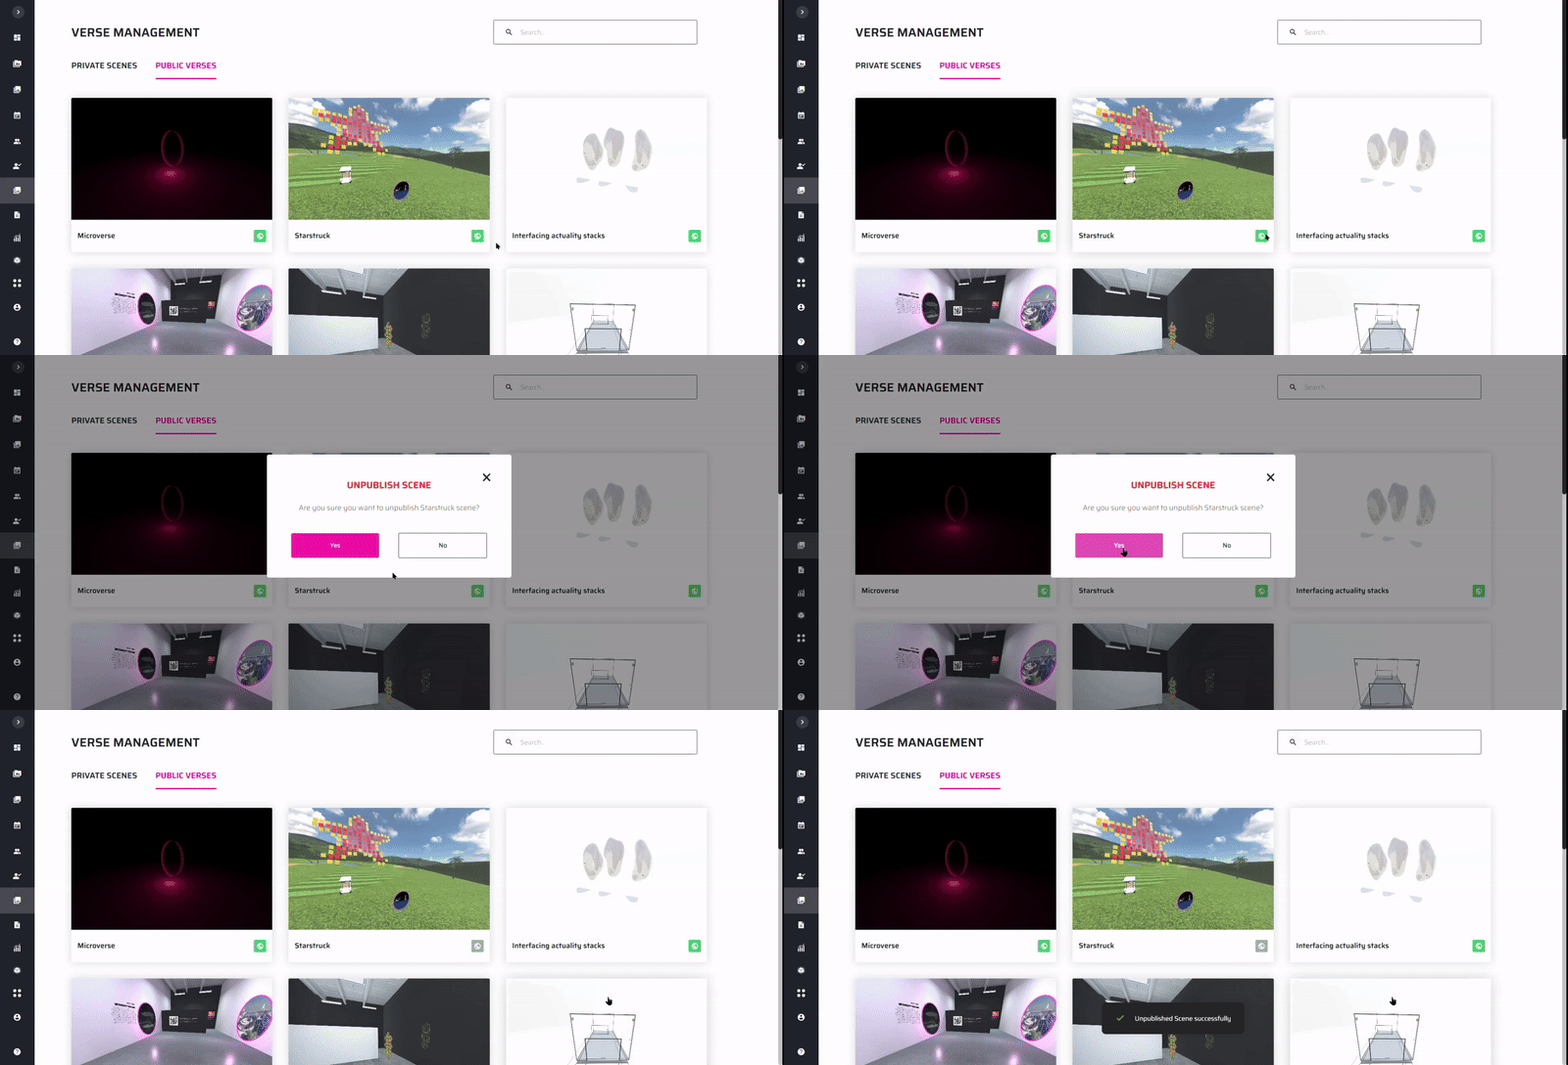
Additionally, you can publish or unpublish public scenes from the dashboard. If you wish to restrict access to a public scene, you can do so by clicking on the world button.
