Group Features and Functions
If you've received an invitation to join a group on our platform, it's important to familiarize yourself with the key features associated with it. In this section, we'll walk you through how to add scenes to a group, the special features available to group leaders, and how to make scenes public within your group.
Adding Scenes to a Group
When you've been added or invited to a group, you have the ability to contribute scenes that will be visible to the group leader. To accomplish this, simply follow these steps:
First, create or open the scene that you want to add the group.
Click on the "Publish Verse" option.
Before saving and publishing your scene, check the 'Assign Scene to Group' dropdown menu.
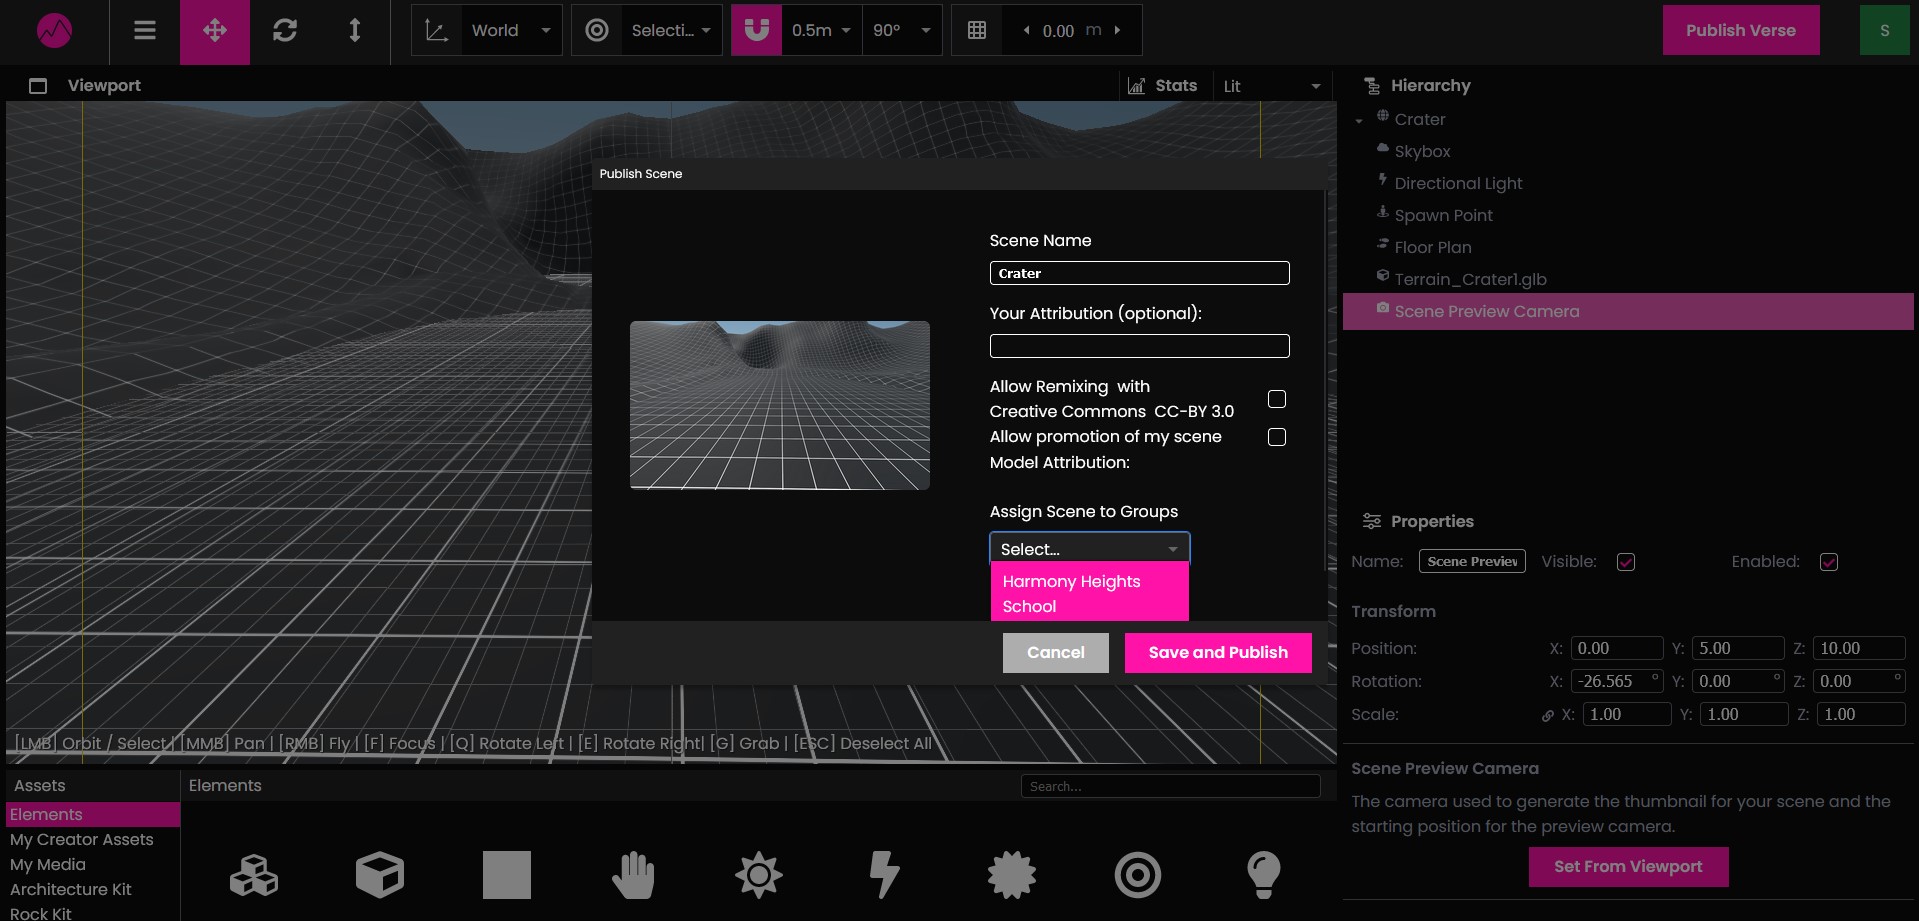
Select the specific group to which you want to add the scene.
Complete the publishing process.
Once it's finished, the scene will appear on a group management page where the group leader can access it.
Every time you change the scene and publish it again, the changes will appear updated for the group.
Important: when you have been invited or added to a group, it is essential that you accept the invitation in order to contribute scenes and receive any additional permissions. If you don't see the "Assign Scene to Group" dropdown, please ensure that you locate the email invitation and accept it.
Group Leader Features
If you happen to be the leader of a group within our platform, you'll enjoy additional privileges. Let's explore these options:
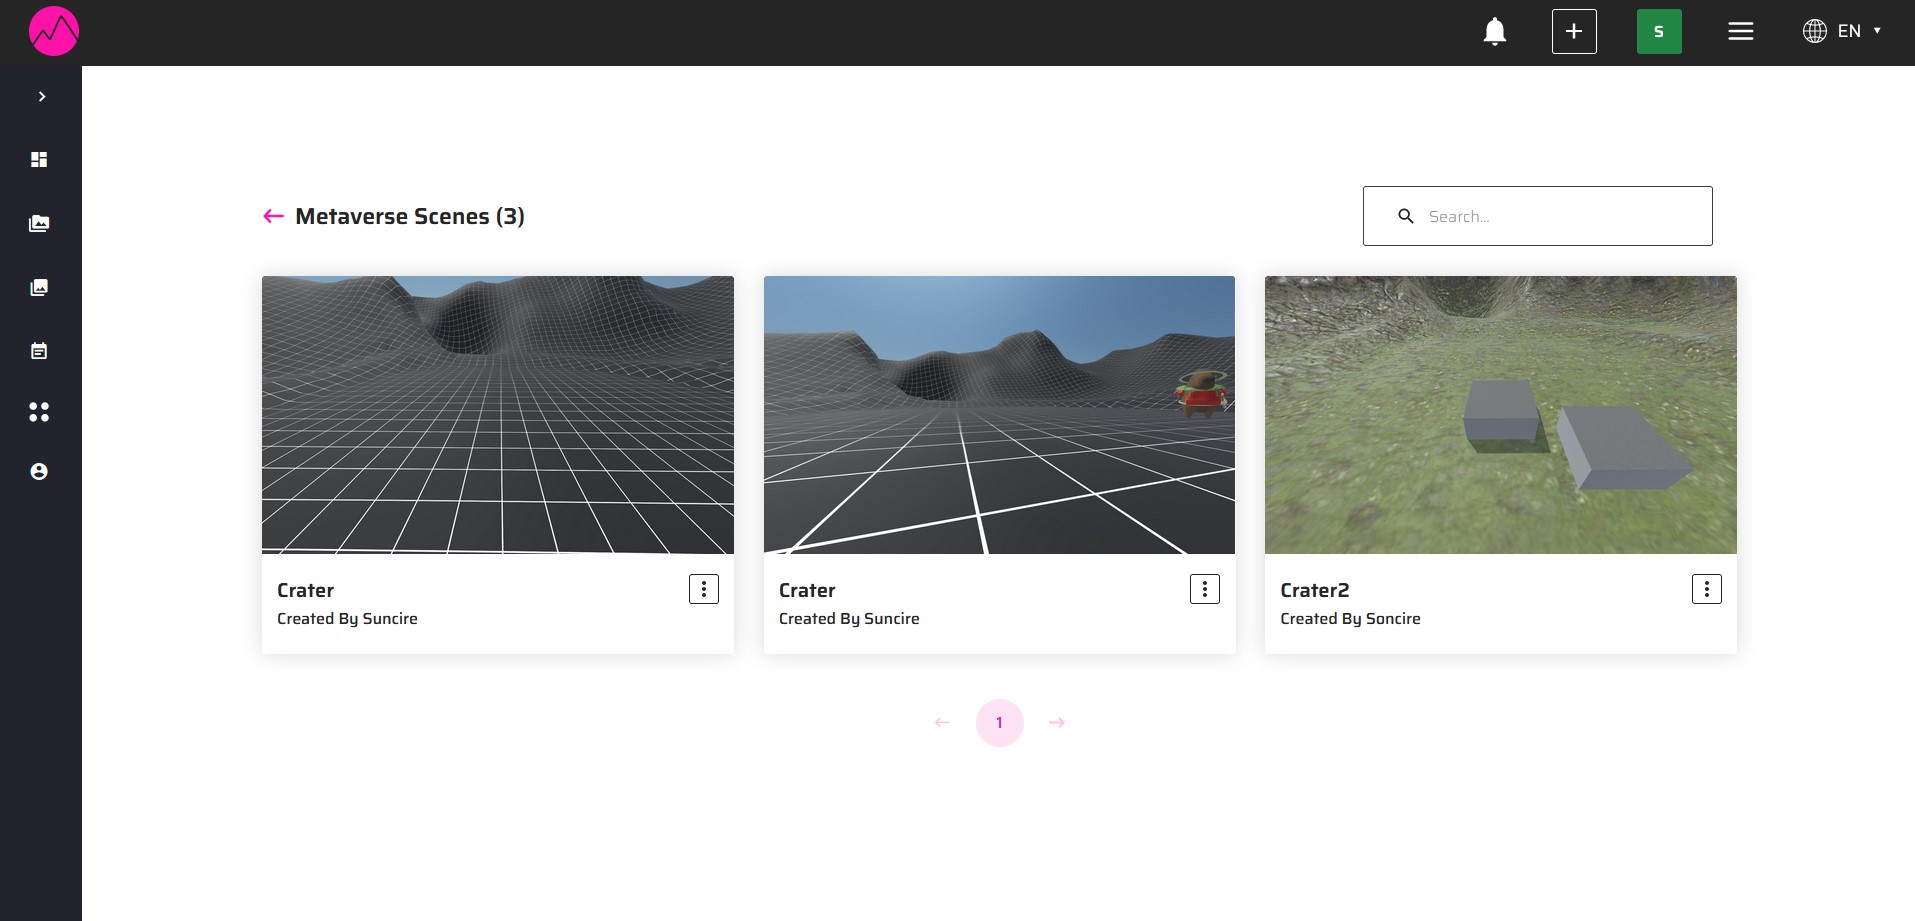
- A new section will be added to your sidebar.
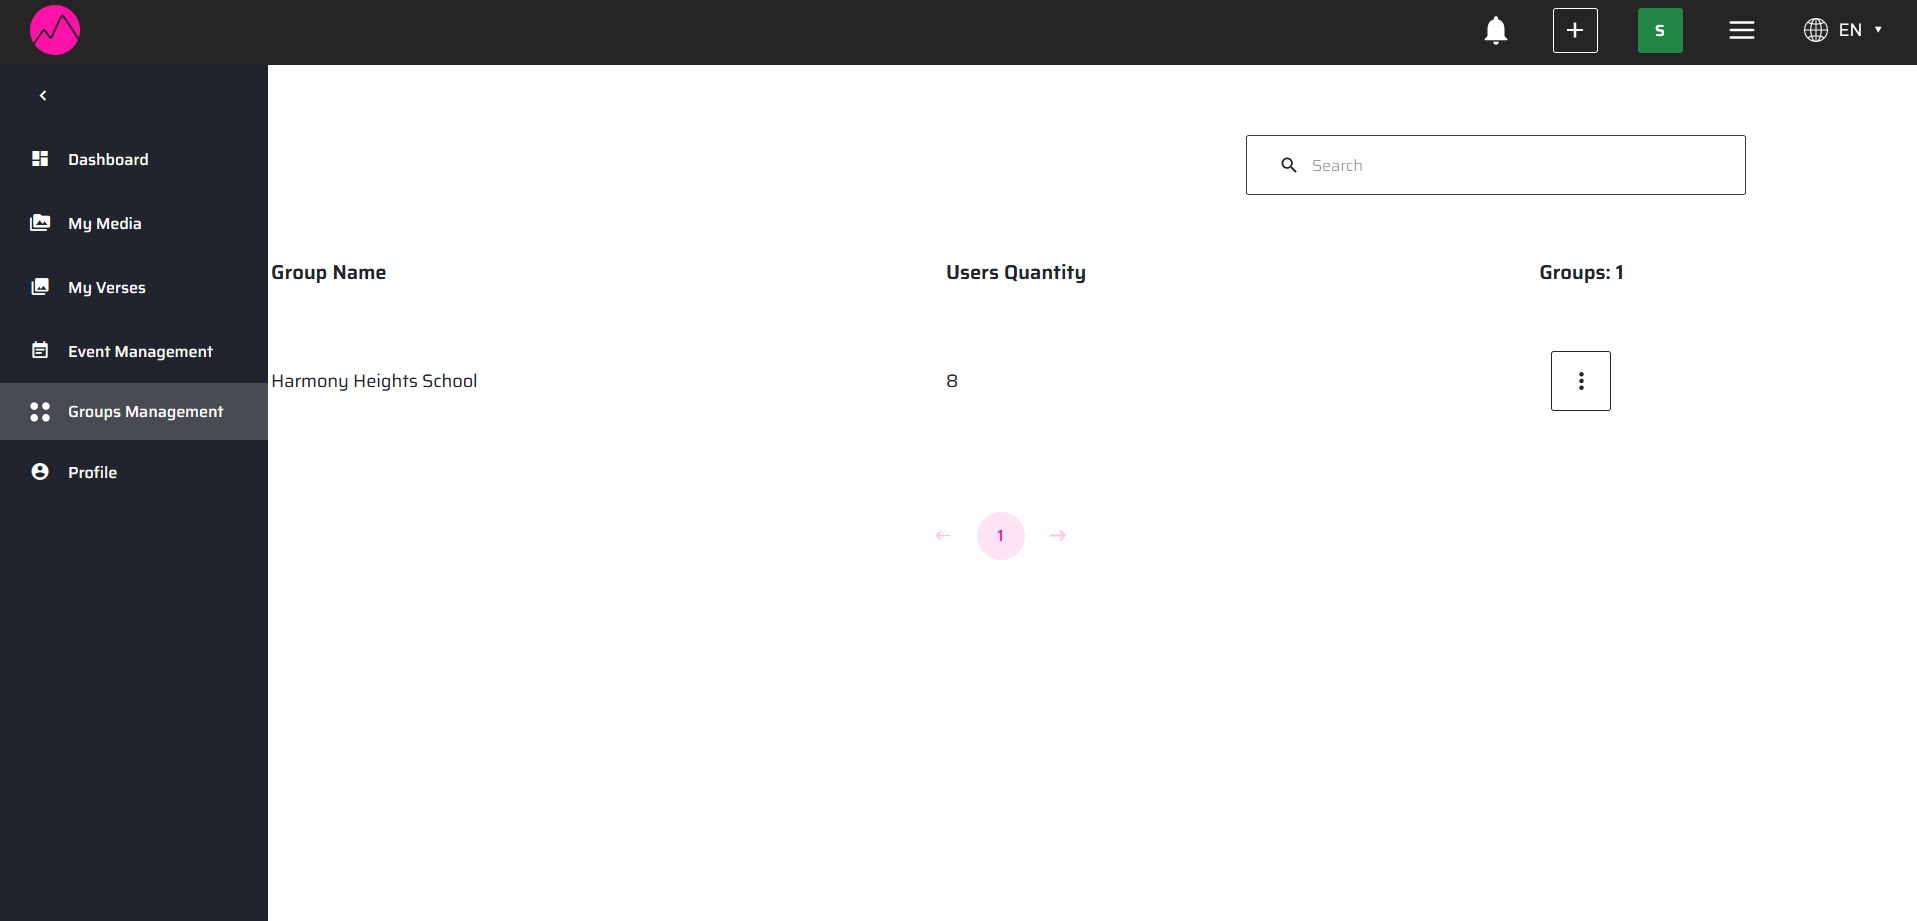
- Within this section, you'll find a list of all the groups you lead, along with the users and the scenes that group members have added.
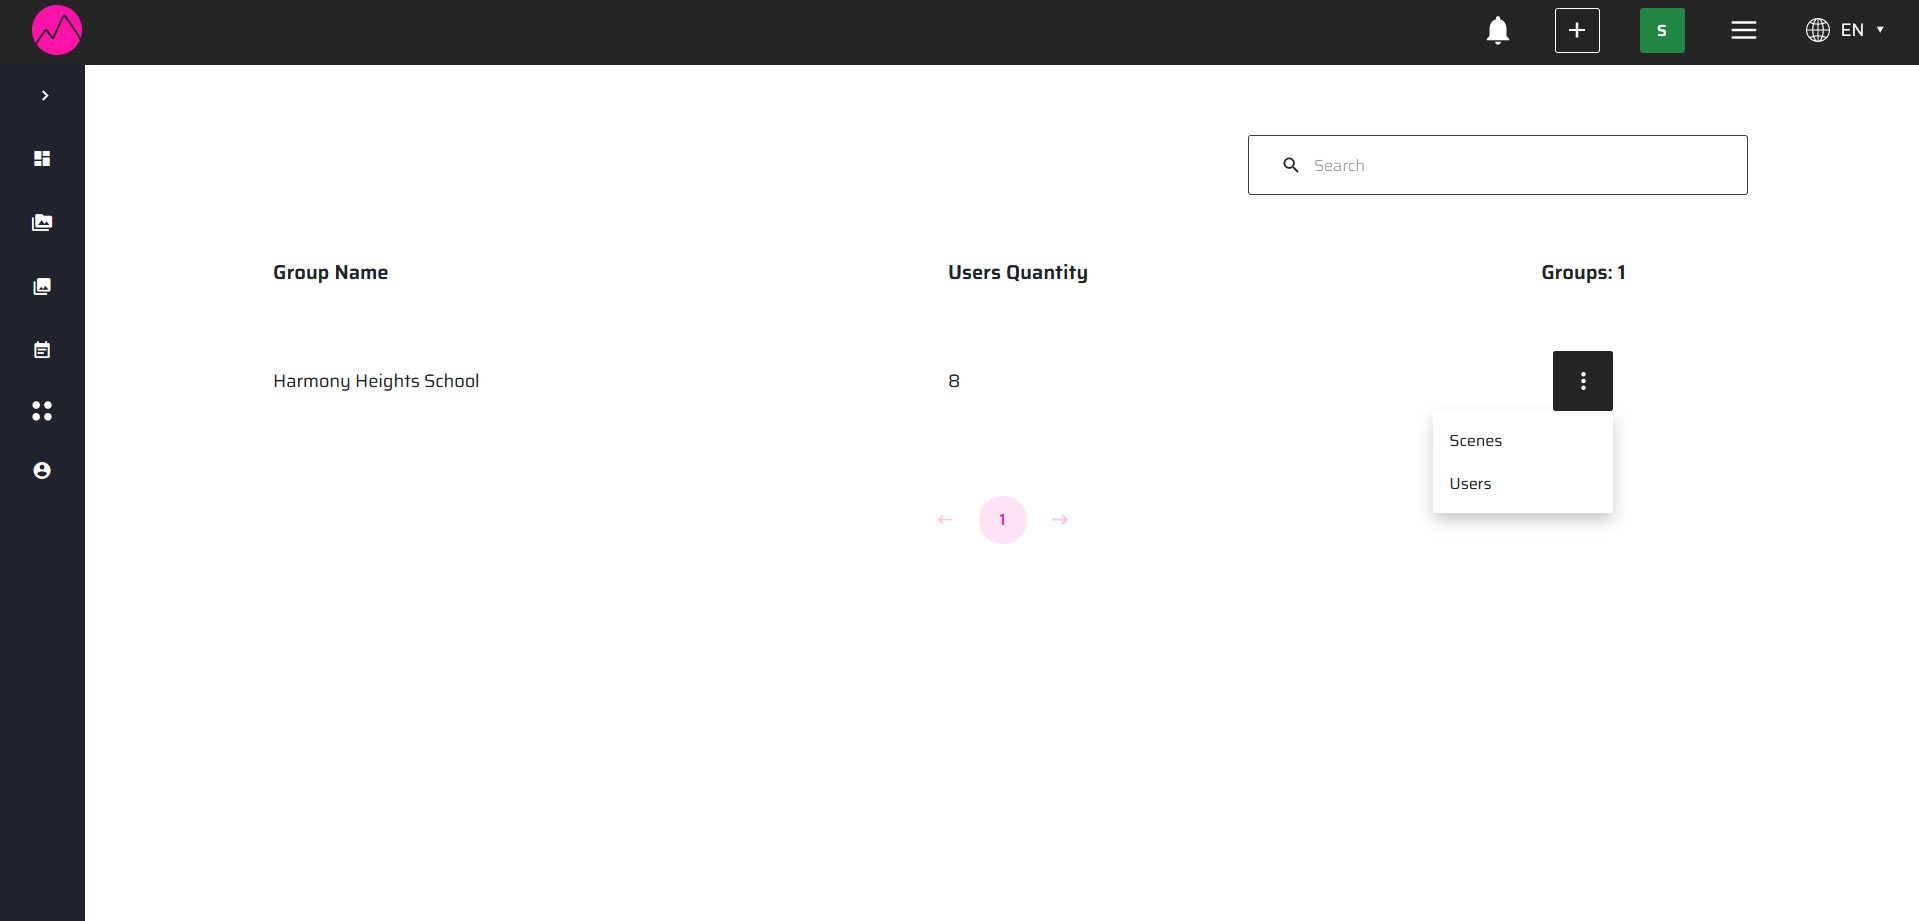
- To easily identify which scenes belong to each user, the user's name is displayed below the scene name.
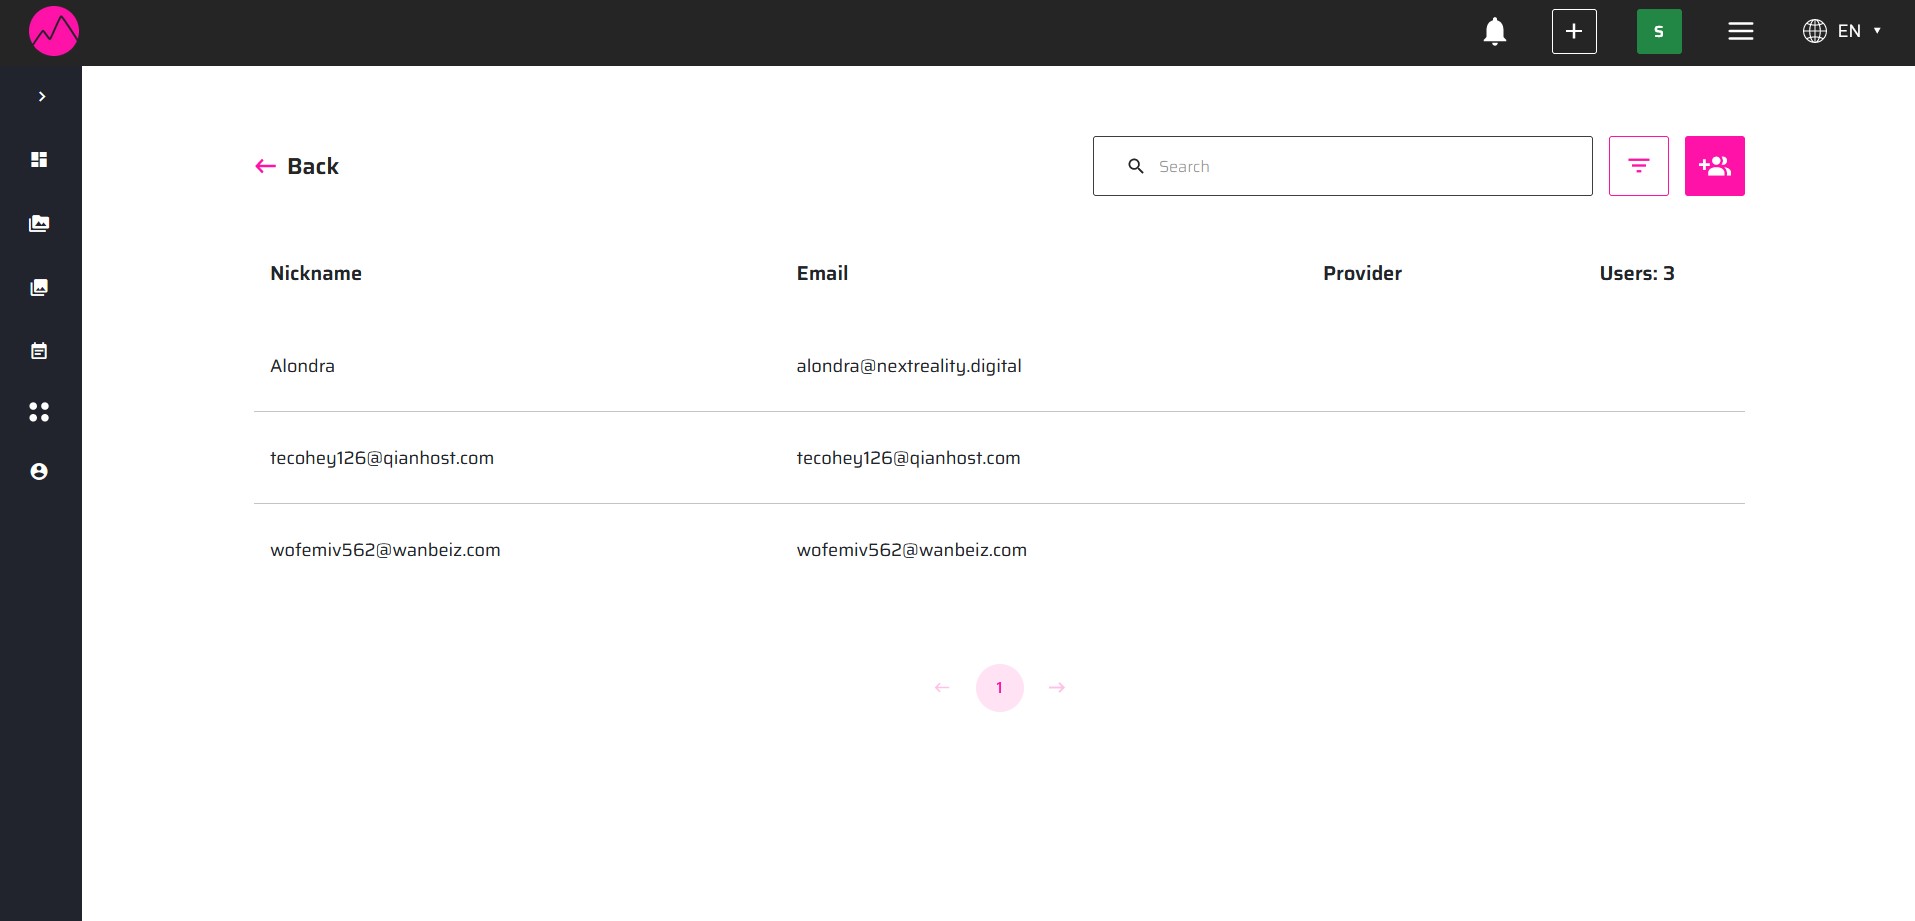
- Additionally, you can view the list of users who have been added to the group and have accepted the invitation. You also have the option to invite new users.
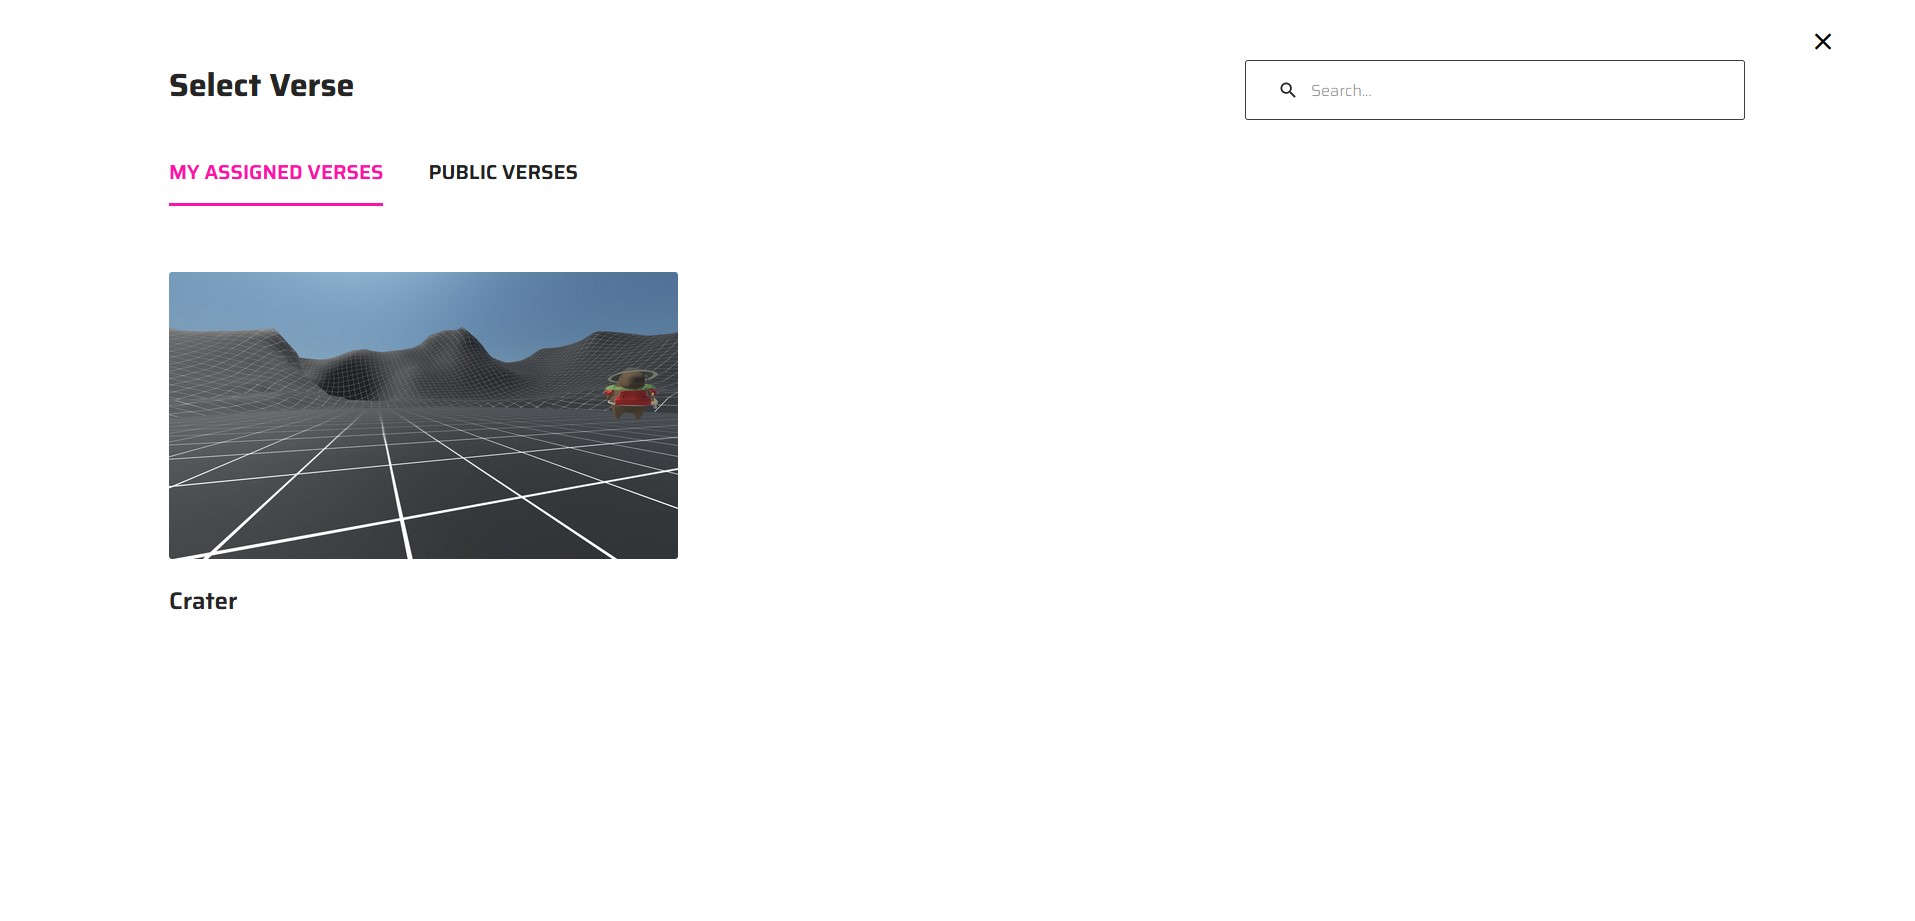
Making Scenes Public for the Group Members
As a group leader, you have the authority to make scenes public.

This means that the scenes will be accessible in the "Assigned Spaces" tab of all group members. They will be able to use these scenes to create meetings and see the latest saved changes.