Creating Metings
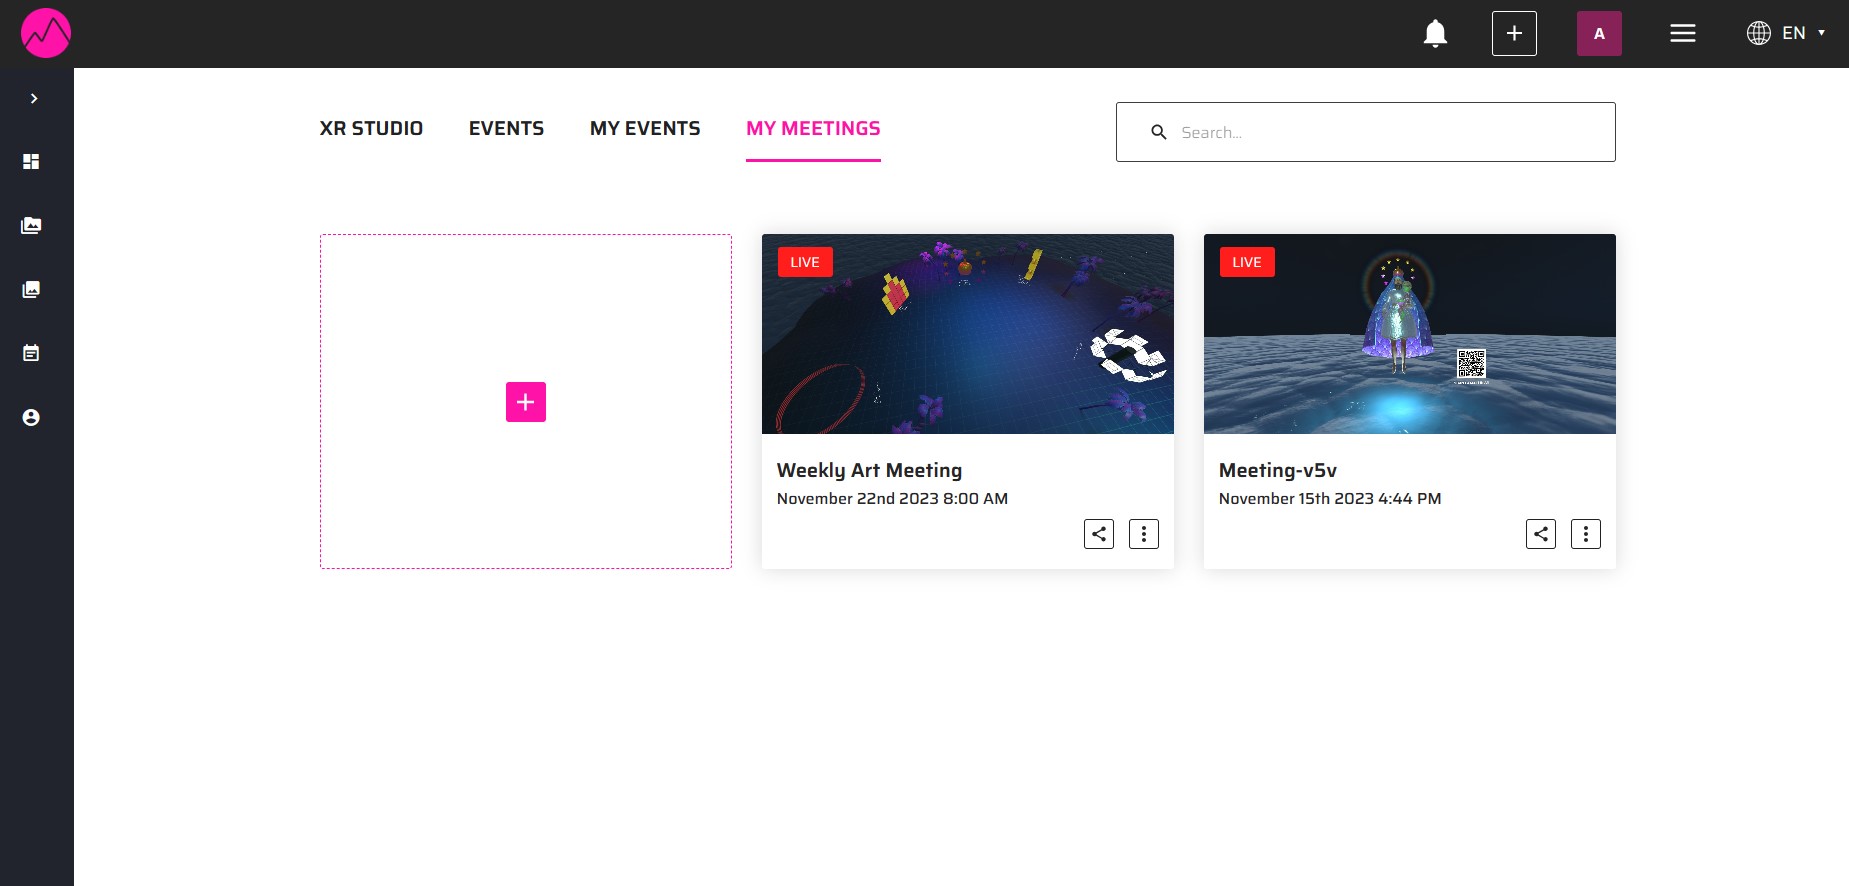
Once you enter the dashboard, you'll be able to access the Meetings tab. This tab will serve as a centralized panel for all your meeting-related activities, where you can create instant meetings or schedule one for later.
Create an Instant Meeting
To create an instant private meeting, simply click on the “+" button and select the “Instant Meeting” option.
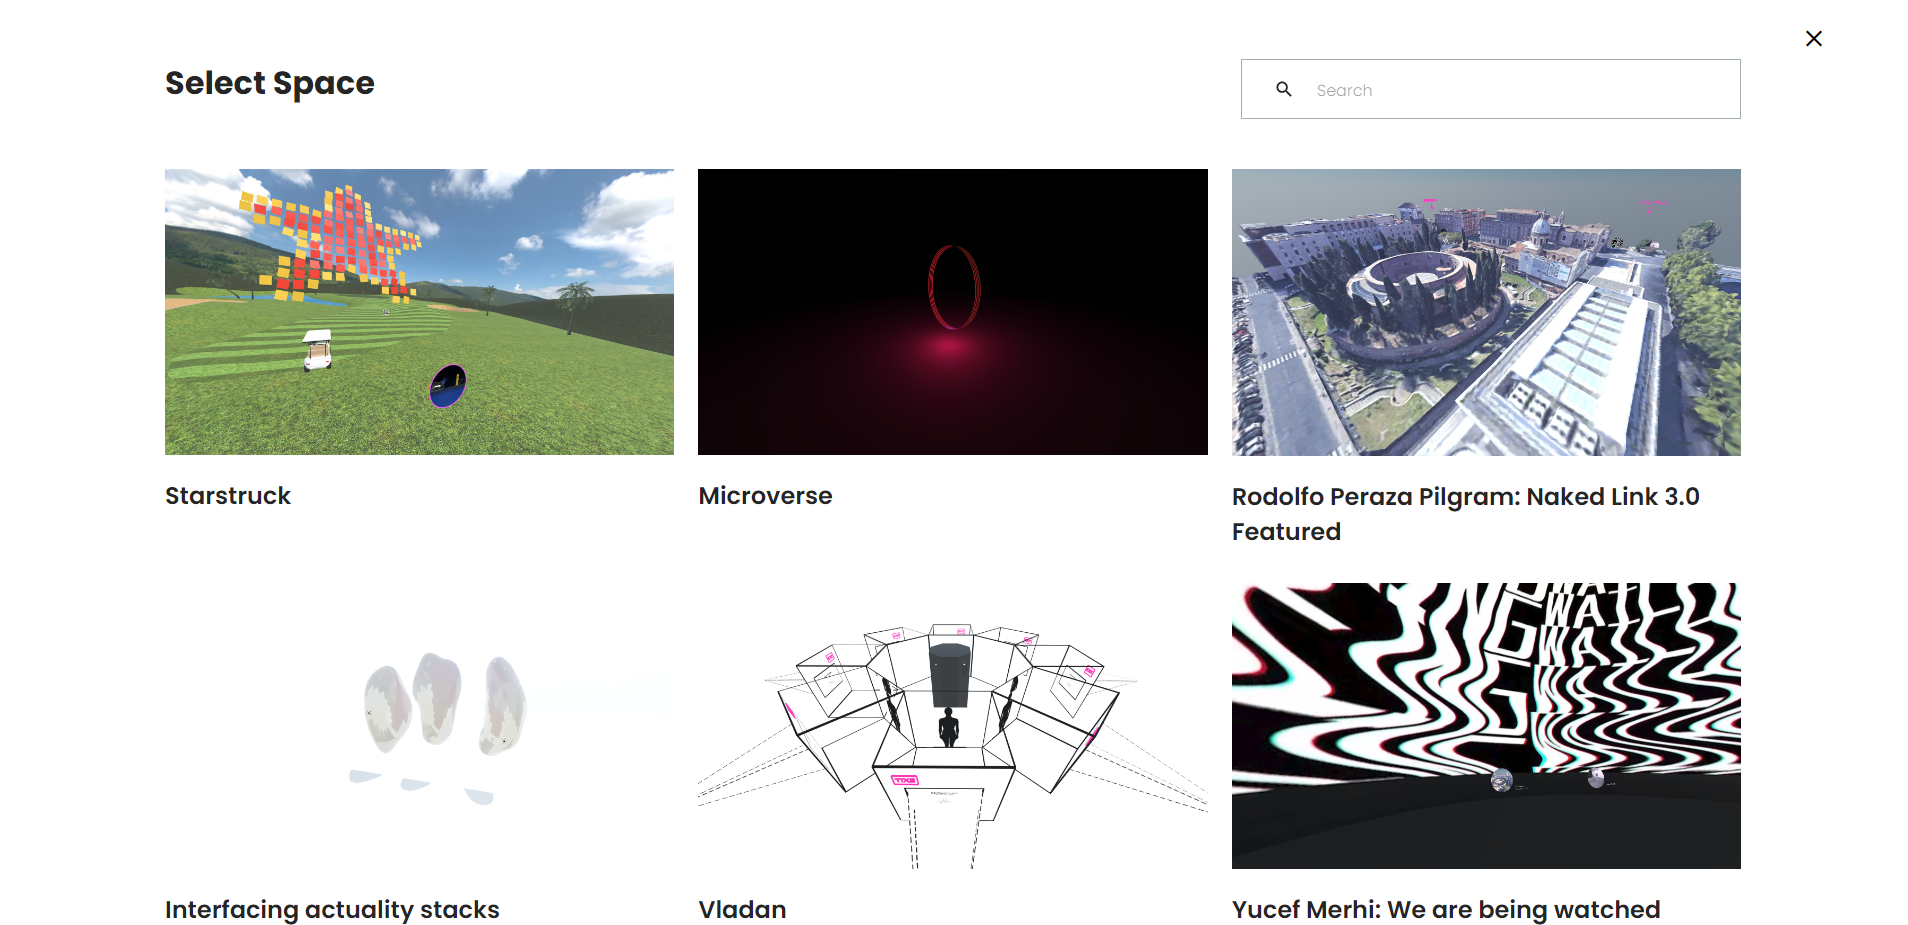
Select a Space
After clicking the "+" button, a page with the available public spaces will open, here you will be able to select the most suitable room for your meeting.
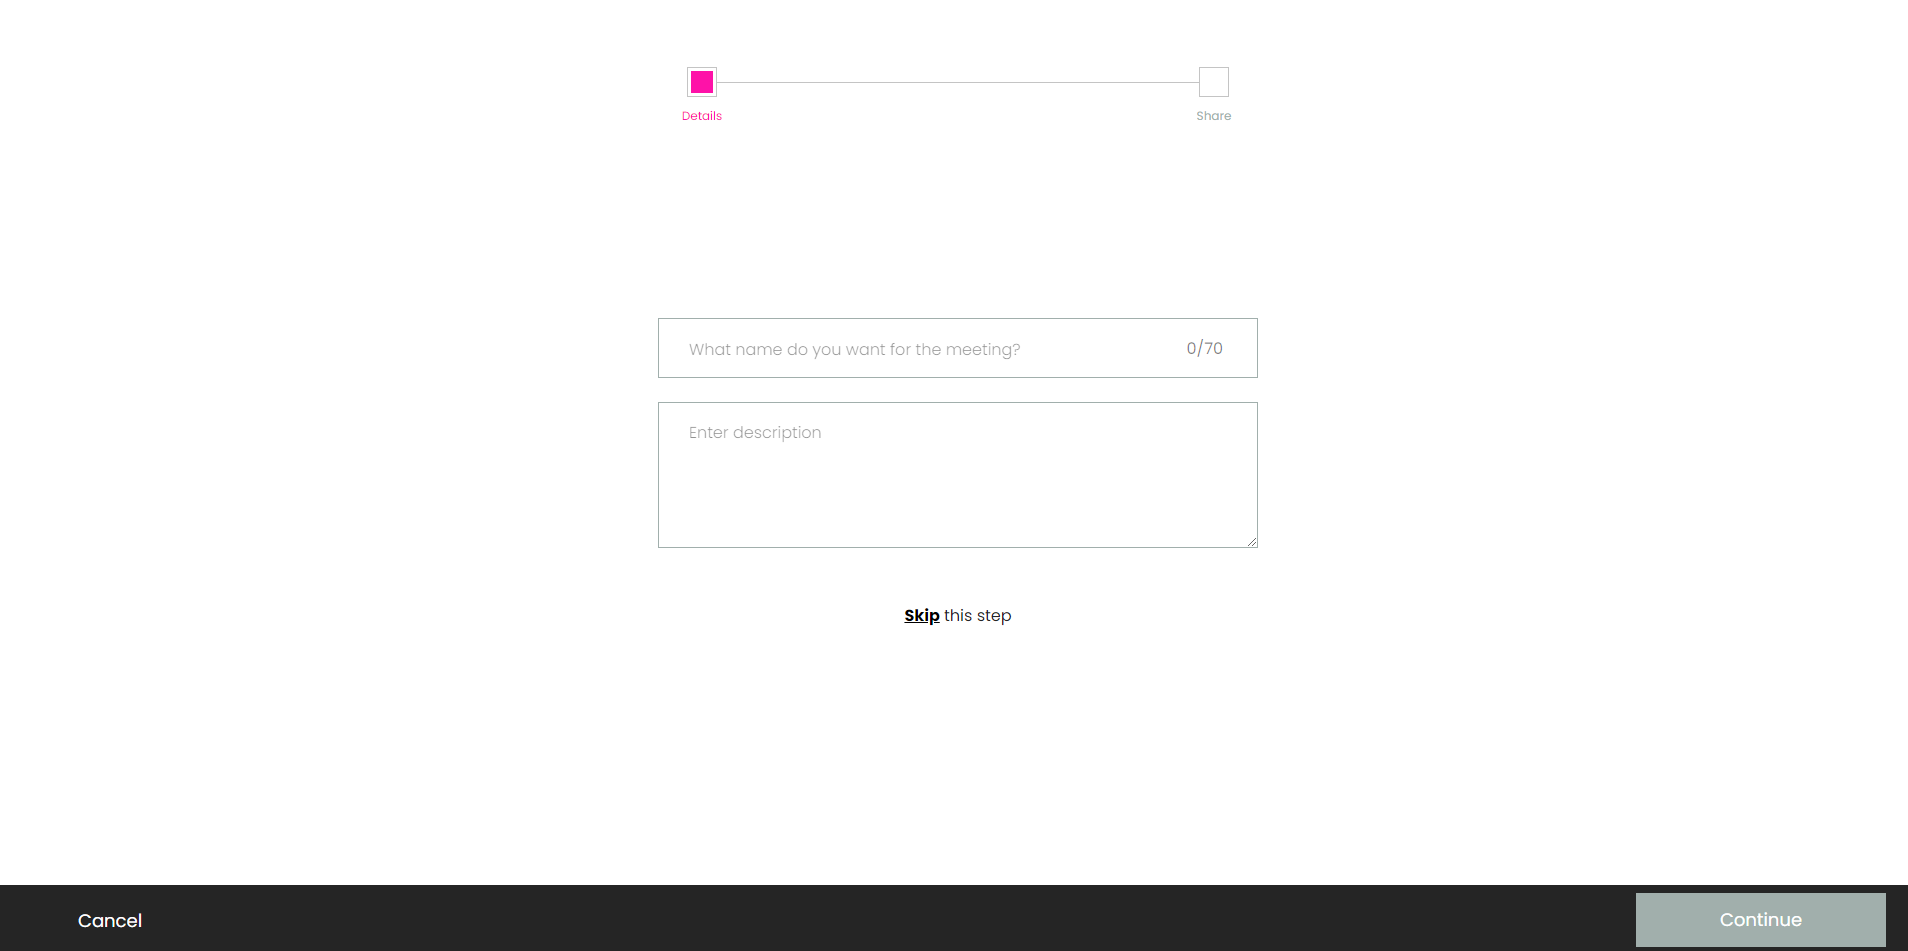
Select a Name
After selecting your space, it’s time to specify the name and description of the room. The description field is optional but the meeting field is obligatory, you can click skip and an automatic name will be generated for your meeting.
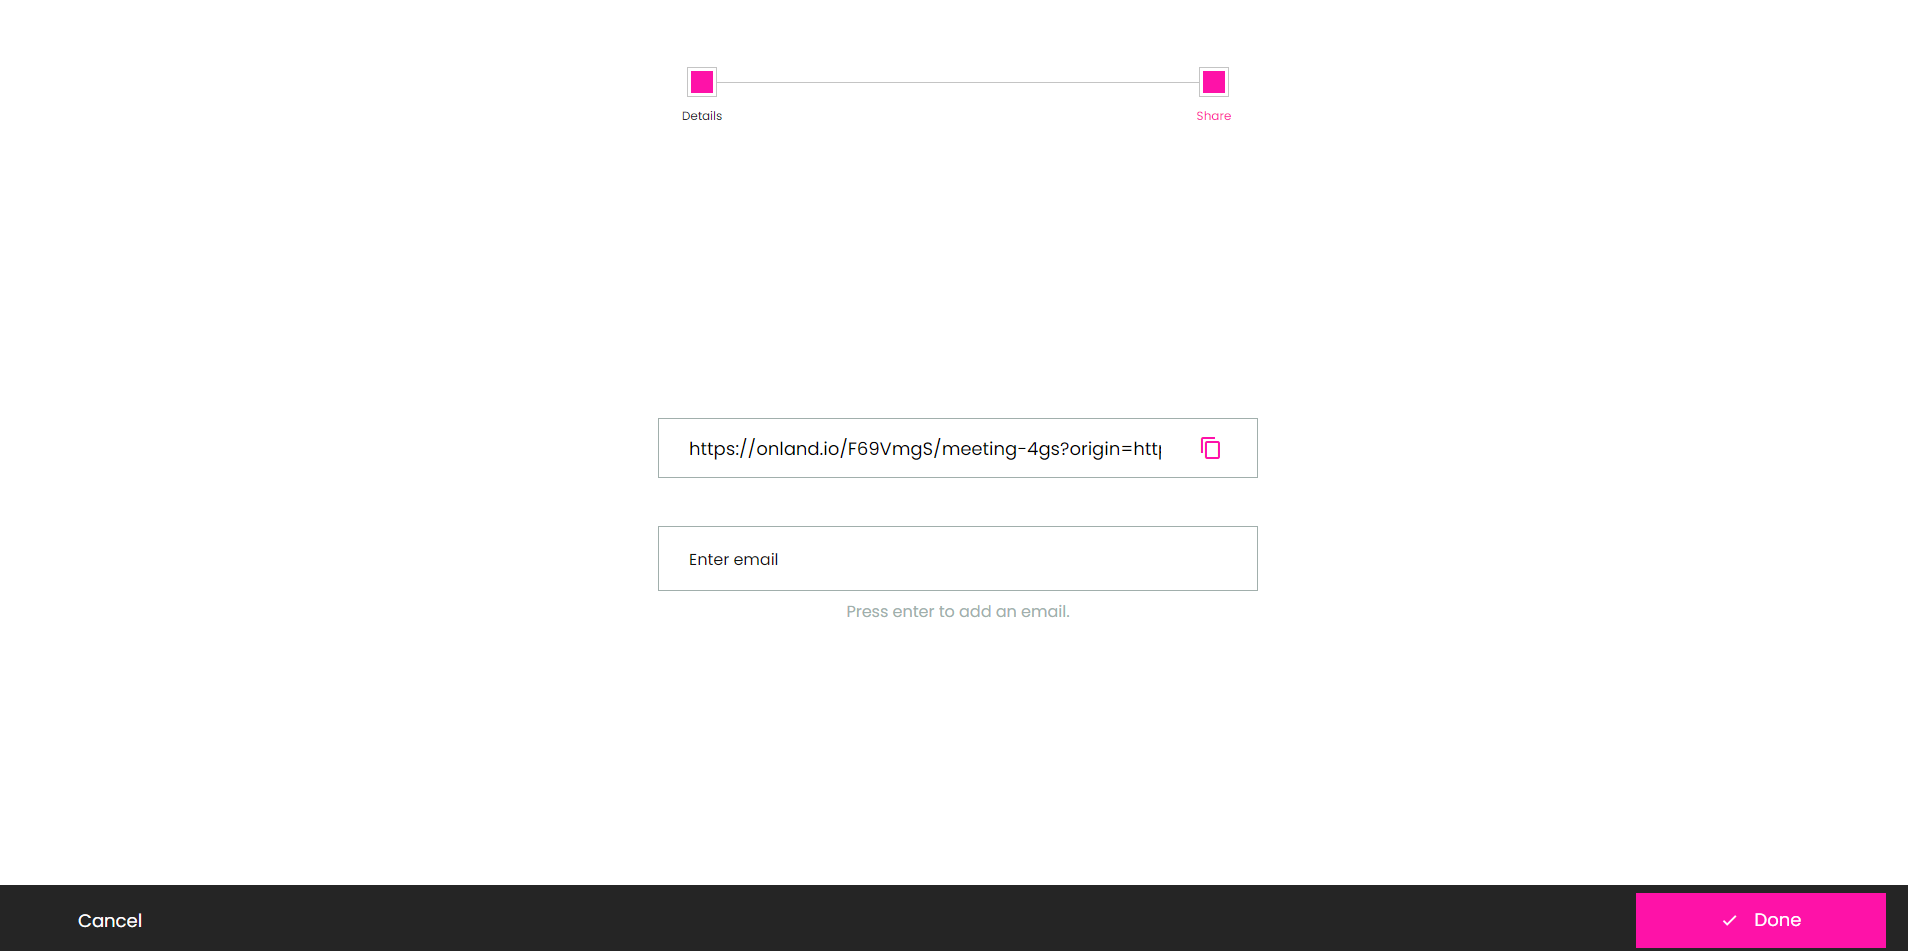
Share Meeting
Then, the share page will open. Here you have two options to share the meeting: through a private link or by sending an email invitation.
By copying the private link, you can directly send it to anyone you want to join your meeting.
By entering the email of a person, an email will be sent to them when the meeting is created with the link to the meeting they’ve been invited to.
Done! With just a few clicks, you'll be able to initiate real-time conversations, collaborate, and share content privately. Remember that only you will have access to this room unless you share it with others!
Creating a Meeting for Later
Select a Date and Time
If you prefer to schedule a meeting for later, Onland’s dashboard offers a scheduling feature. By selecting the "For later" option, you can specify the date and time of the meeting.
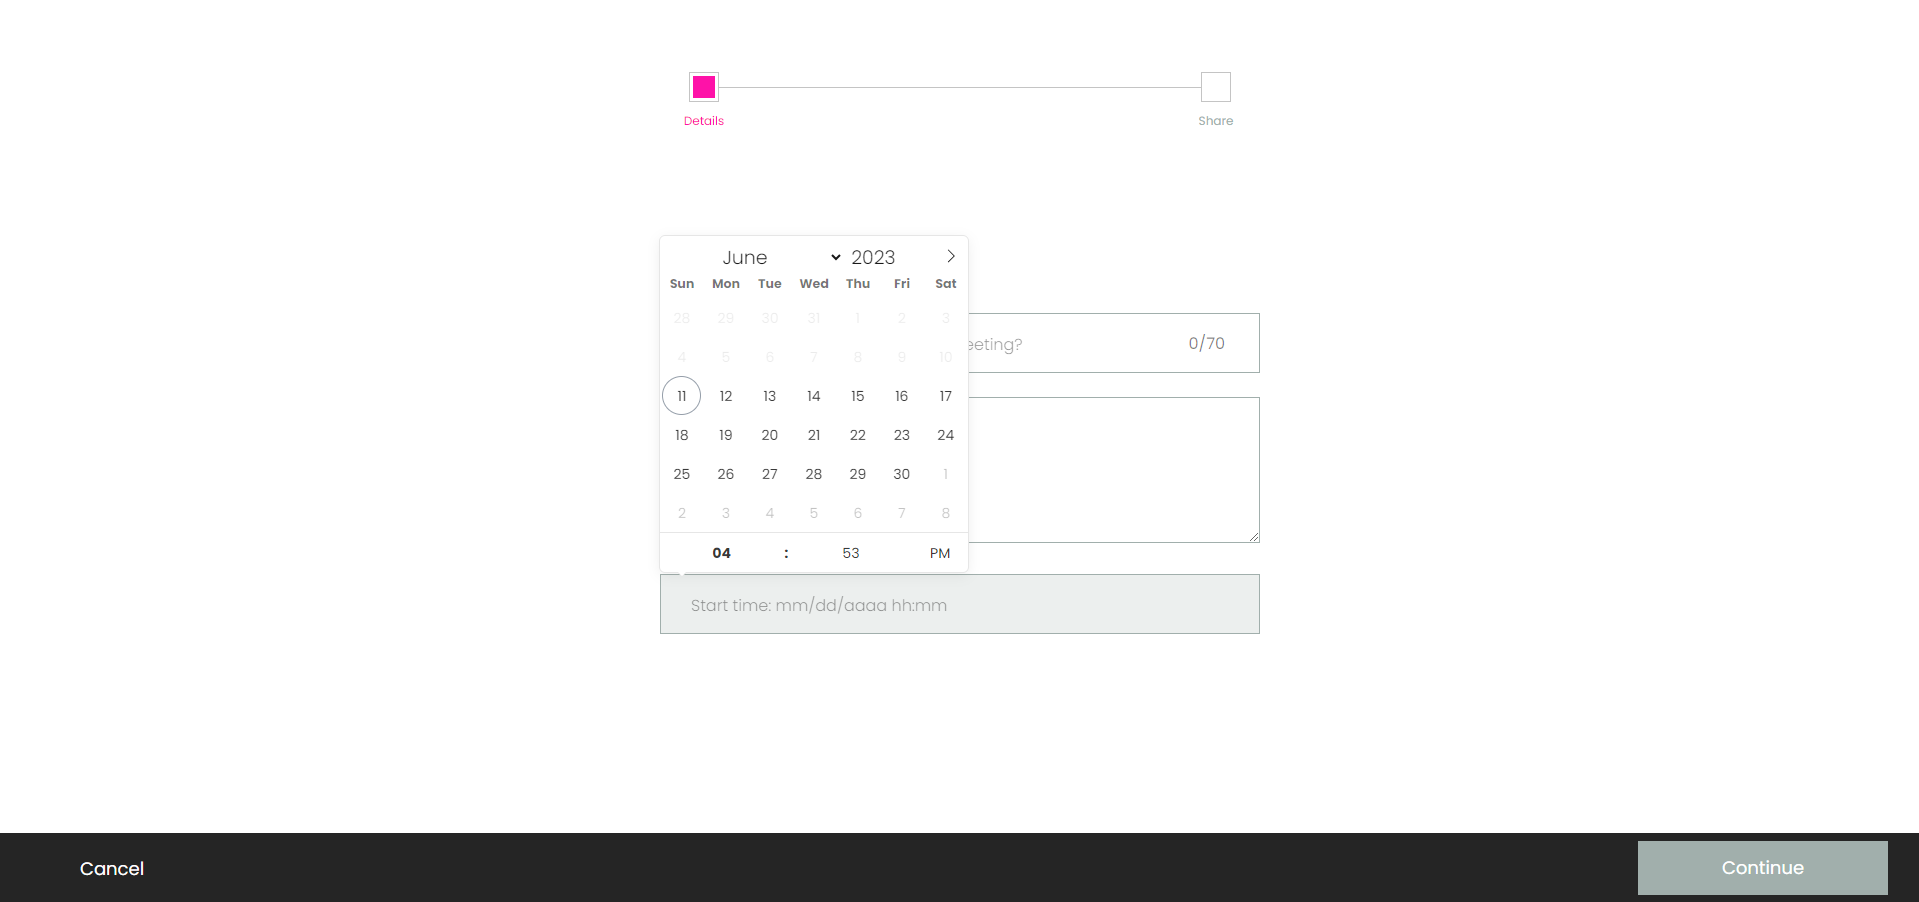
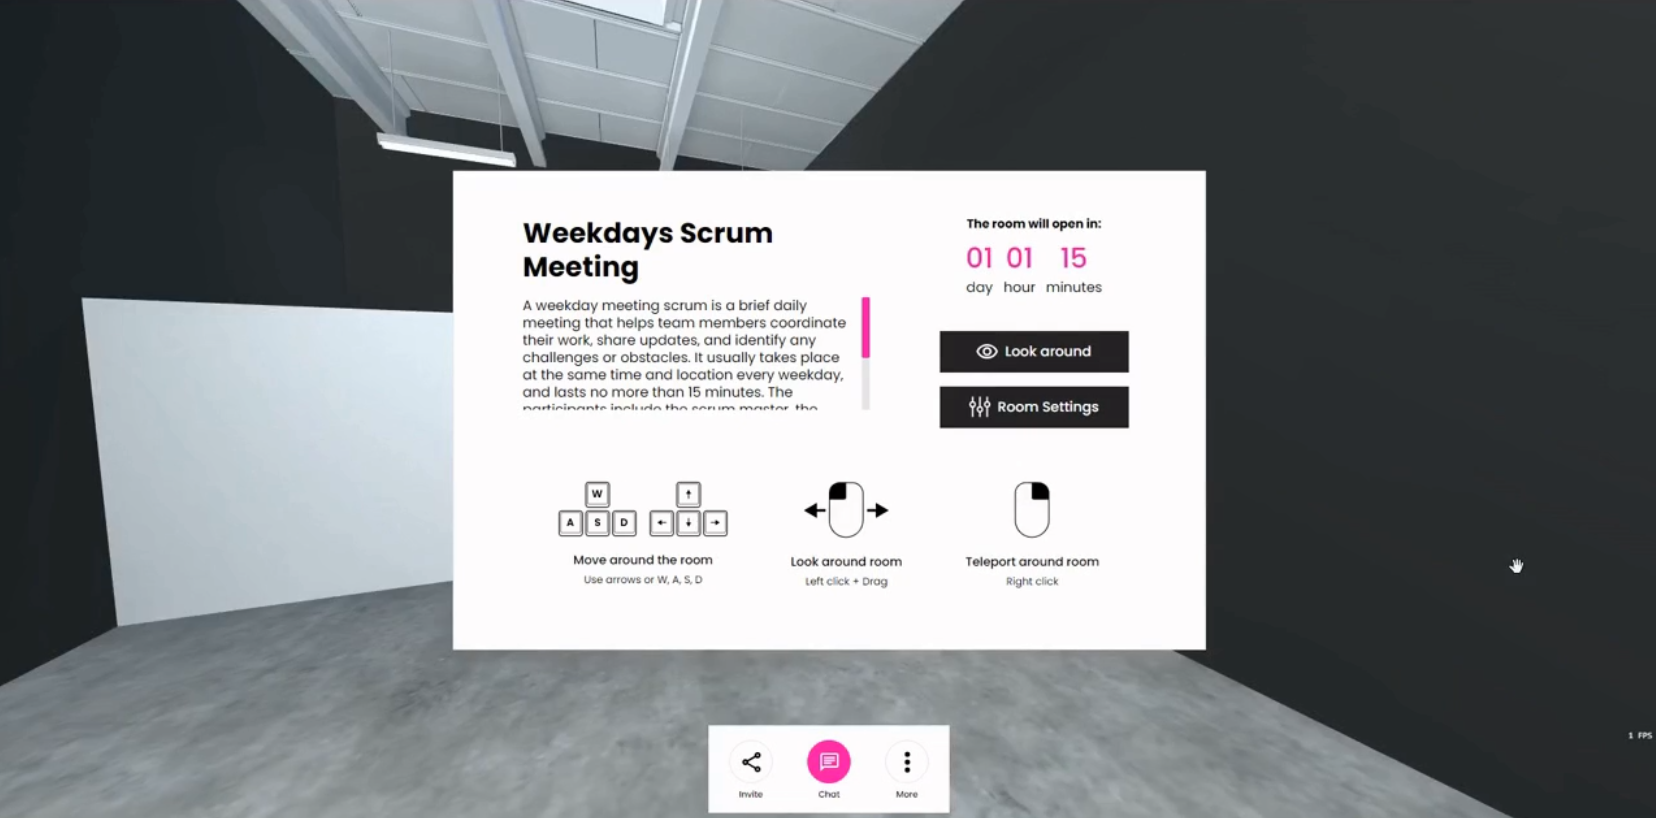
After selecting the date and time, you'll be able to stay in the lobby of the room until the meeting is open.
QR code
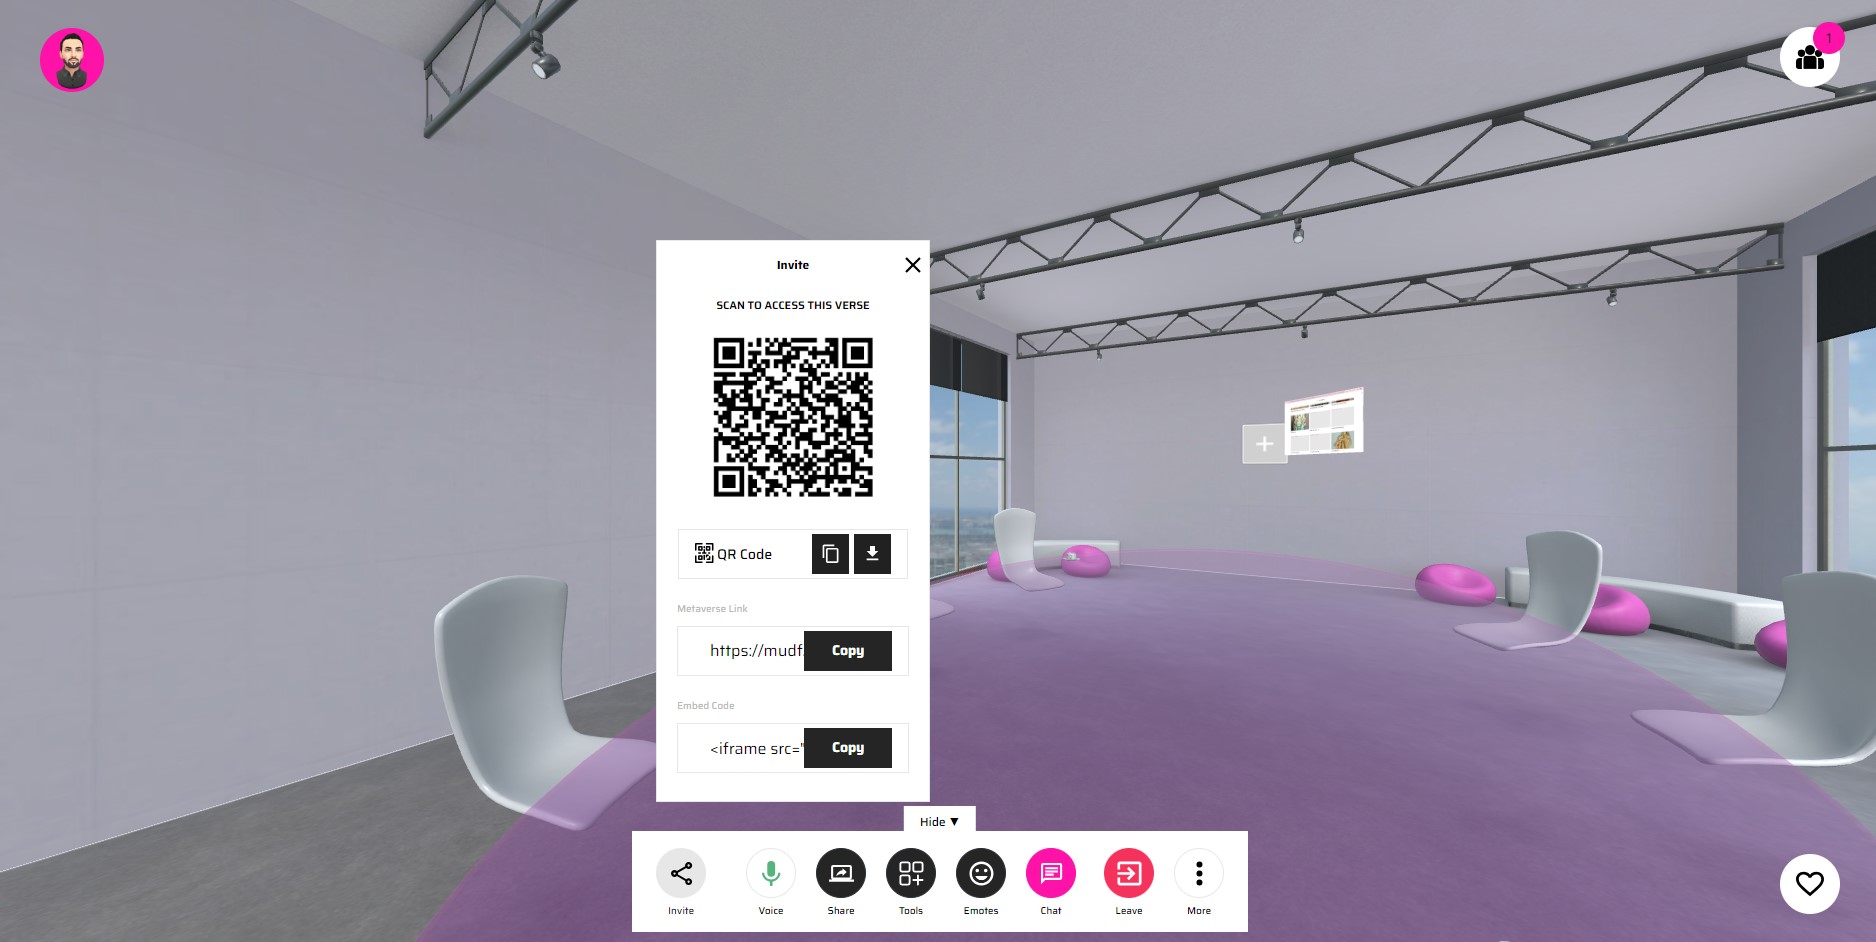
Once you create a meeting, a QR code will automatically be generated for your room for easy access on tablet and mobile devices.
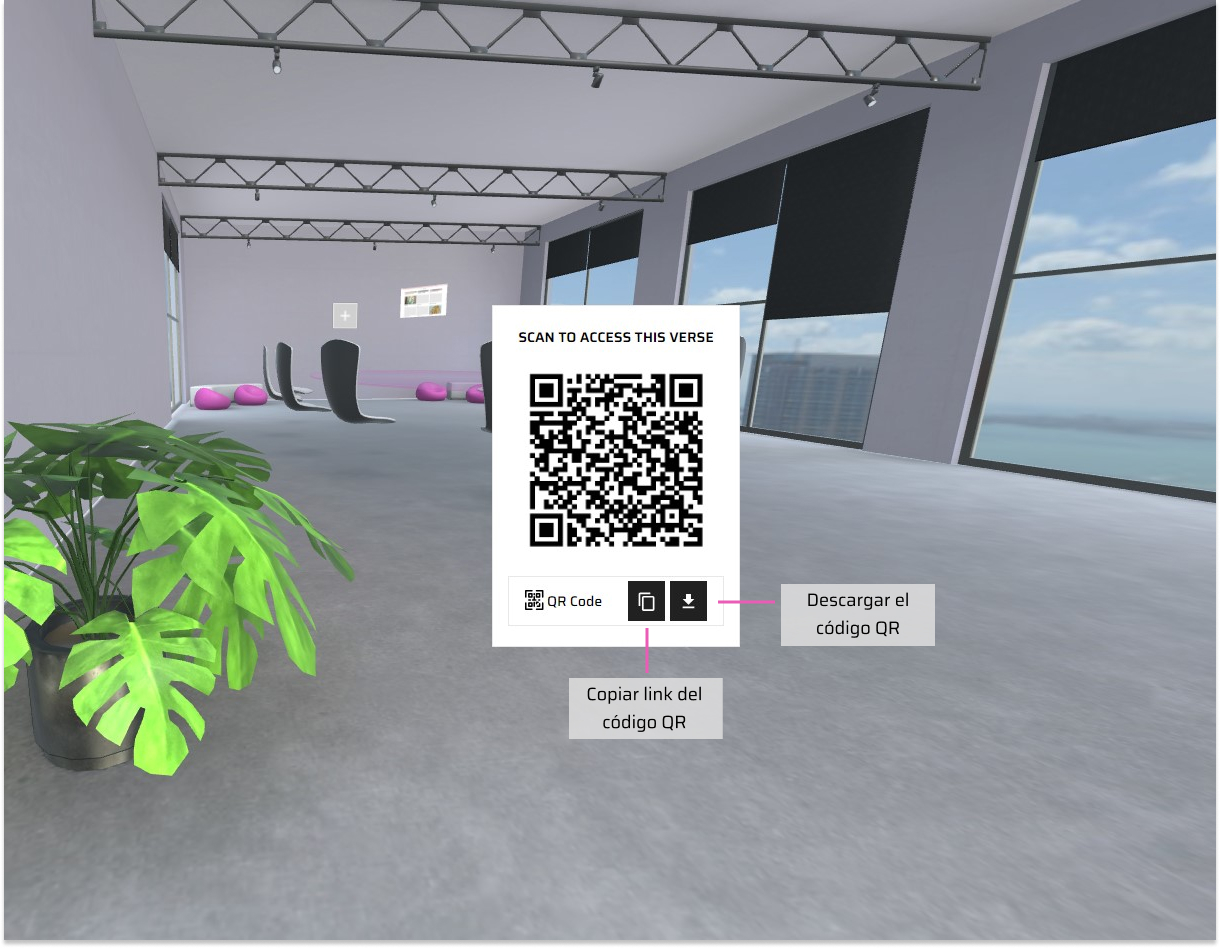
The QR code modal gives you the option to copy and download the QR code to share with others.
You only need to scan the QR code in the lobby from your camera or of the room to be redirected to the room on your mobile.
You can also access the QR code once you're in the room, by opening the invite button. It gives you the same options as the QR code in the lobby.
My Meeting Tab Features
After creating your first meeting you may notice the cards that are created in the dashboard with the information that you provided. This will help you keep track of your rooms and are direct link to the meeting, just by clicking on them you’ll enter the room.
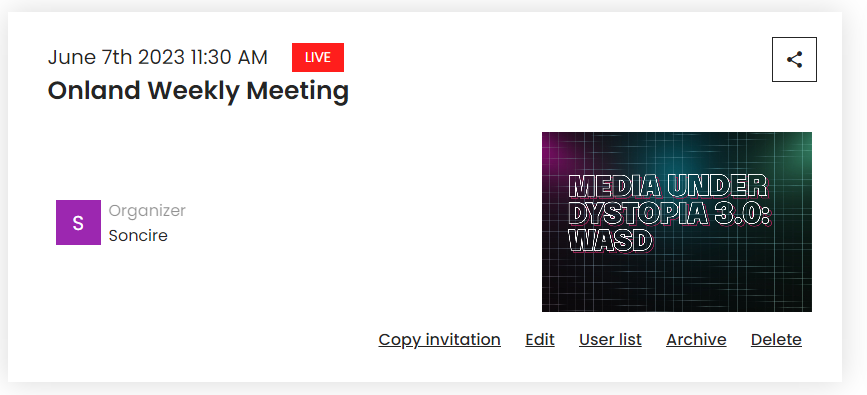
Copy Invitation: copies a link for the meeting to the clipboard for you to share with others.
Edit: takes you to the configuration page on the metaverse where you can change the name/description and configuration of the room.
User List: where you can see the email of the users you invited and manage their permissions.
Archive: if you want to hide an obsolete meeting without deleting it, you can archive it so it doesn't take up any more space in your dashboard.
Delete: permanently deletes your meeting.
Share button: allows you to resend an invitation or add more people to the meeting.
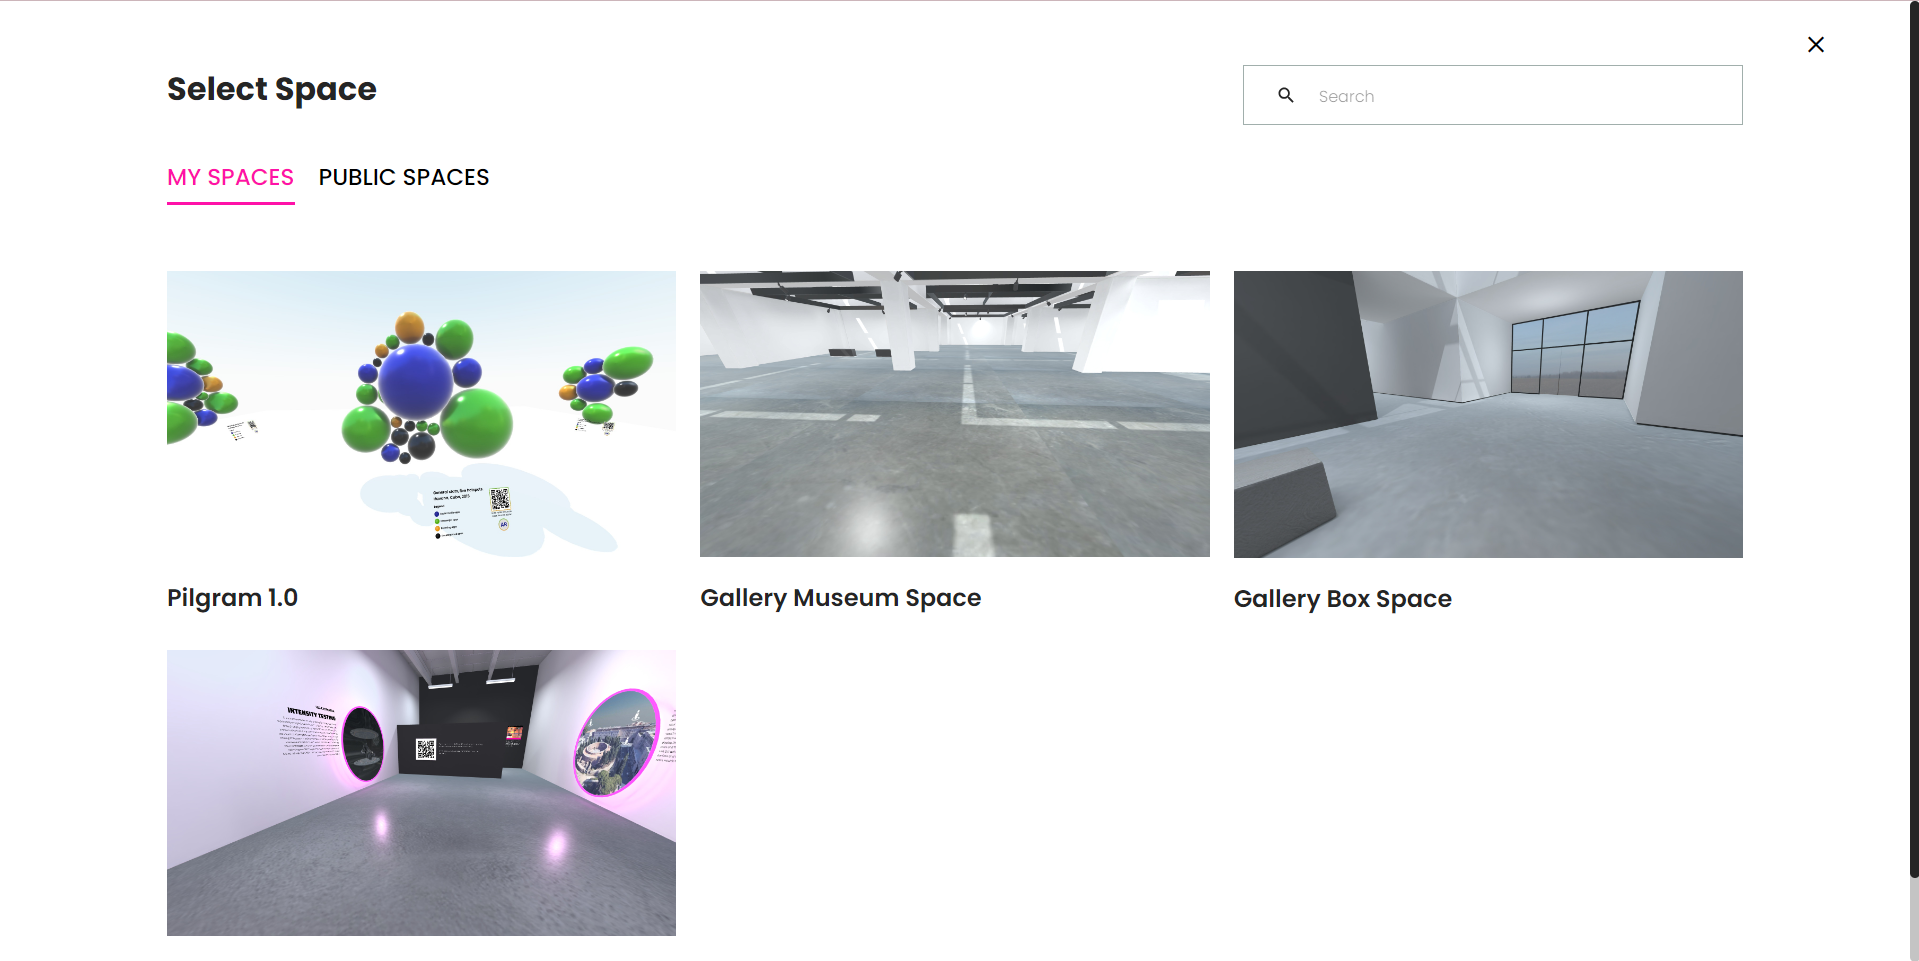
Private Spaces
If you had custom spaces made for you by our team, you will be able to access them privately through the "My Spaces" tab. These custom spaces will only appear to the clients with the assigned permissions to see them.