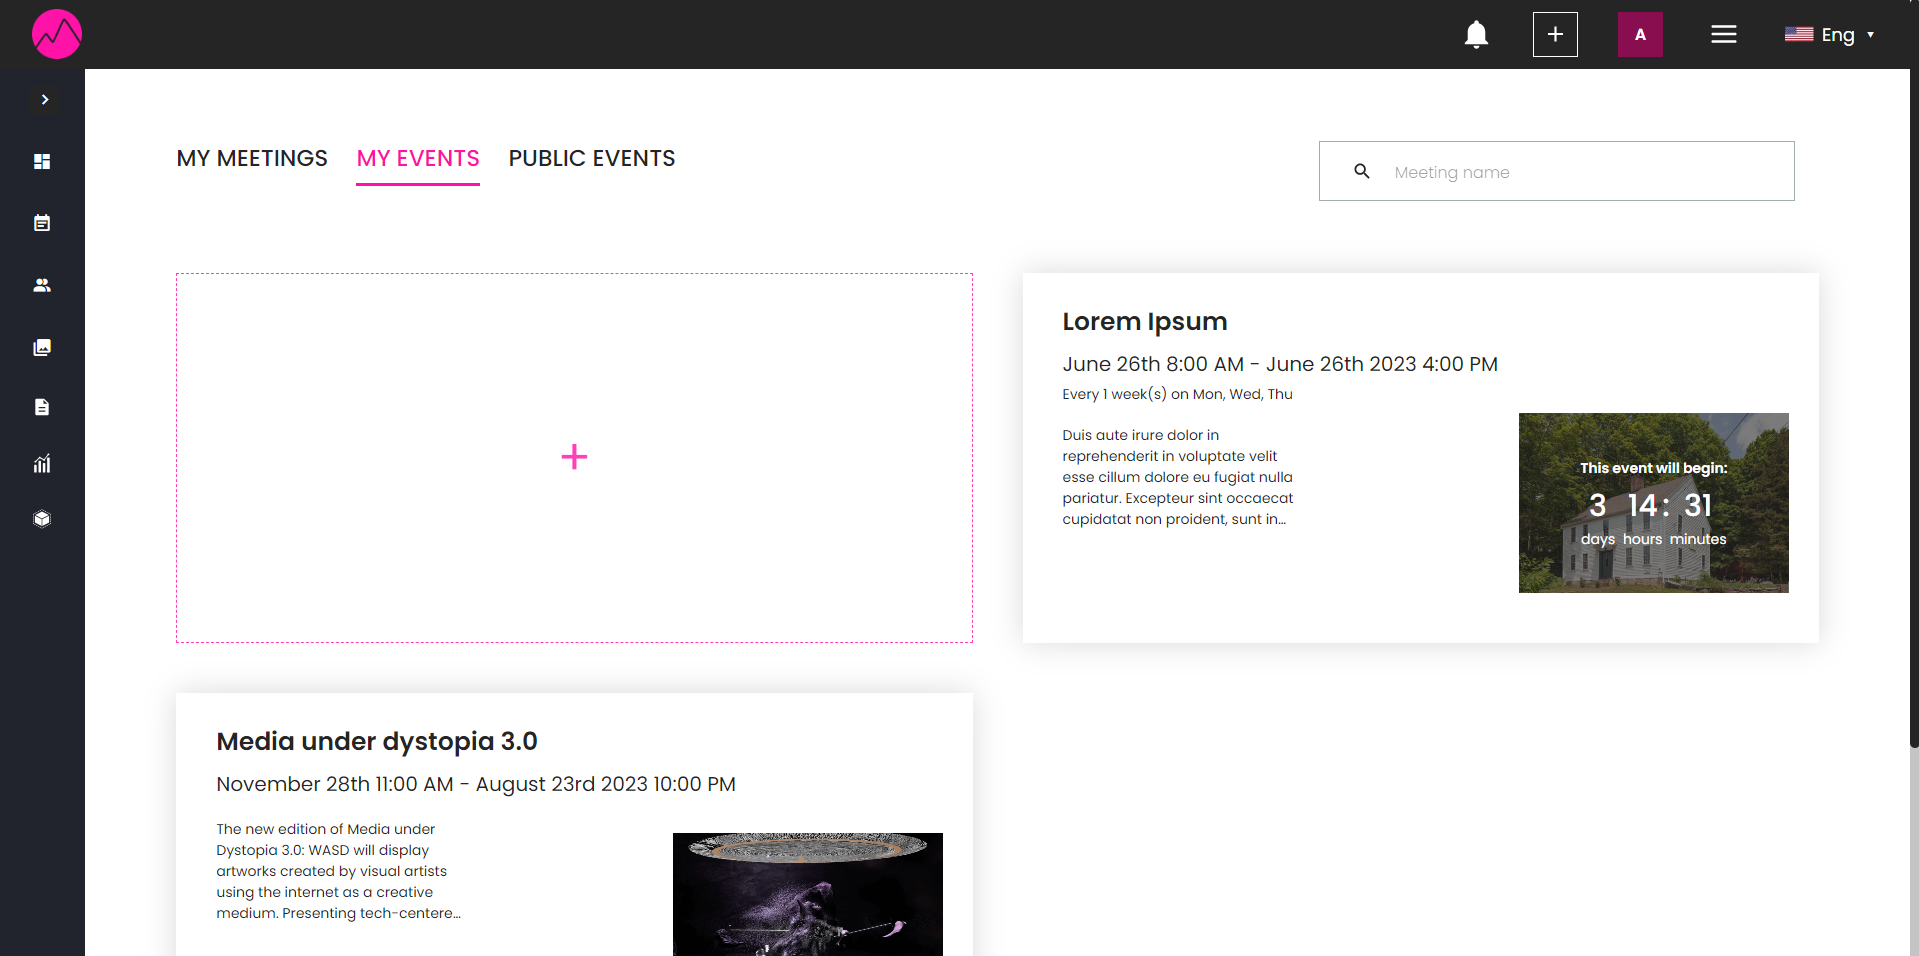
Creating Custom Events
The Events tab provides a convenient space to manage your events. It also gives you the option to create custom events in a suitable virtual space where people can only access presentations by booking and reserving a room.
If you want to hold private events hosted in the metaverse, Onland’s dashboard offers different solutions!
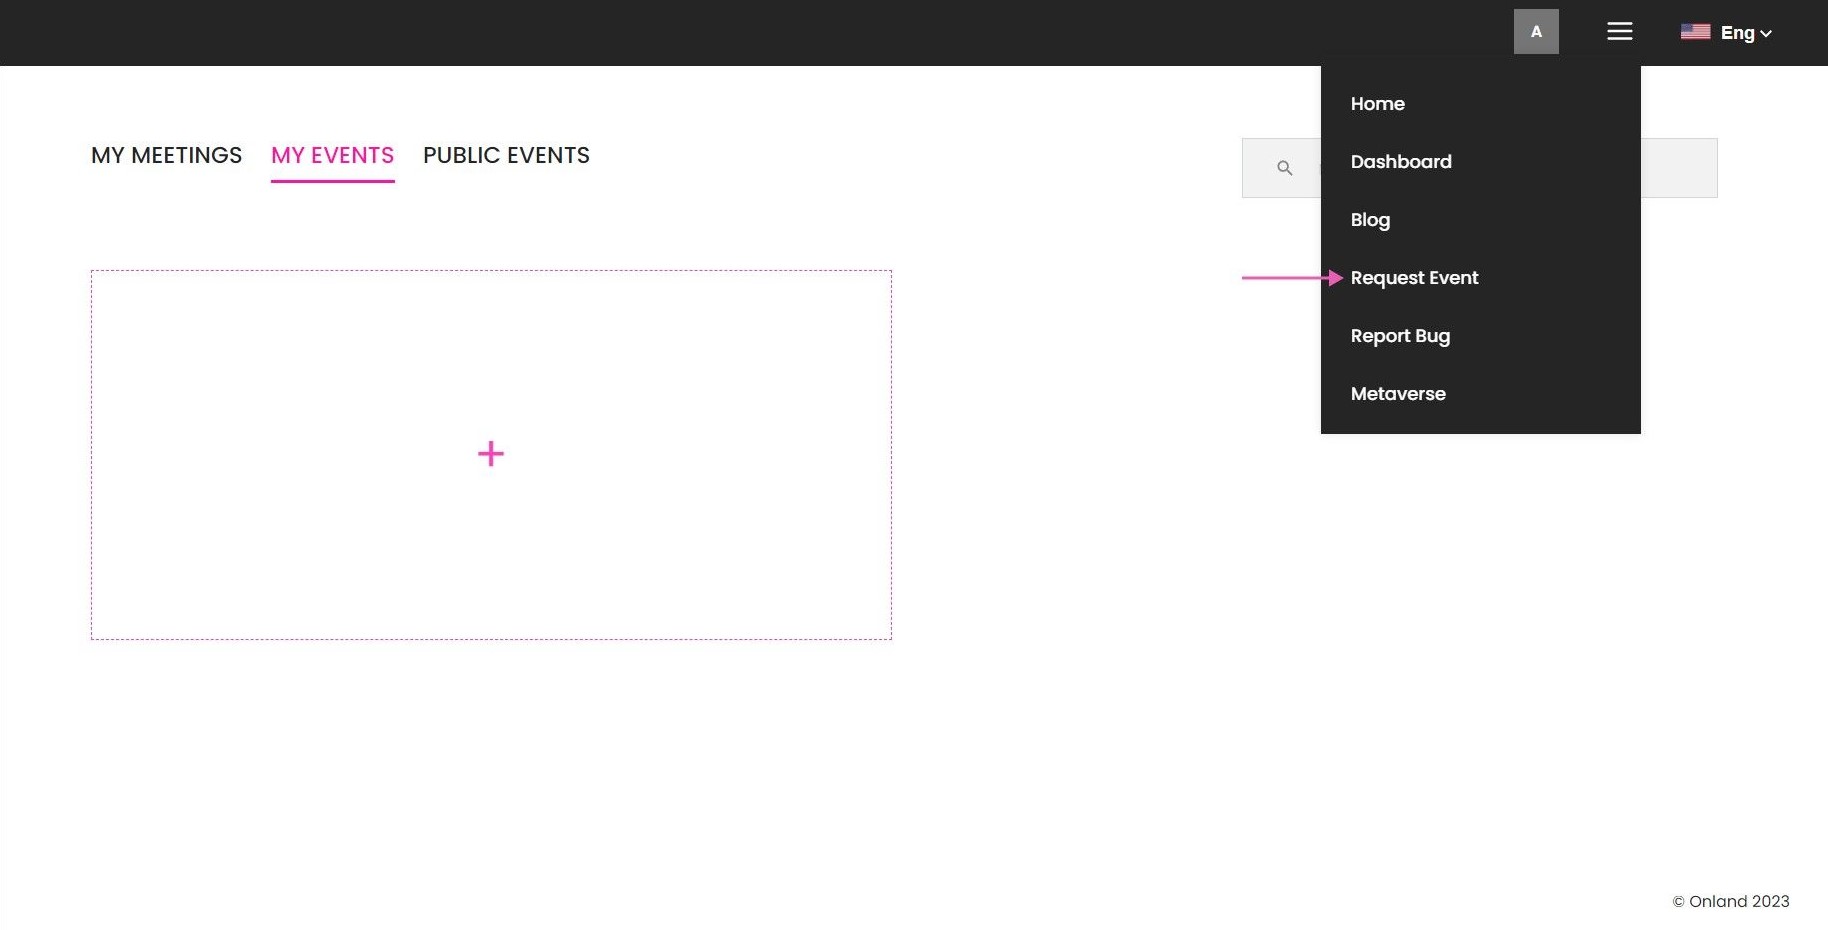
Requesting Events
You can request a custom event in our platform by following the “Request Event“ link in the dropdown button or by clicking the “+“ button in the dashboard:
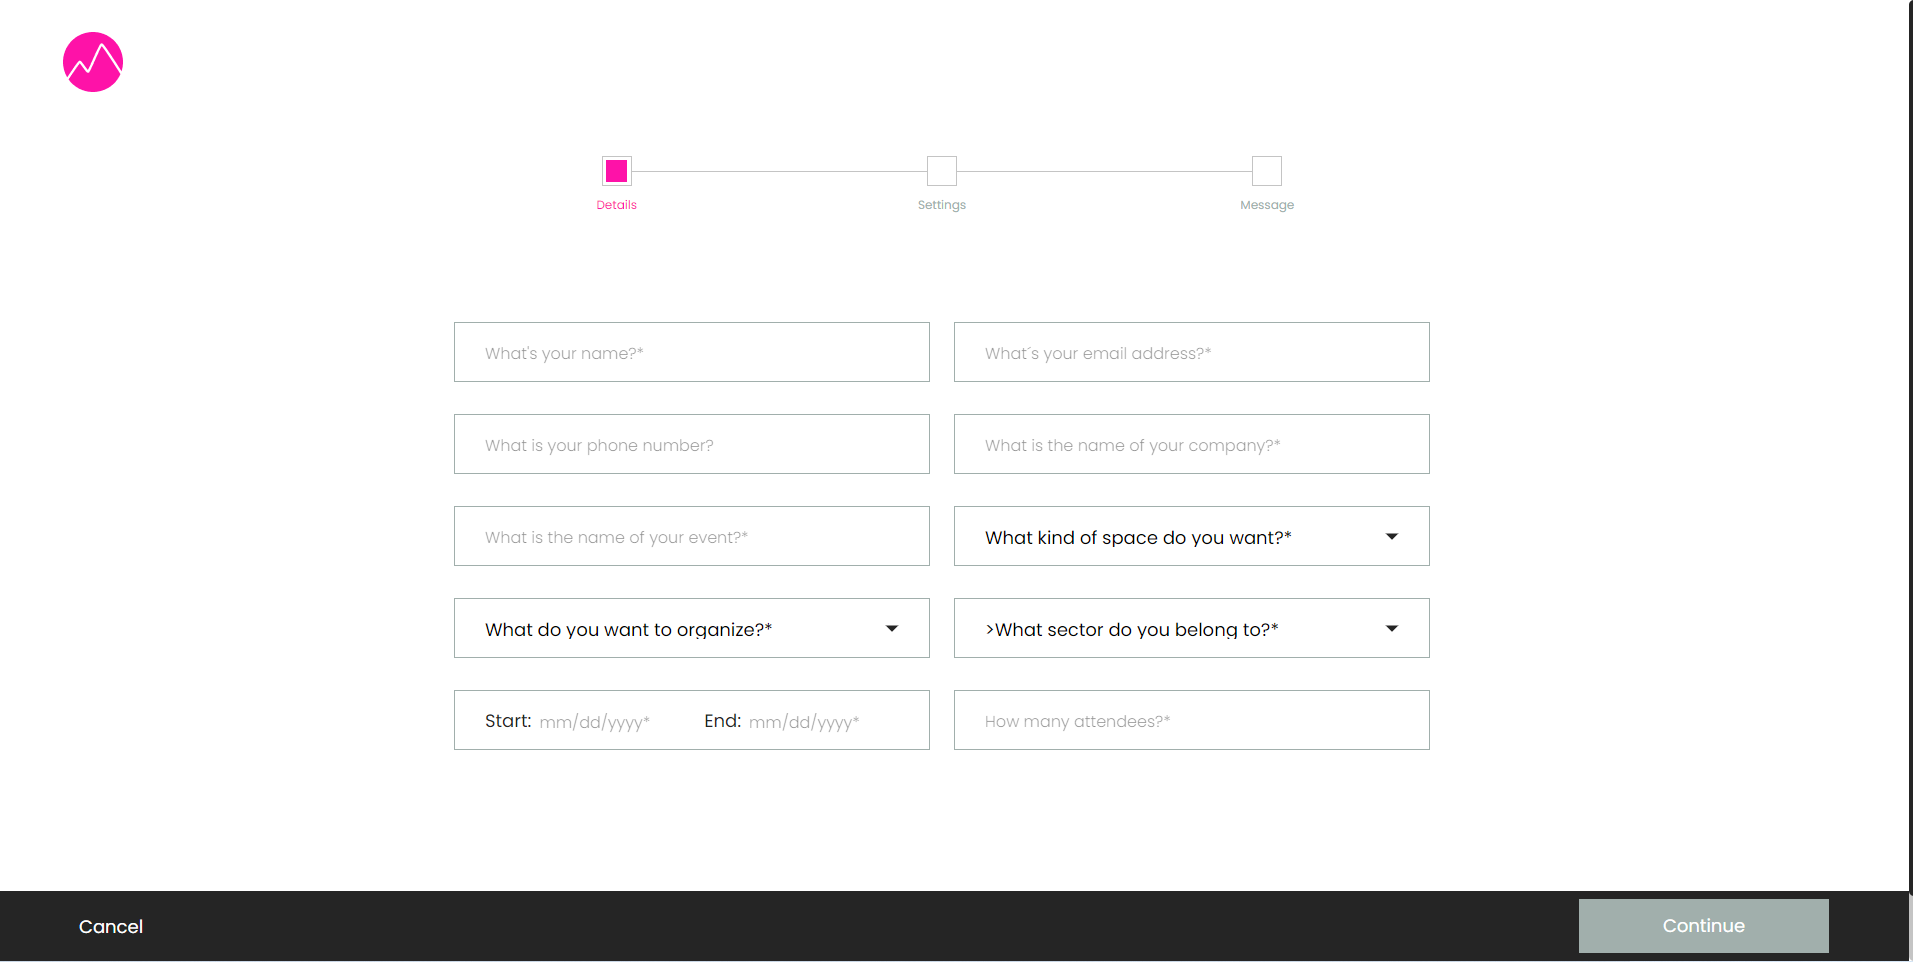
A form asking the necessary information for the event will appear. Here you can give us an idea of what kind of event you need and the information to contact you.
Creating an Event
If you are an Event manager or have the necessary permissions to create events, just click the “+“ button while in the Event tab and you will be redirected to the event creation page.
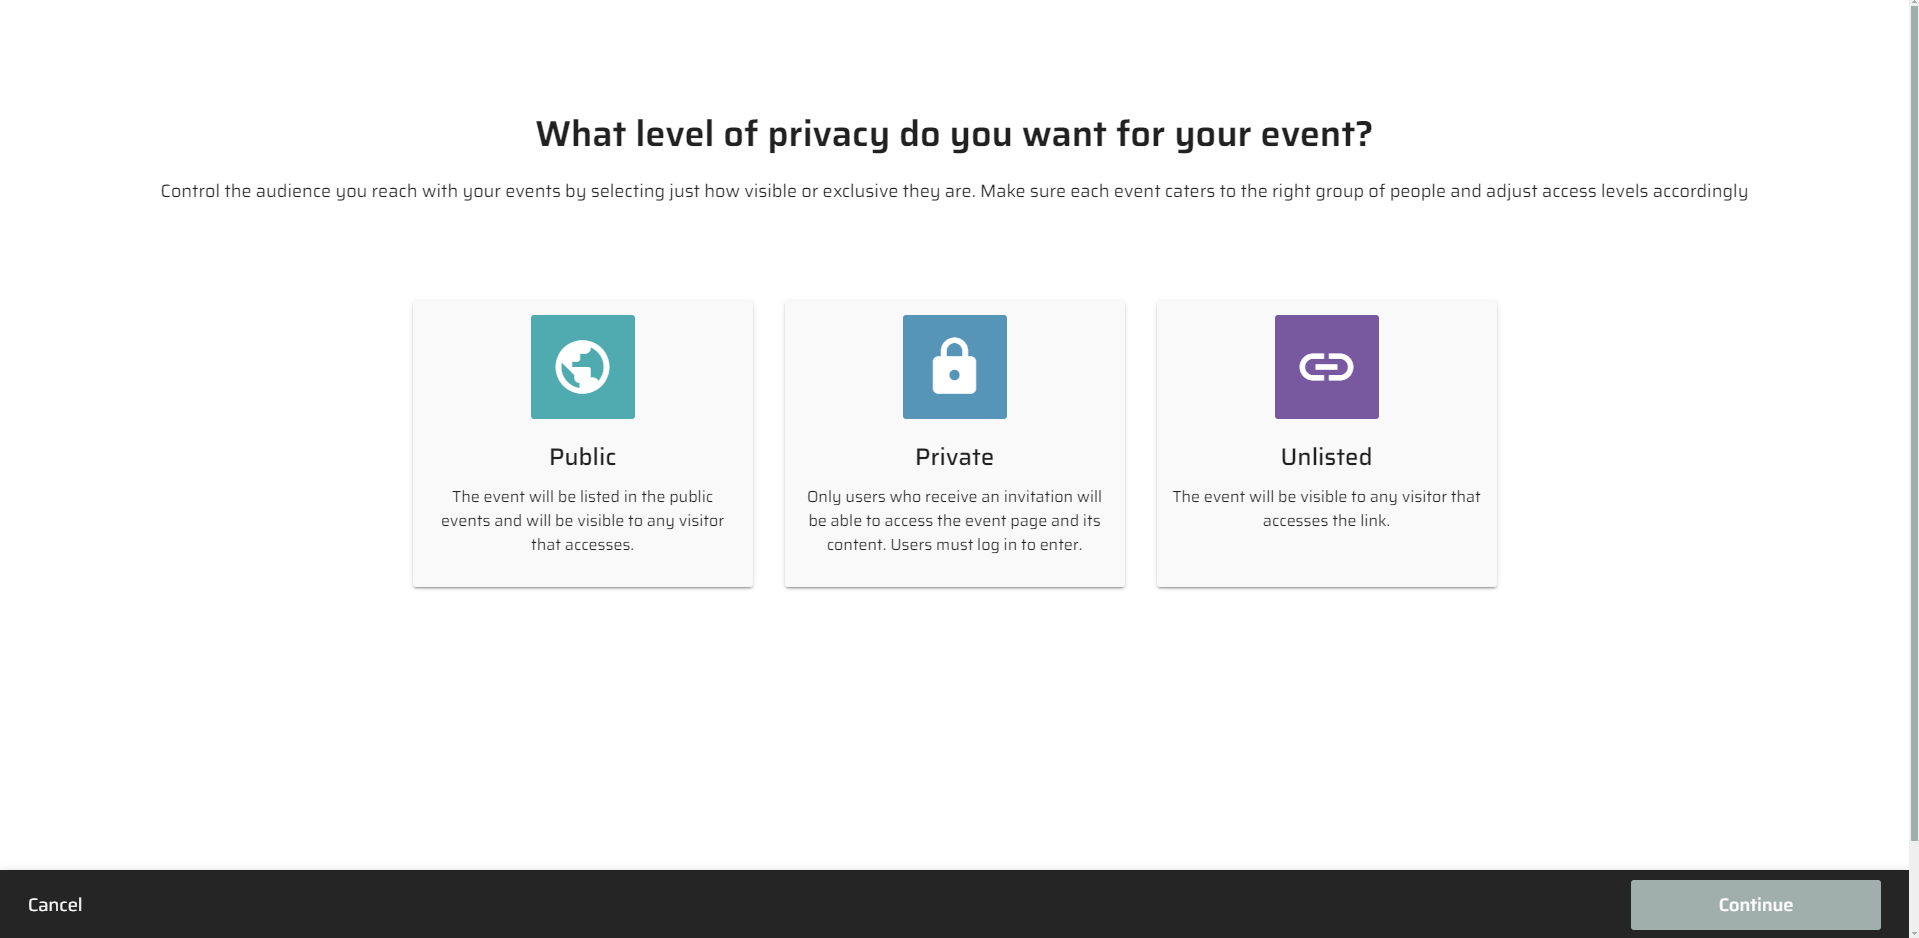
With Onland, you have the flexibility to establish three distinct categories of events, each with varying degrees of privacy:
- Public event: This event will be listed in the events and will be visible to any visitor that accesses the dashboard.
- Private event: Access to this event and its content is exclusive to users who have received an invitation. Users are required to log in to gain entry.
- Unlisted event: This event is exclusively accessible to visitors who possess the direct link. It remains hidden on the dashboard unless the user has accepted the event invitation (RSVP). This type of event is particularly useful if you wish to experiment with events across various accounts without the event appearing on the dashboard.
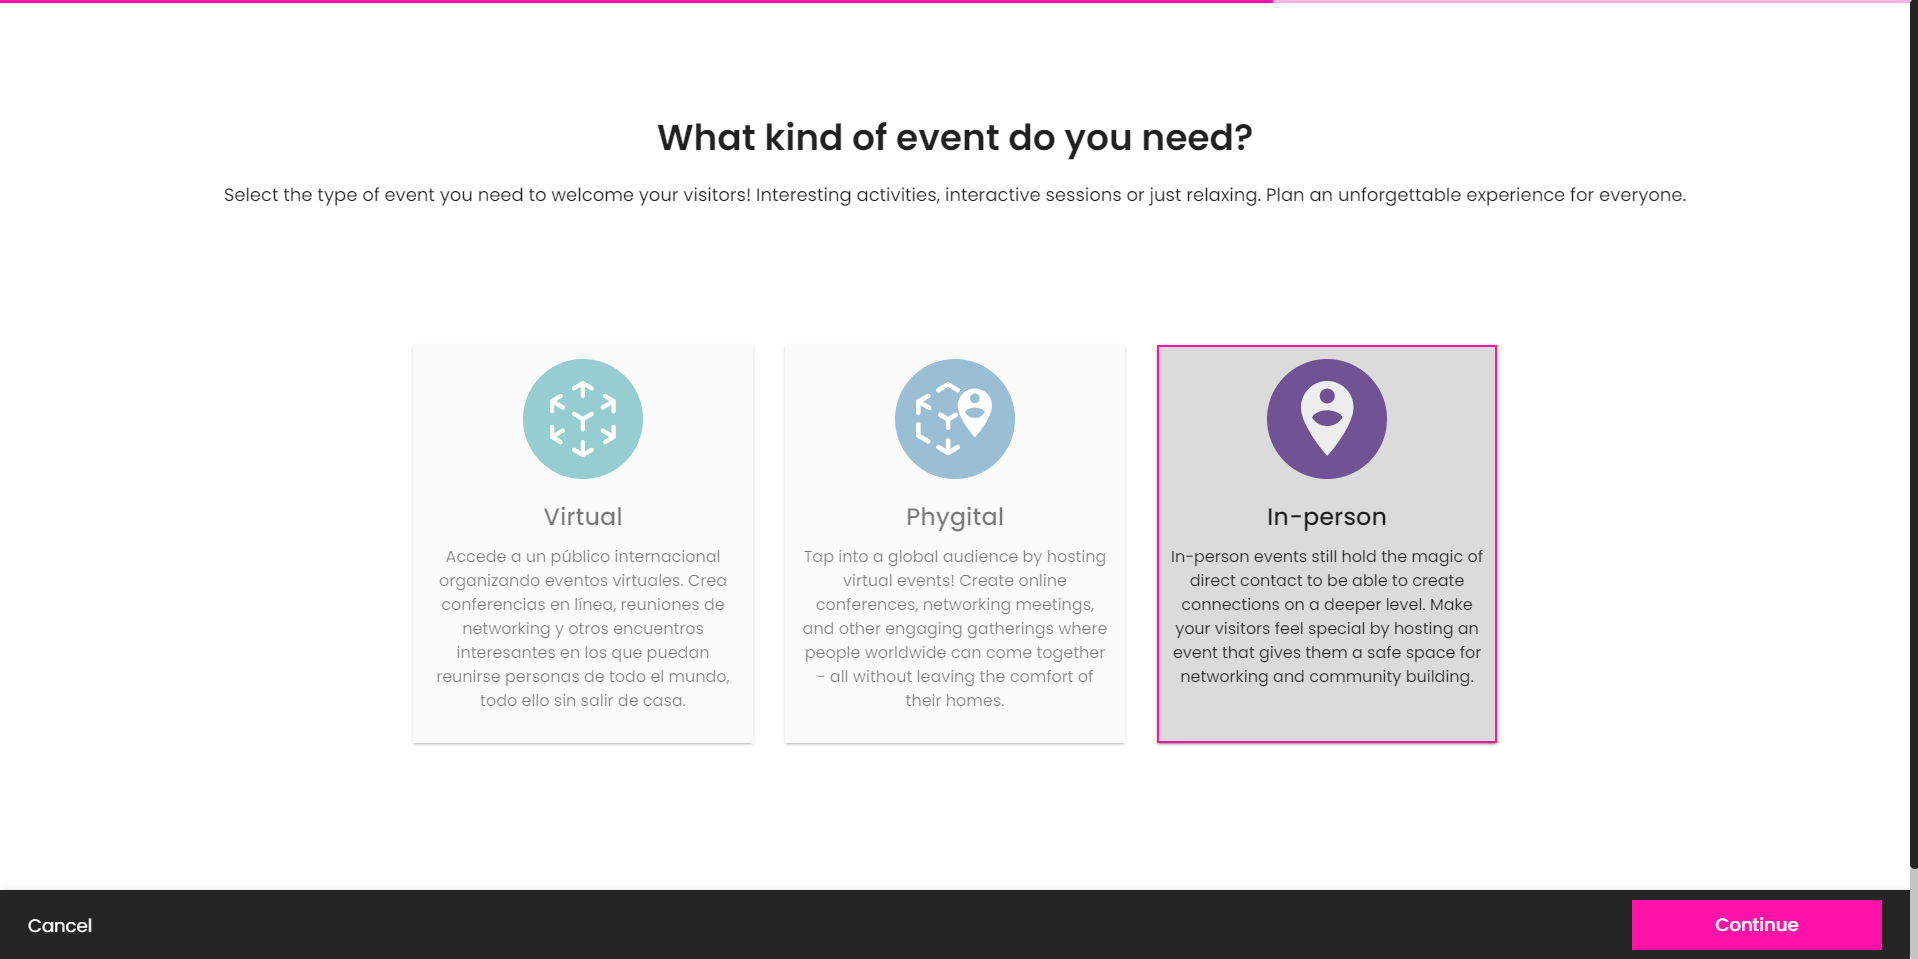
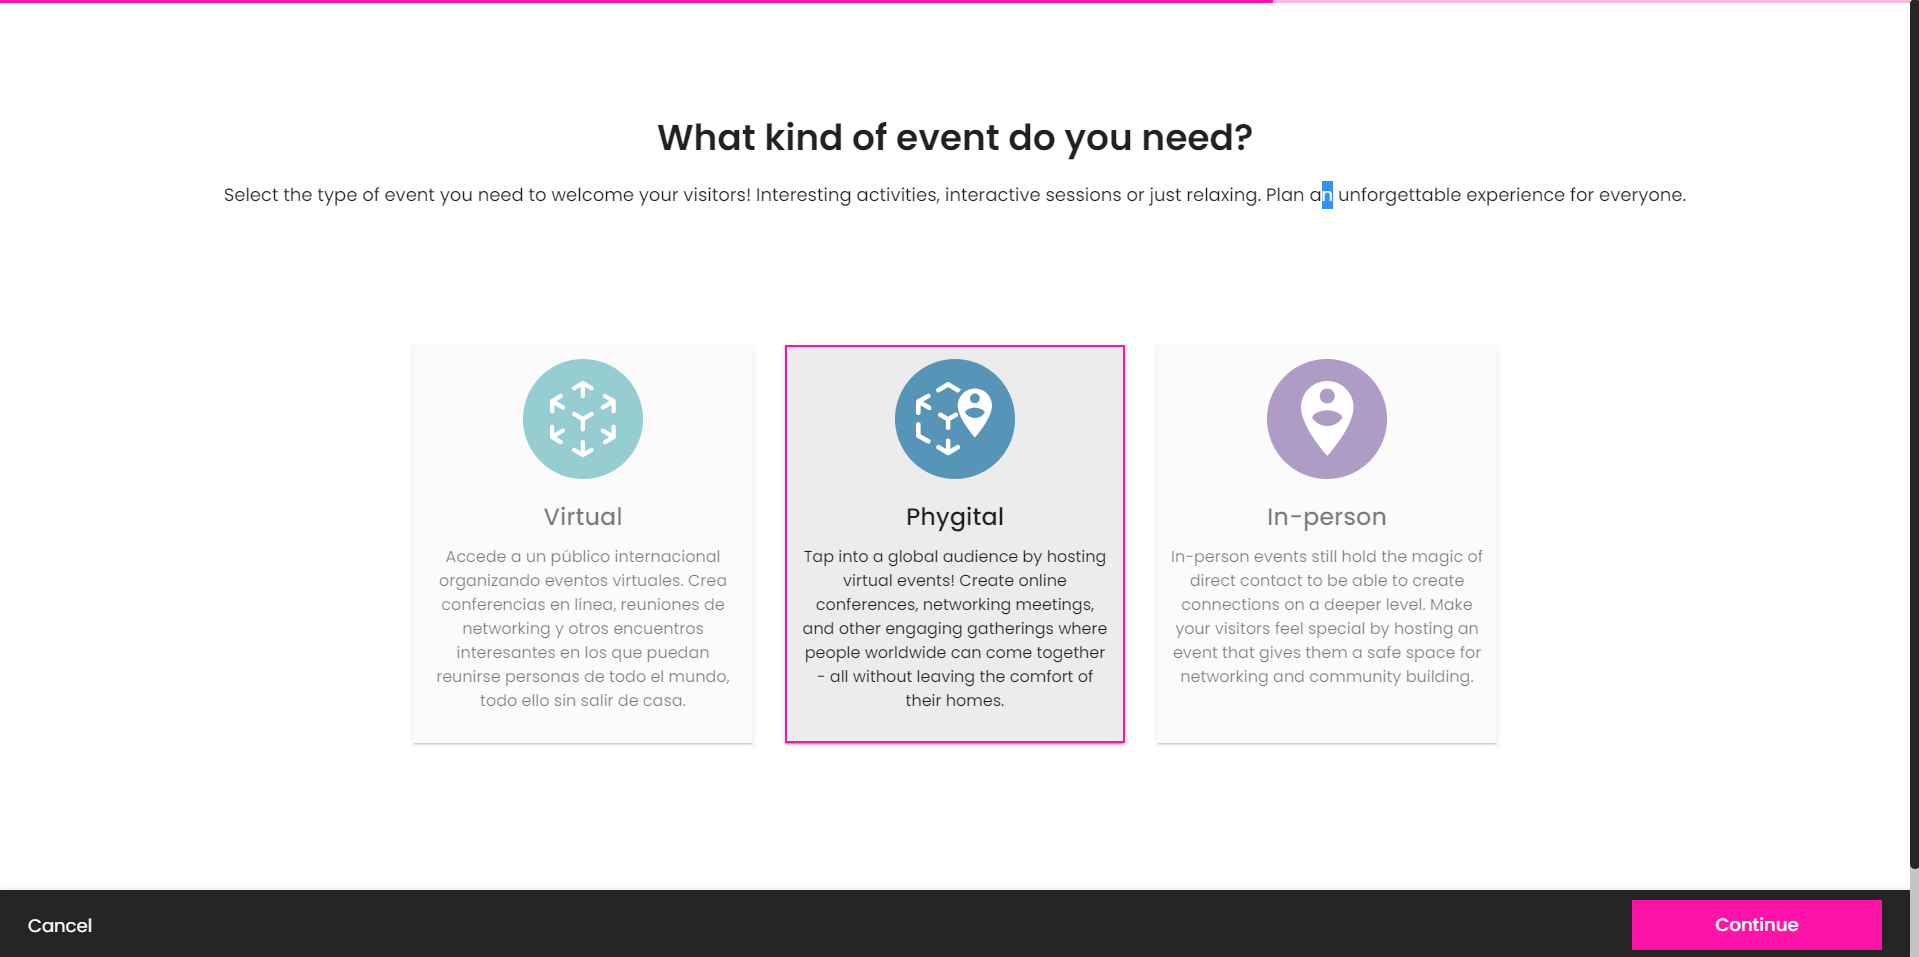
In addition, Onland provides three formats for your event: in-person, phygital, and virtual. Each event type offers unique features and opportunities to engage with your audience. Let's explore how you can create these events using the platform.
Virtual Events
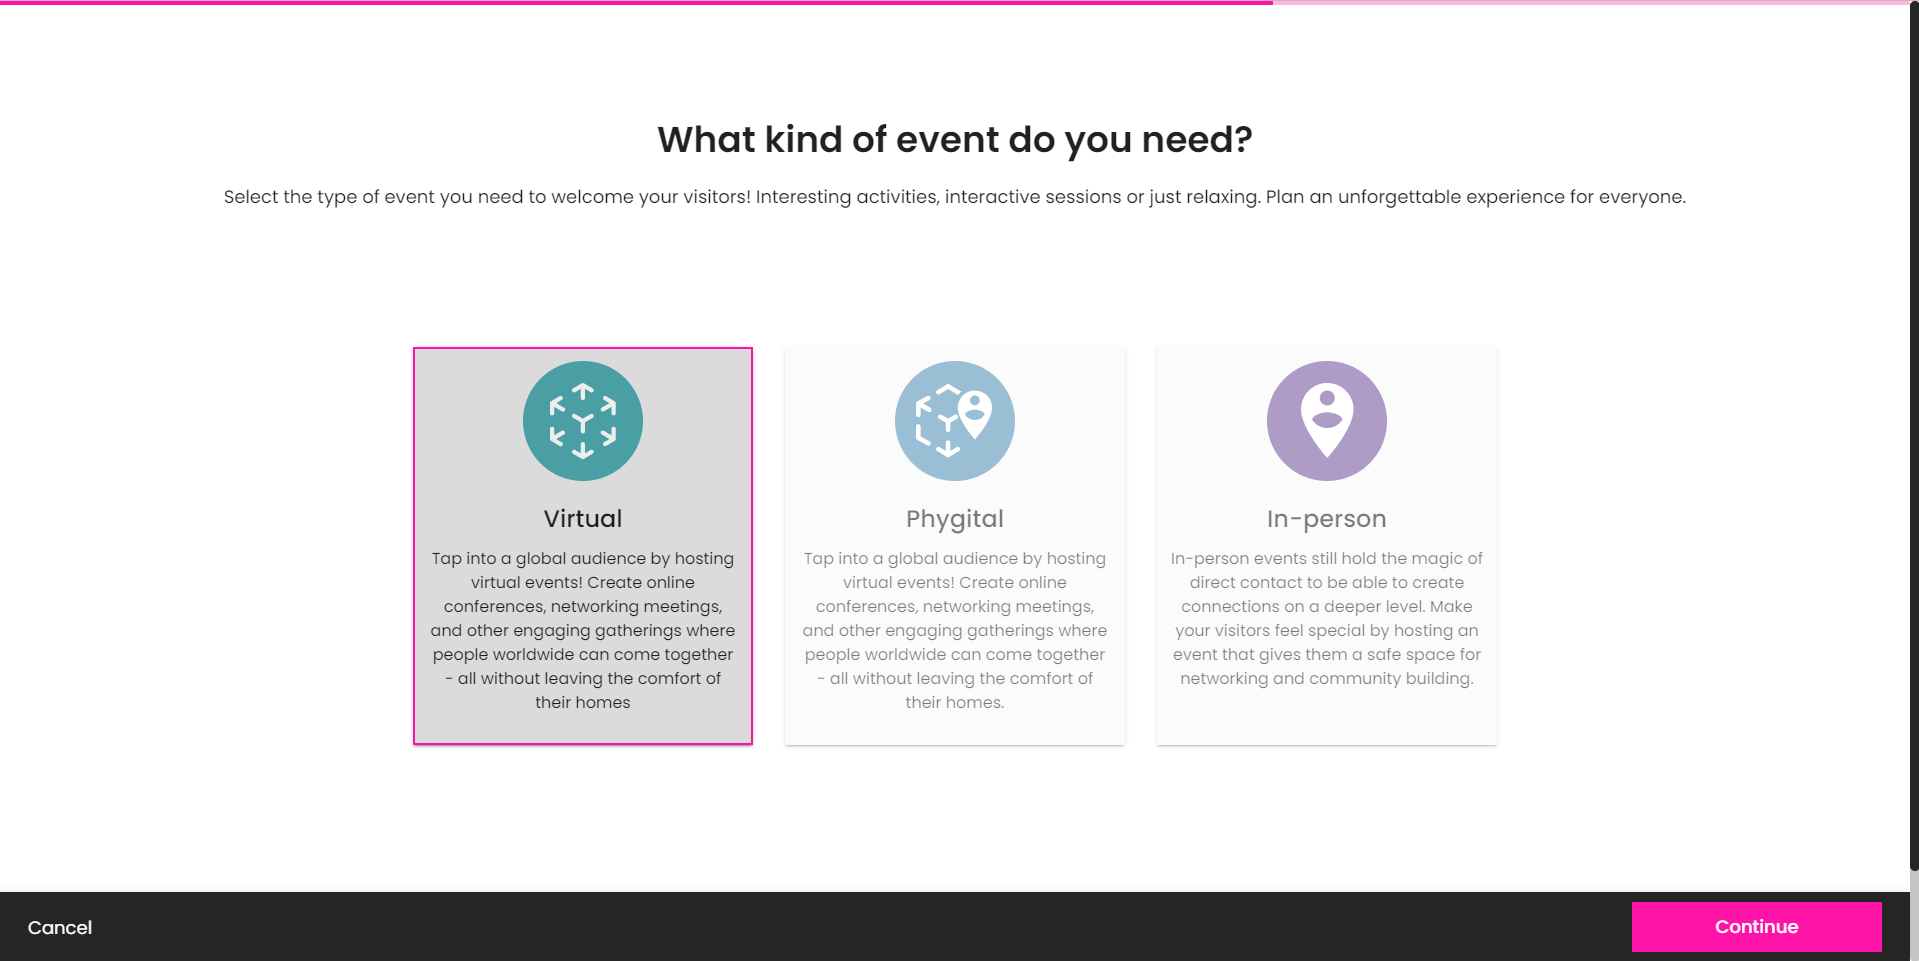
First, select the level of privacy of the event:
Then, we offer three options depending on the kind of event you need: Virtual, Phygital, or In-person. If your event will only be accessible through the metaverse, select a Virtual event:
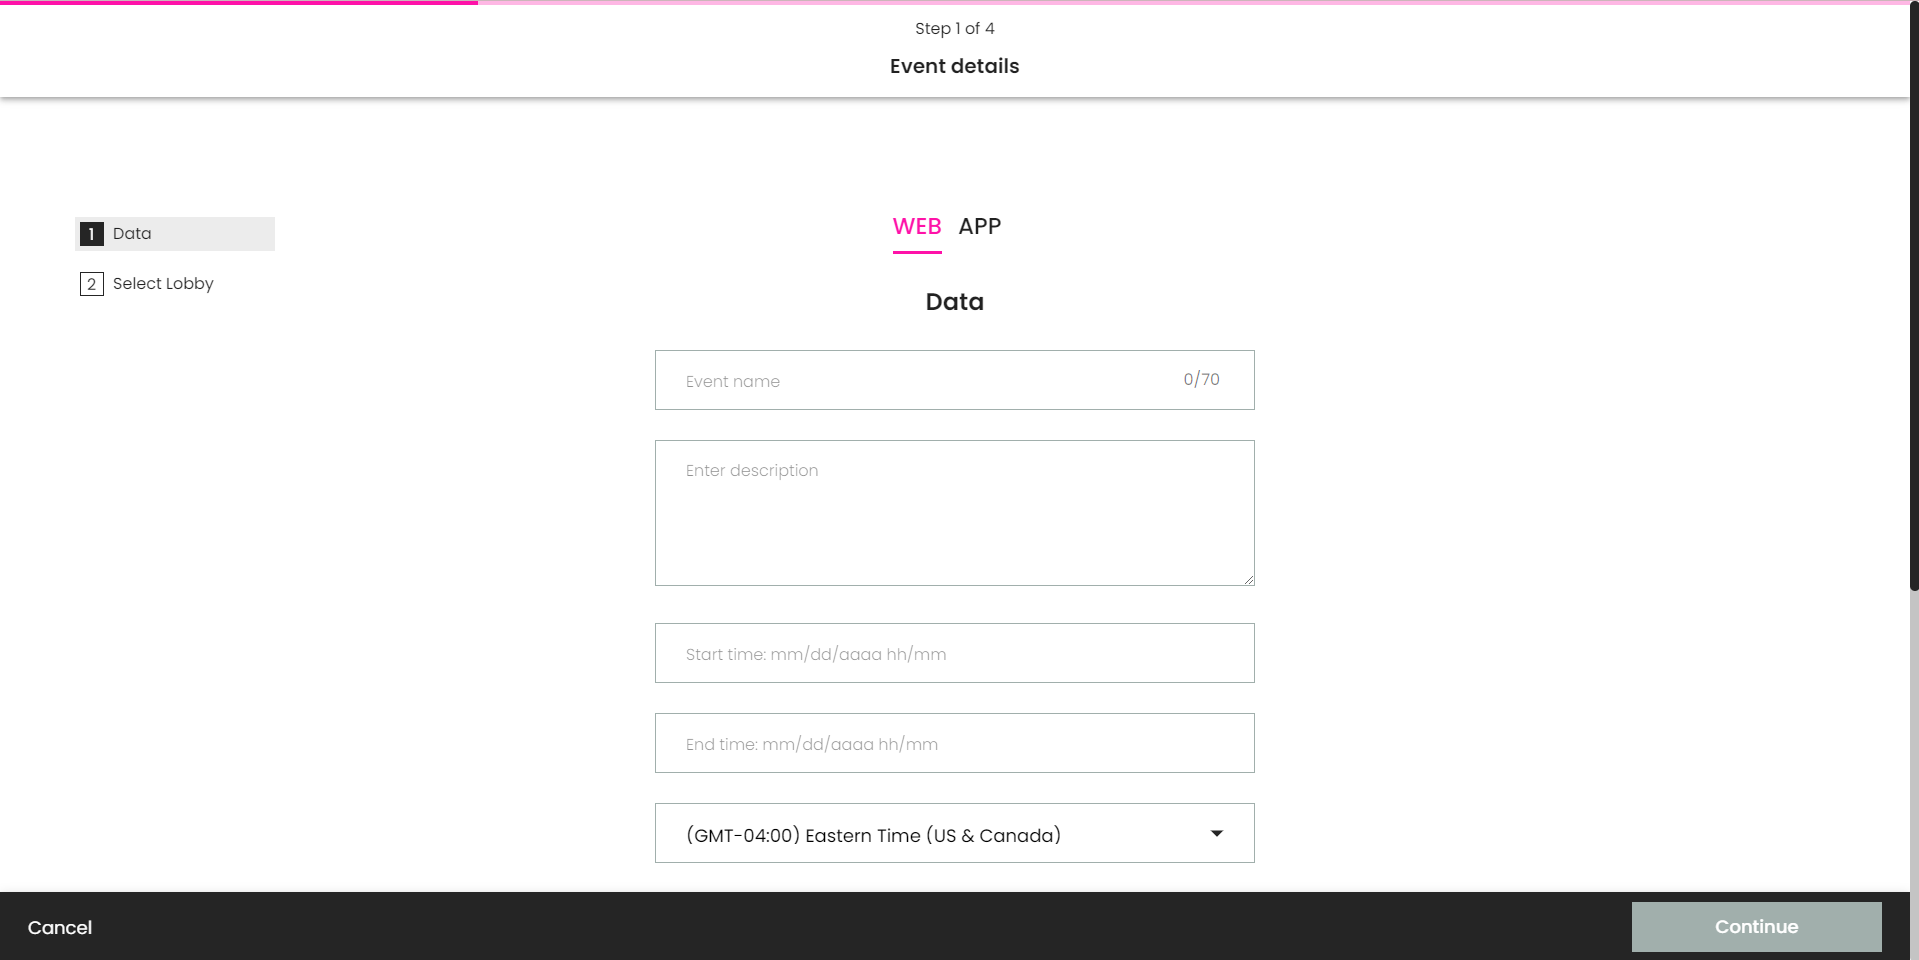
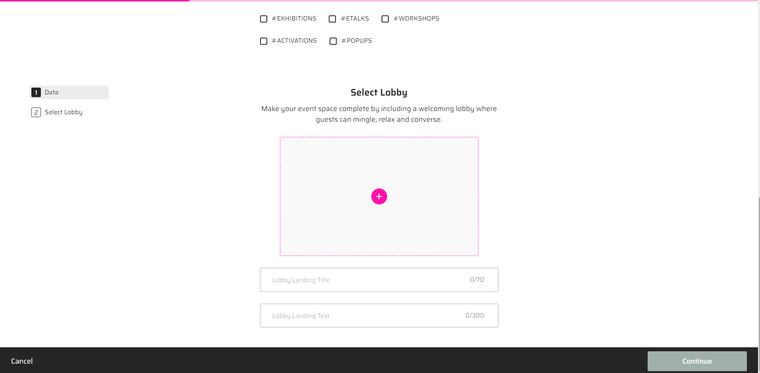
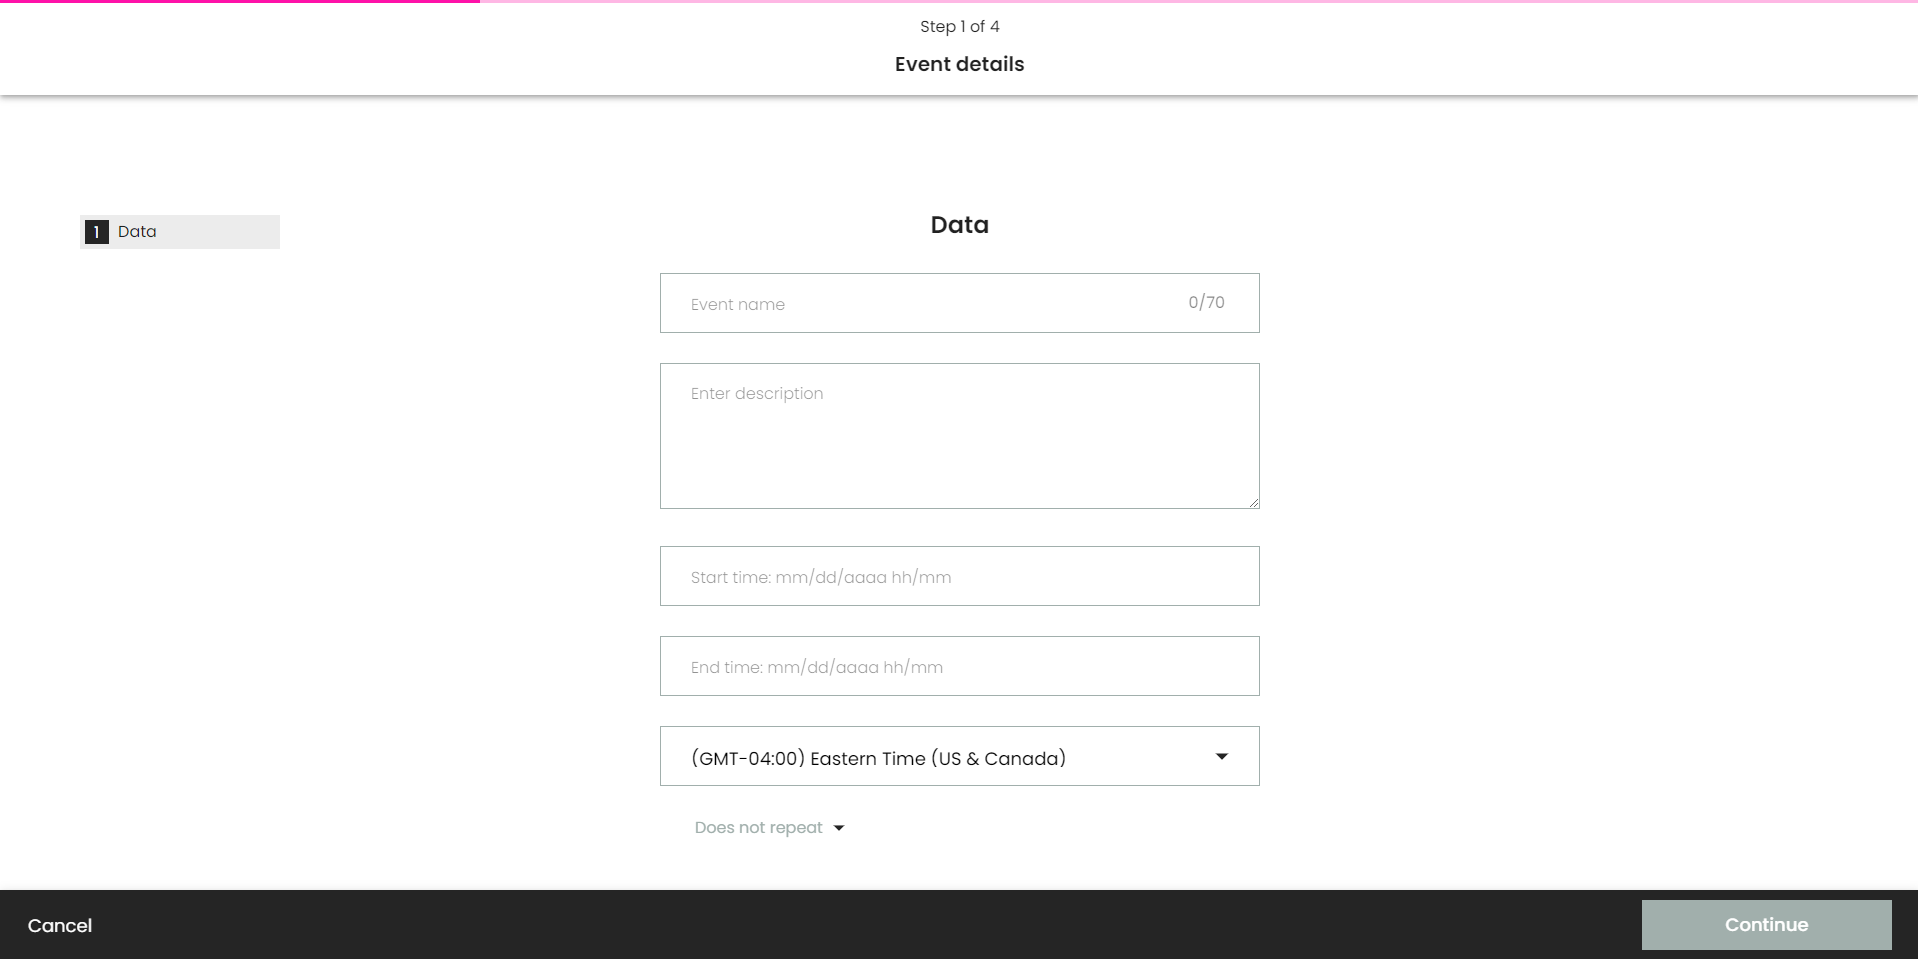
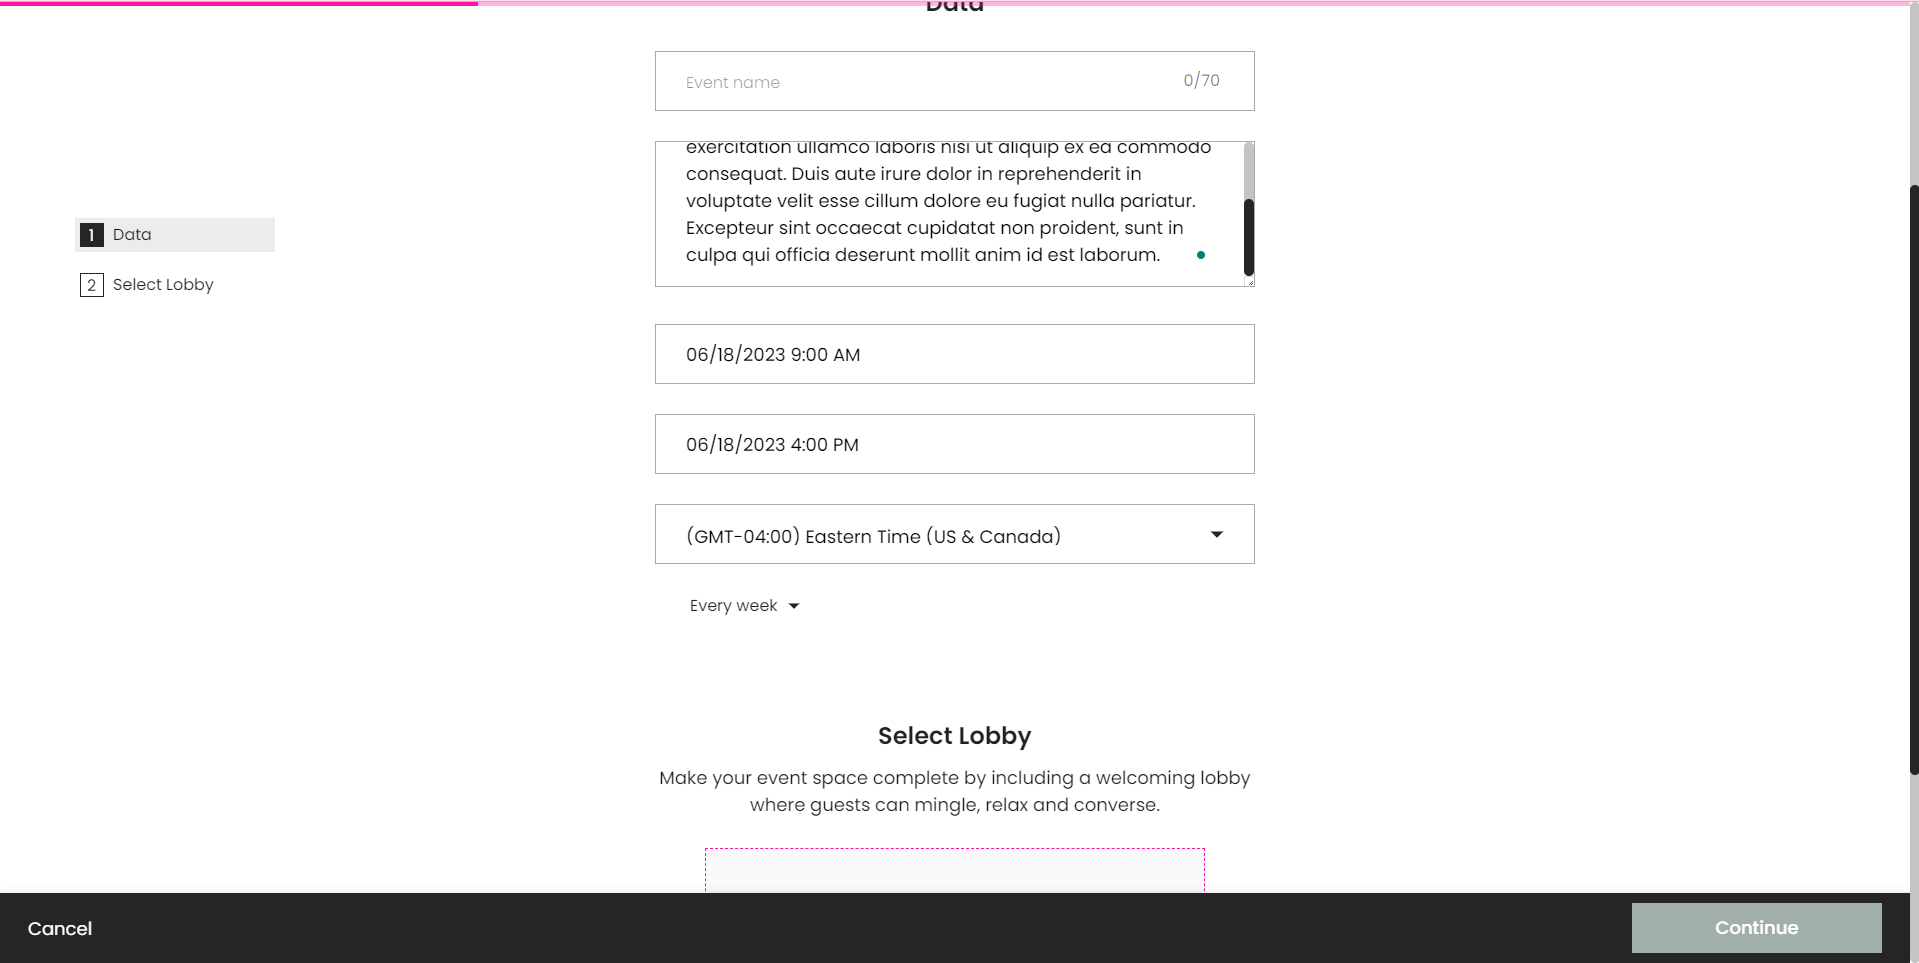
Event Details
On this page, you have the ability to specify an event name, give a description, and choose the date, start time, and end time for the event. Additionally, you can designate a lobby for your event, which will create a personalized space for attendees to gather before the presentations begin, you have the ability to modify the text that will be displayed on the Lobby image by adding a title and a description.
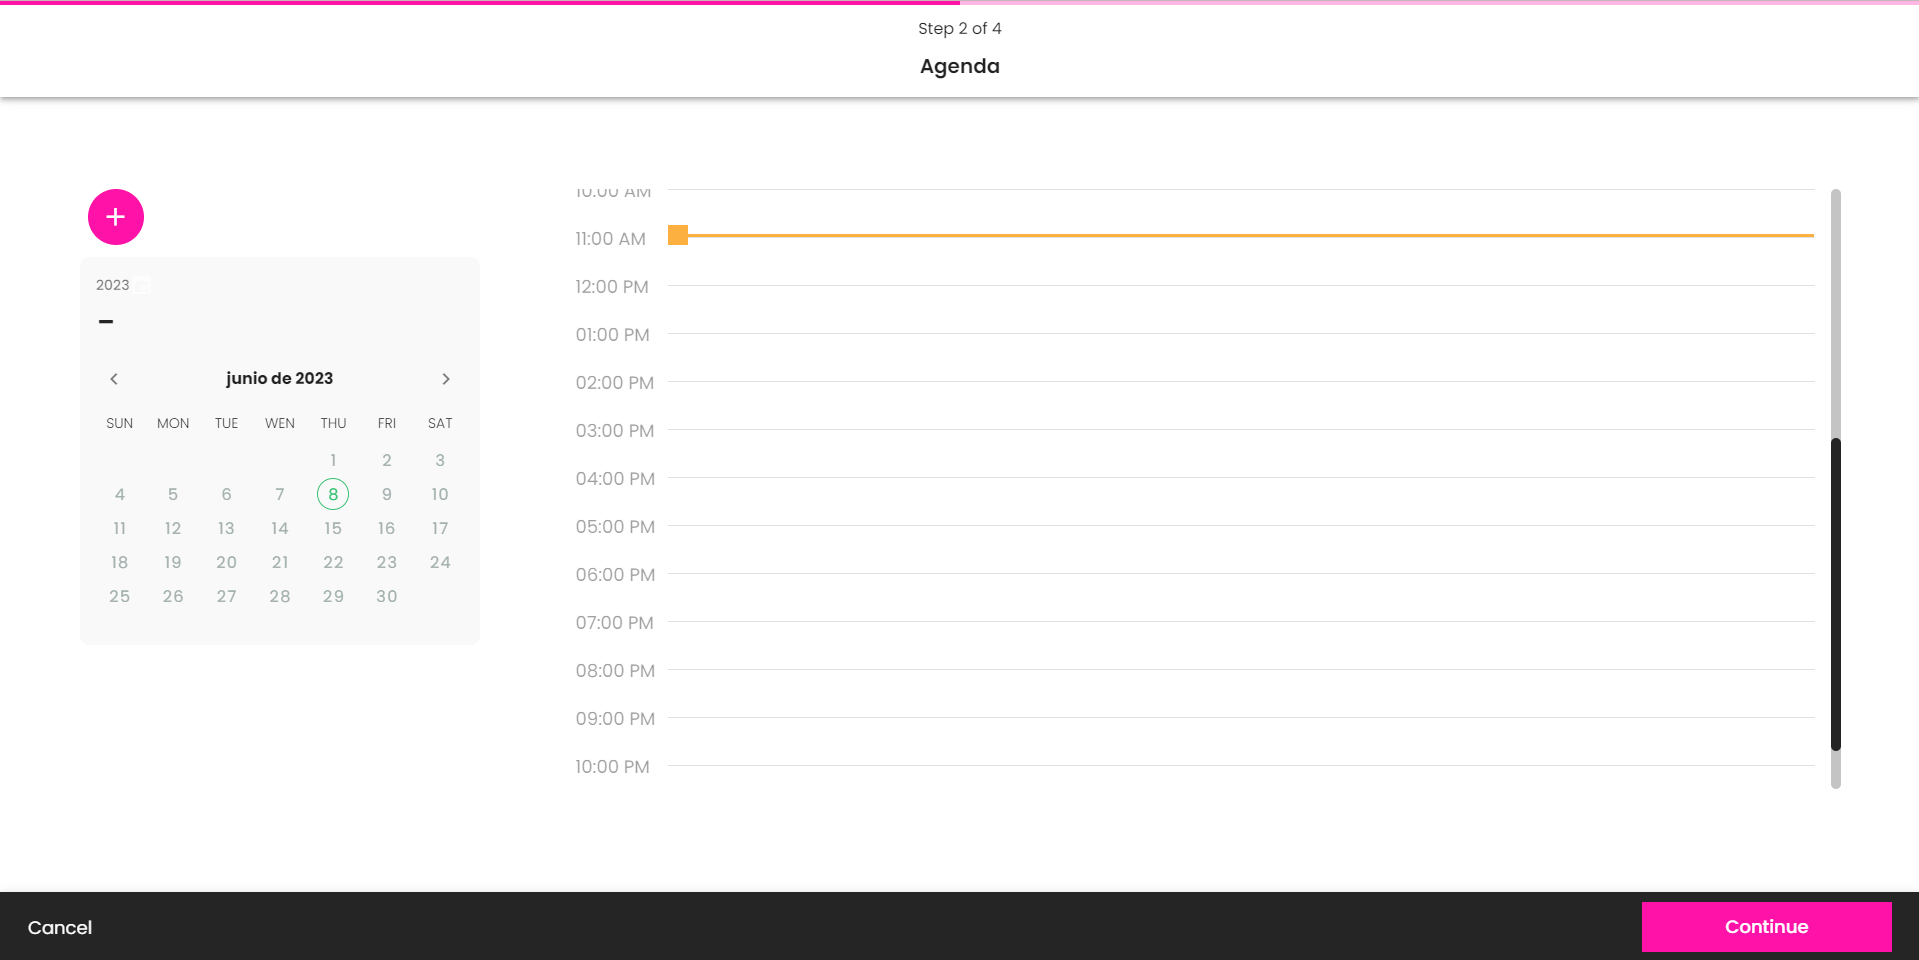
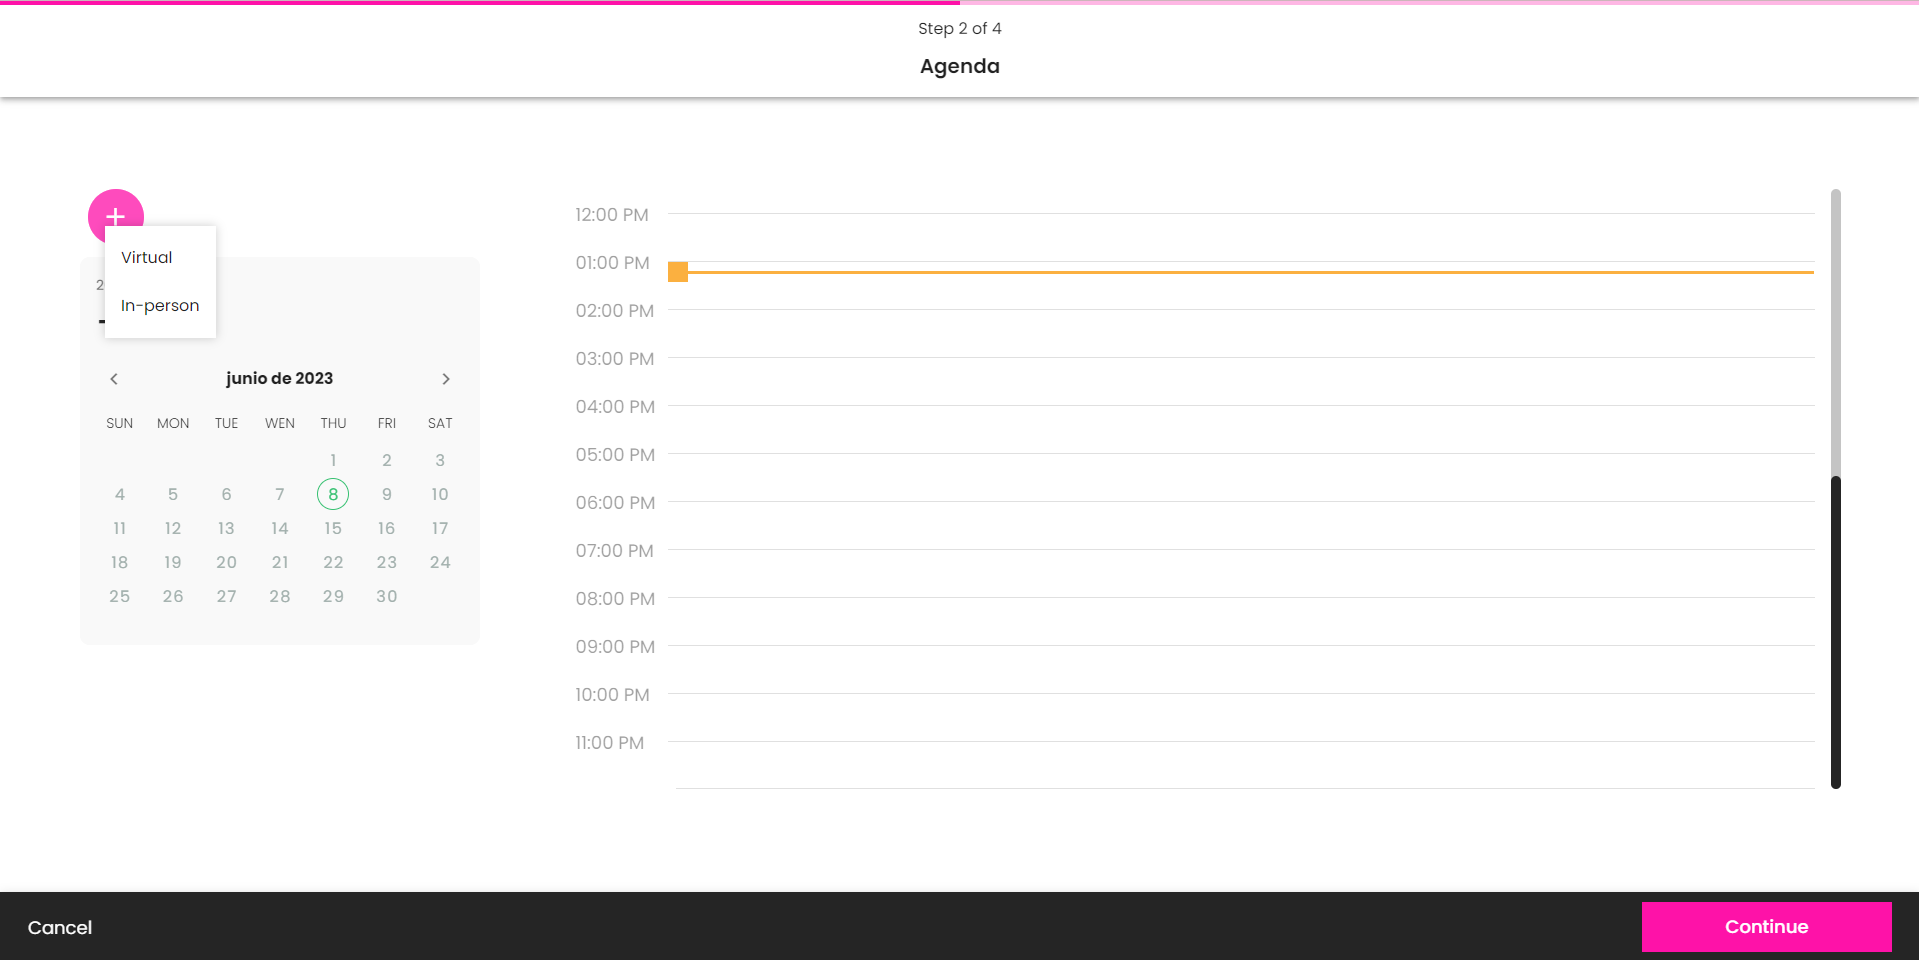
Add Presentations
The Calendar page allows you to add presentations to the event. You can click the hour in the calendar or select a range of days and then click the “+“ button.
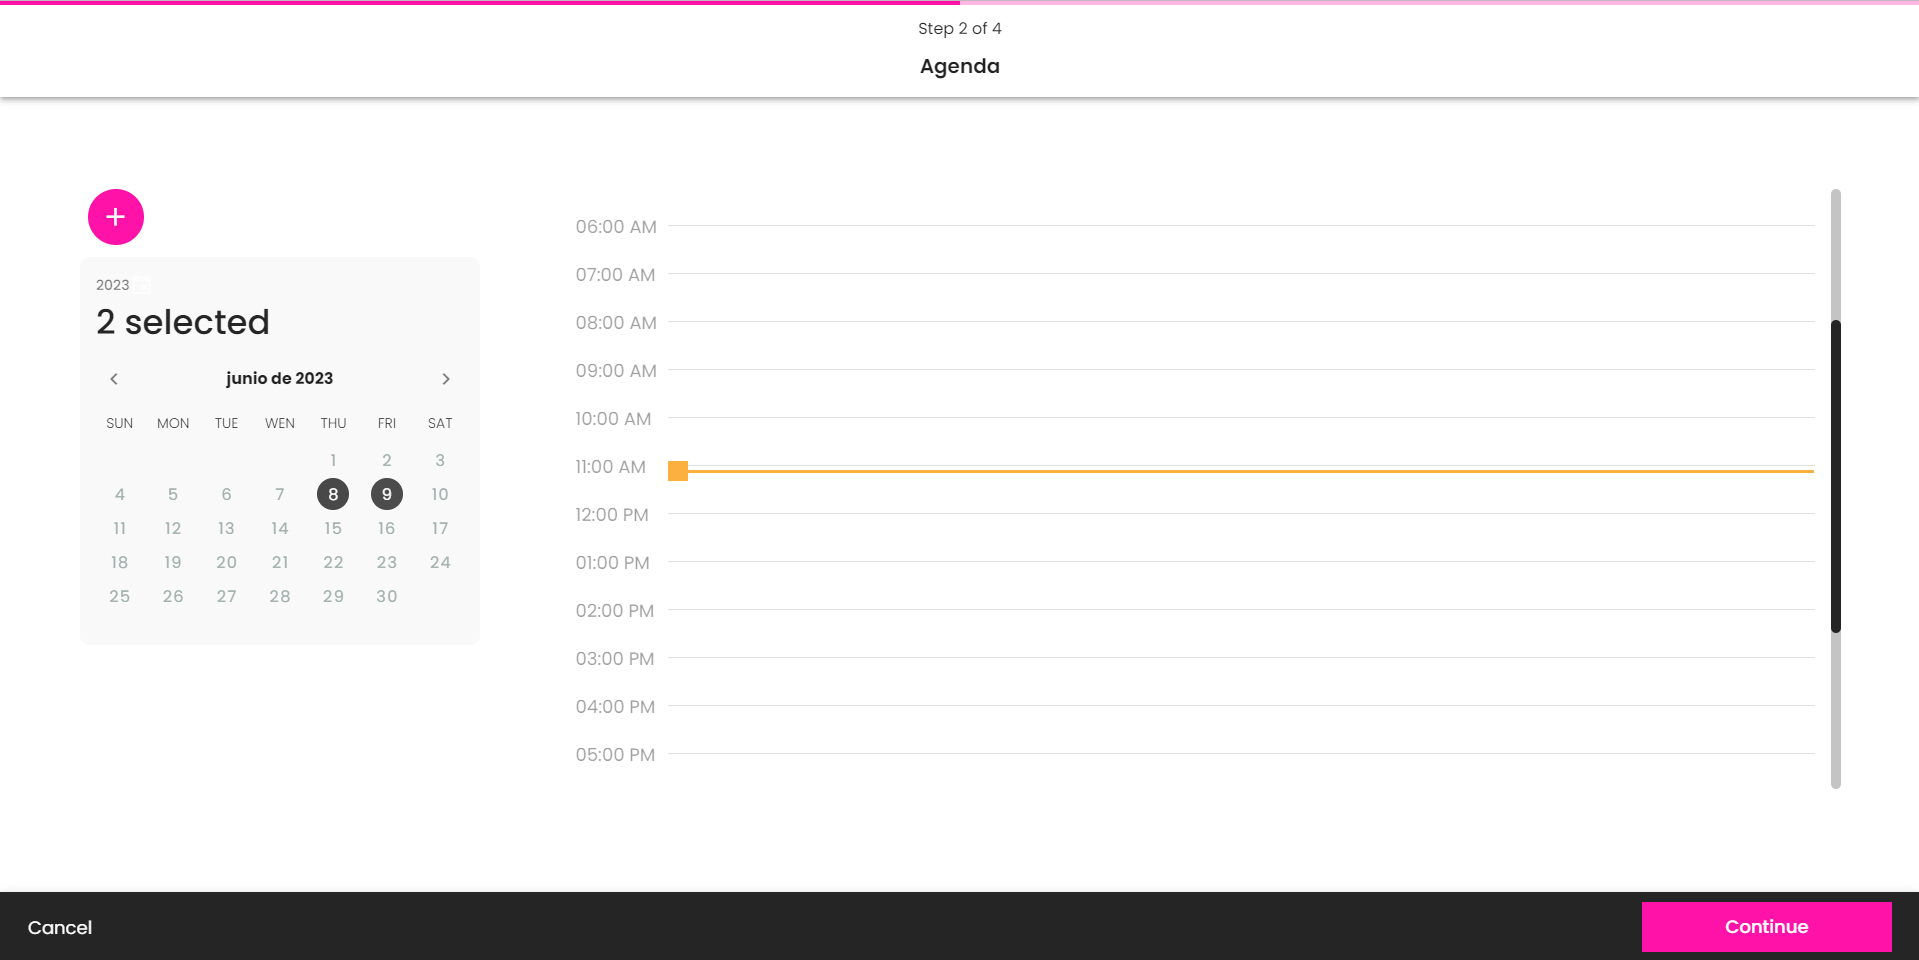
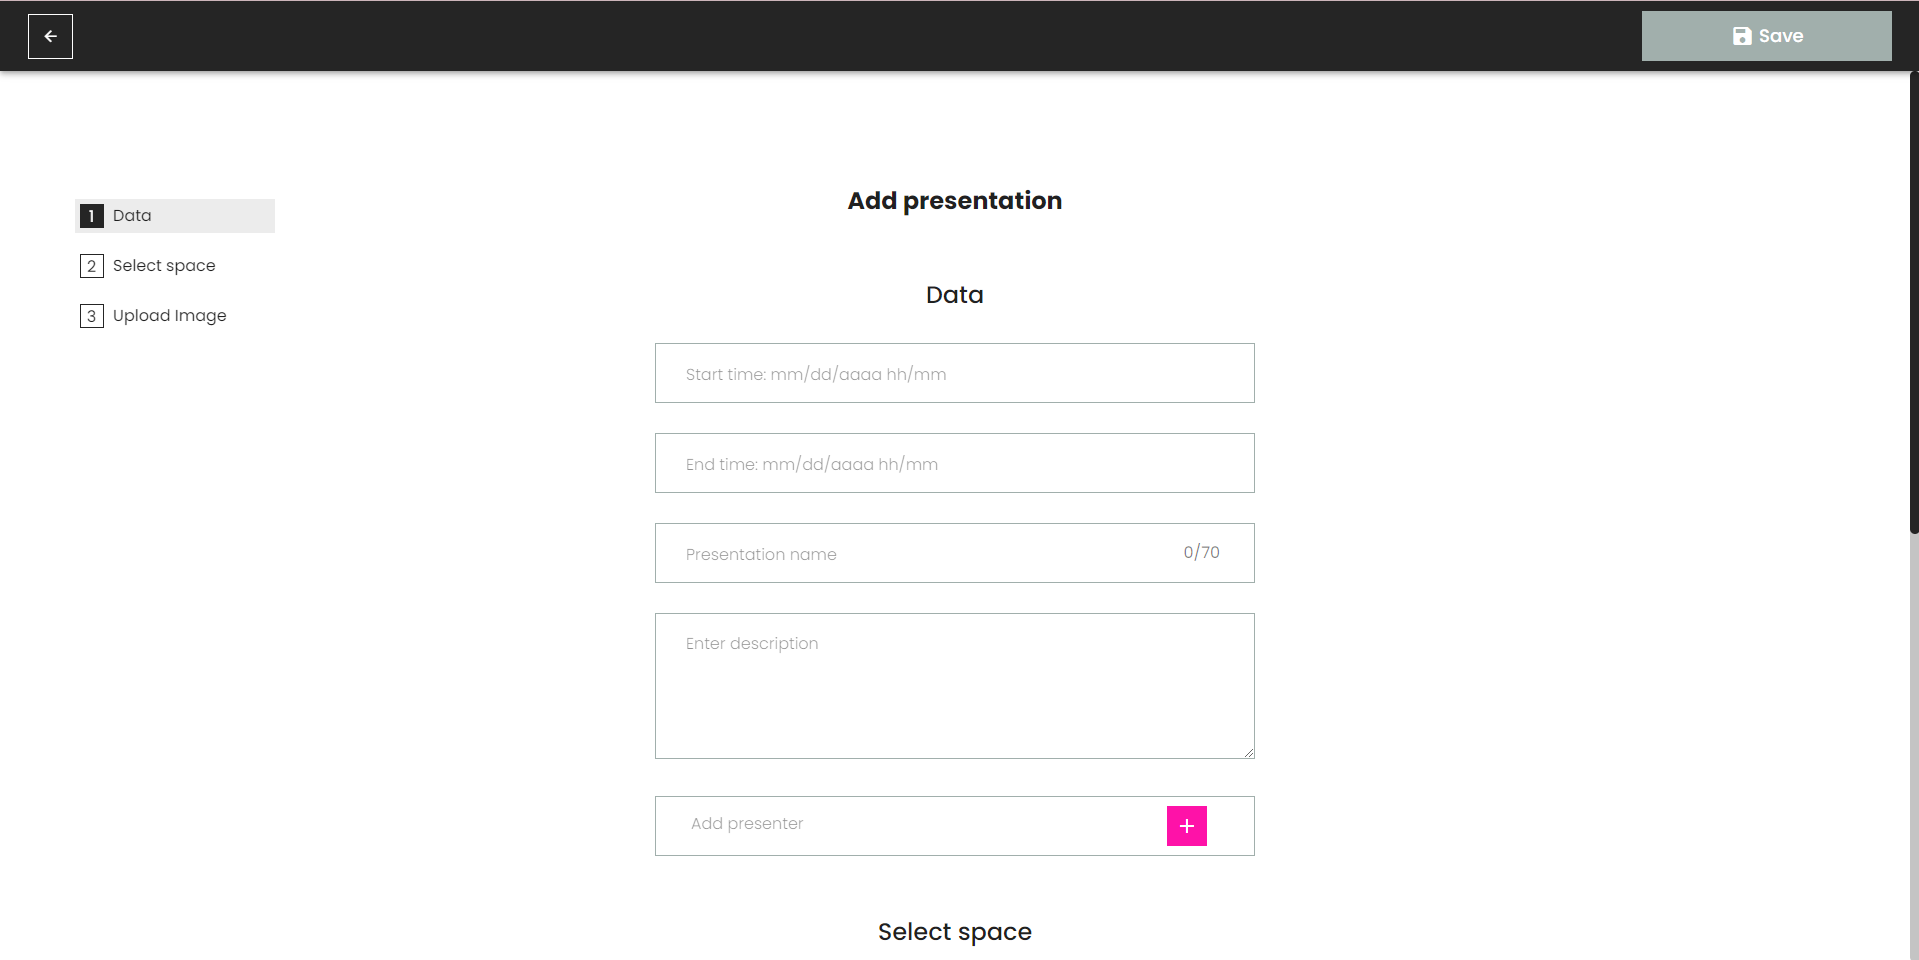
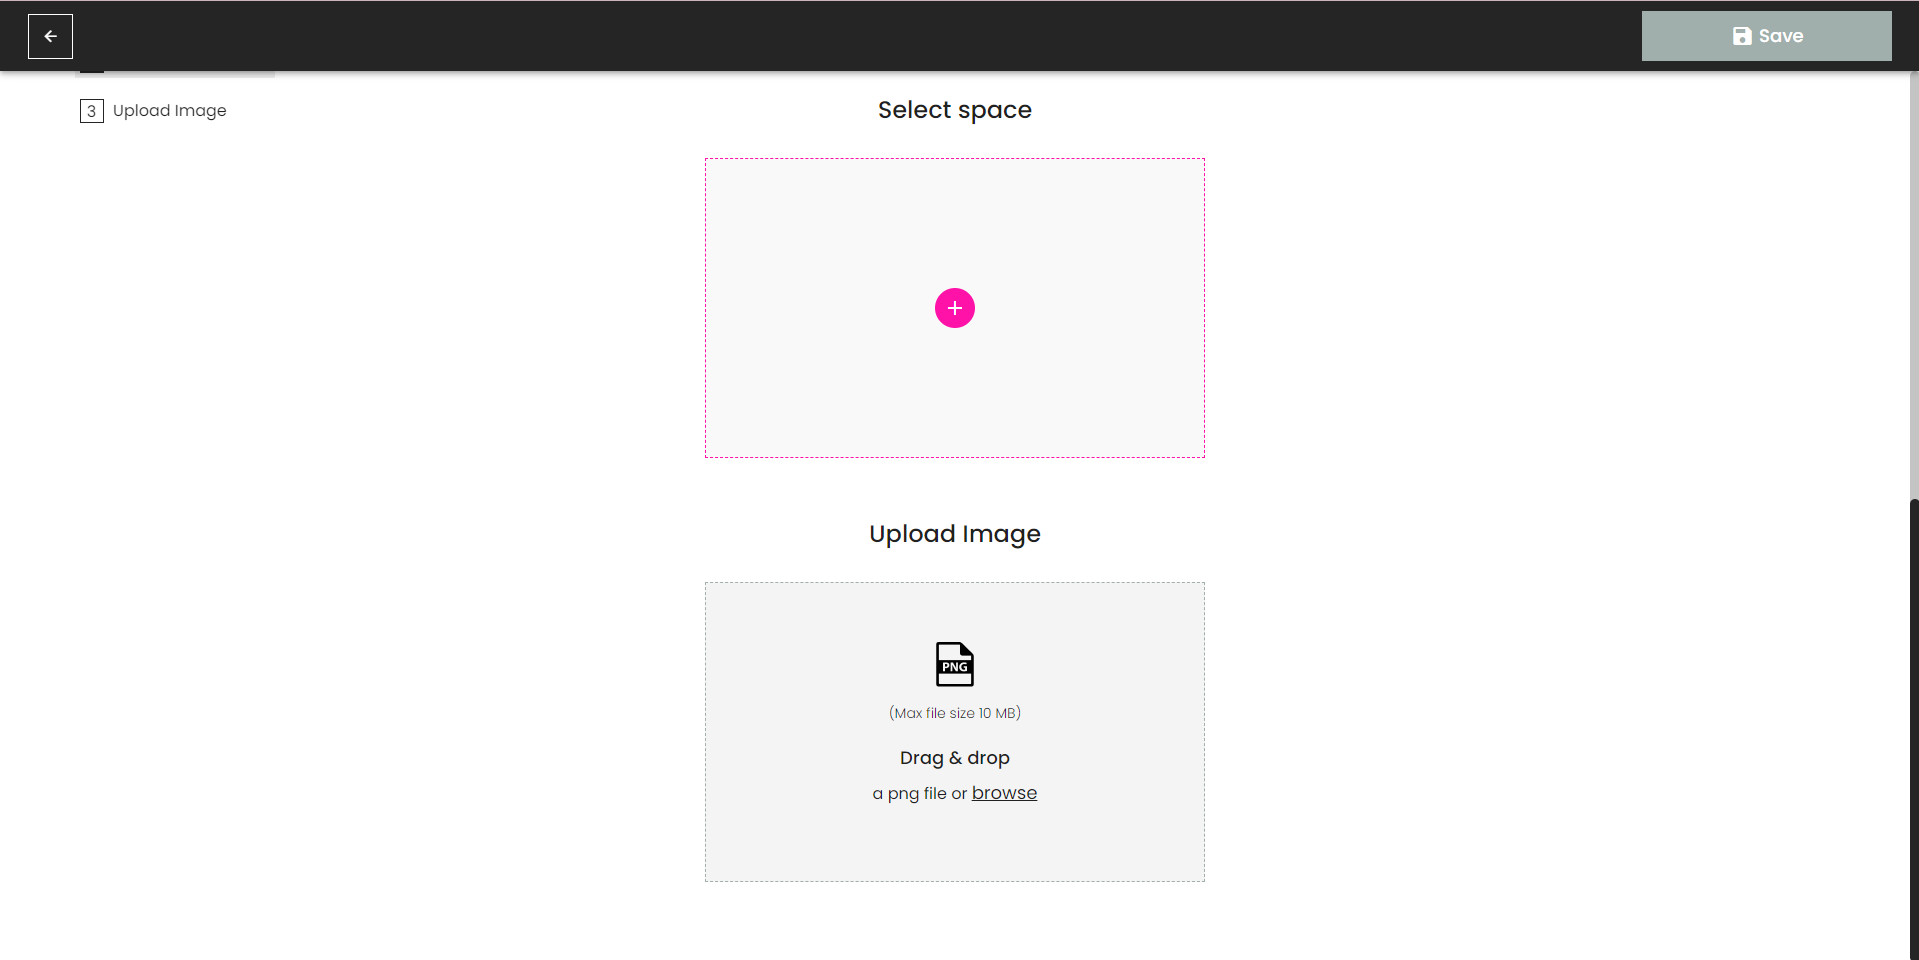
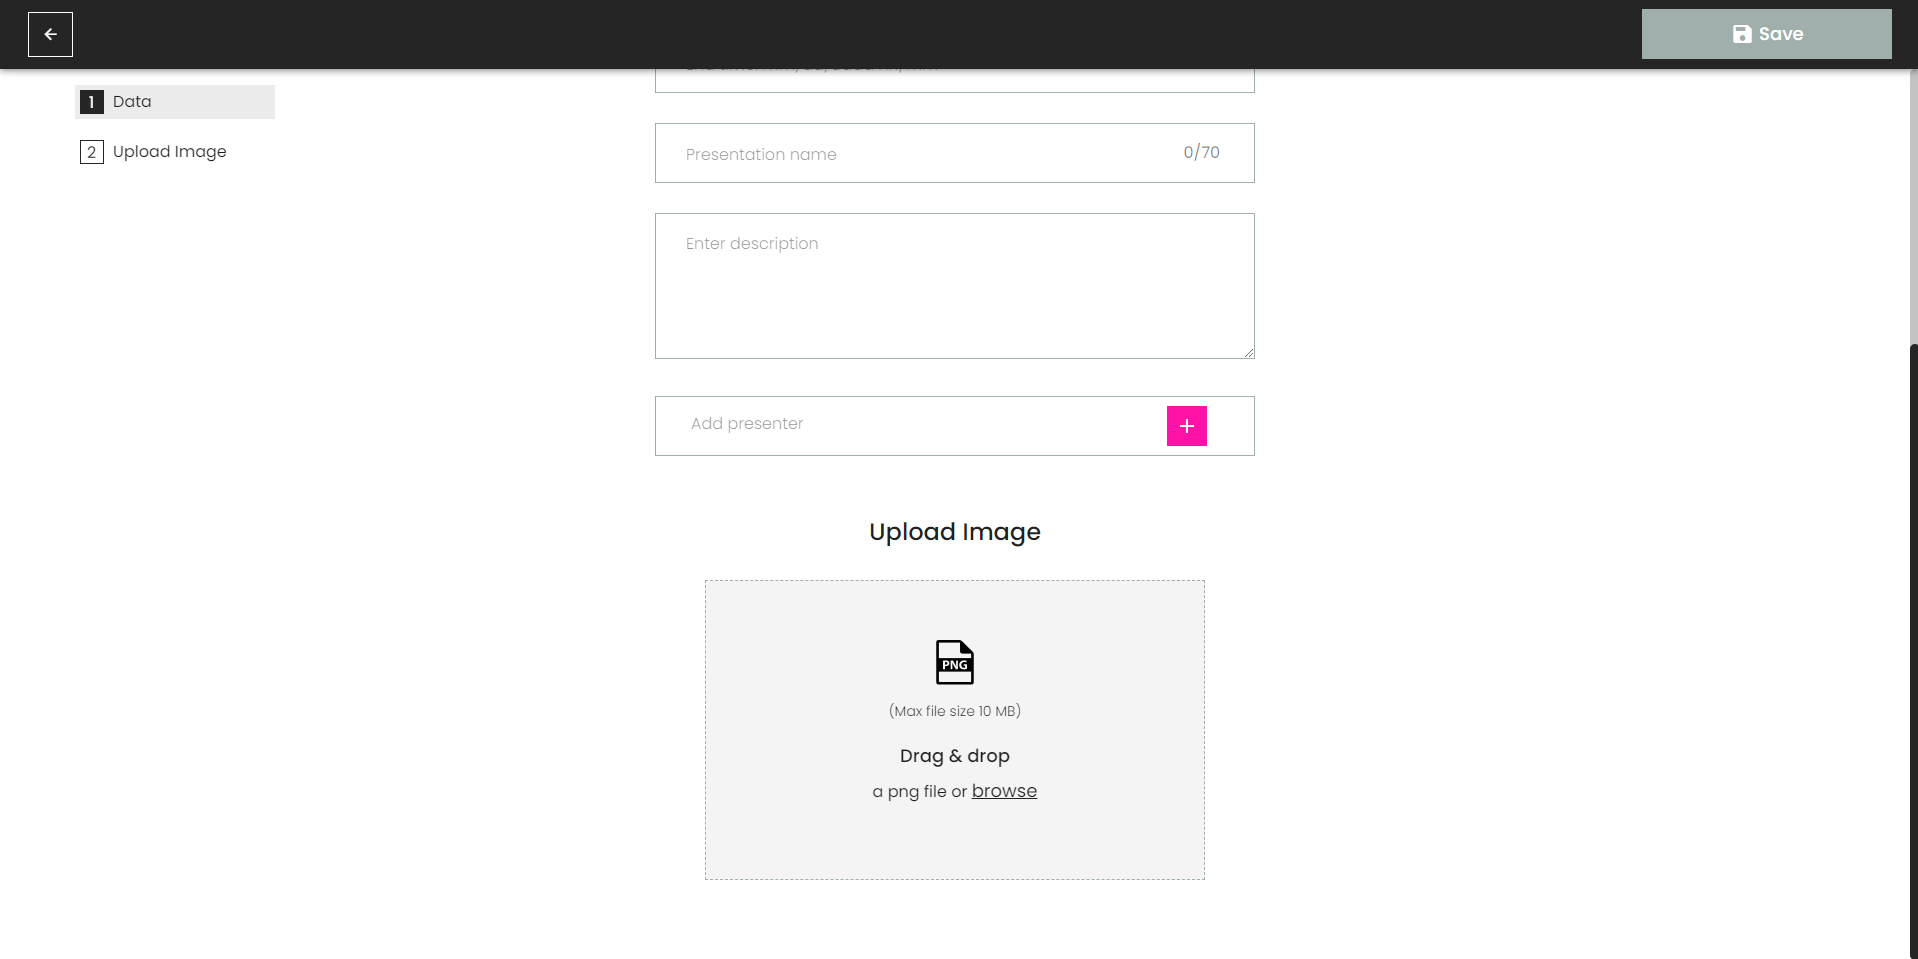
You can customize the presentation based on your needs. Add a name, description, time, and select the virtual space where your presentation will be hosted. You can also upload an image for your presentation or leave it empty, a miniature picture of the room will appear unless you upload one.
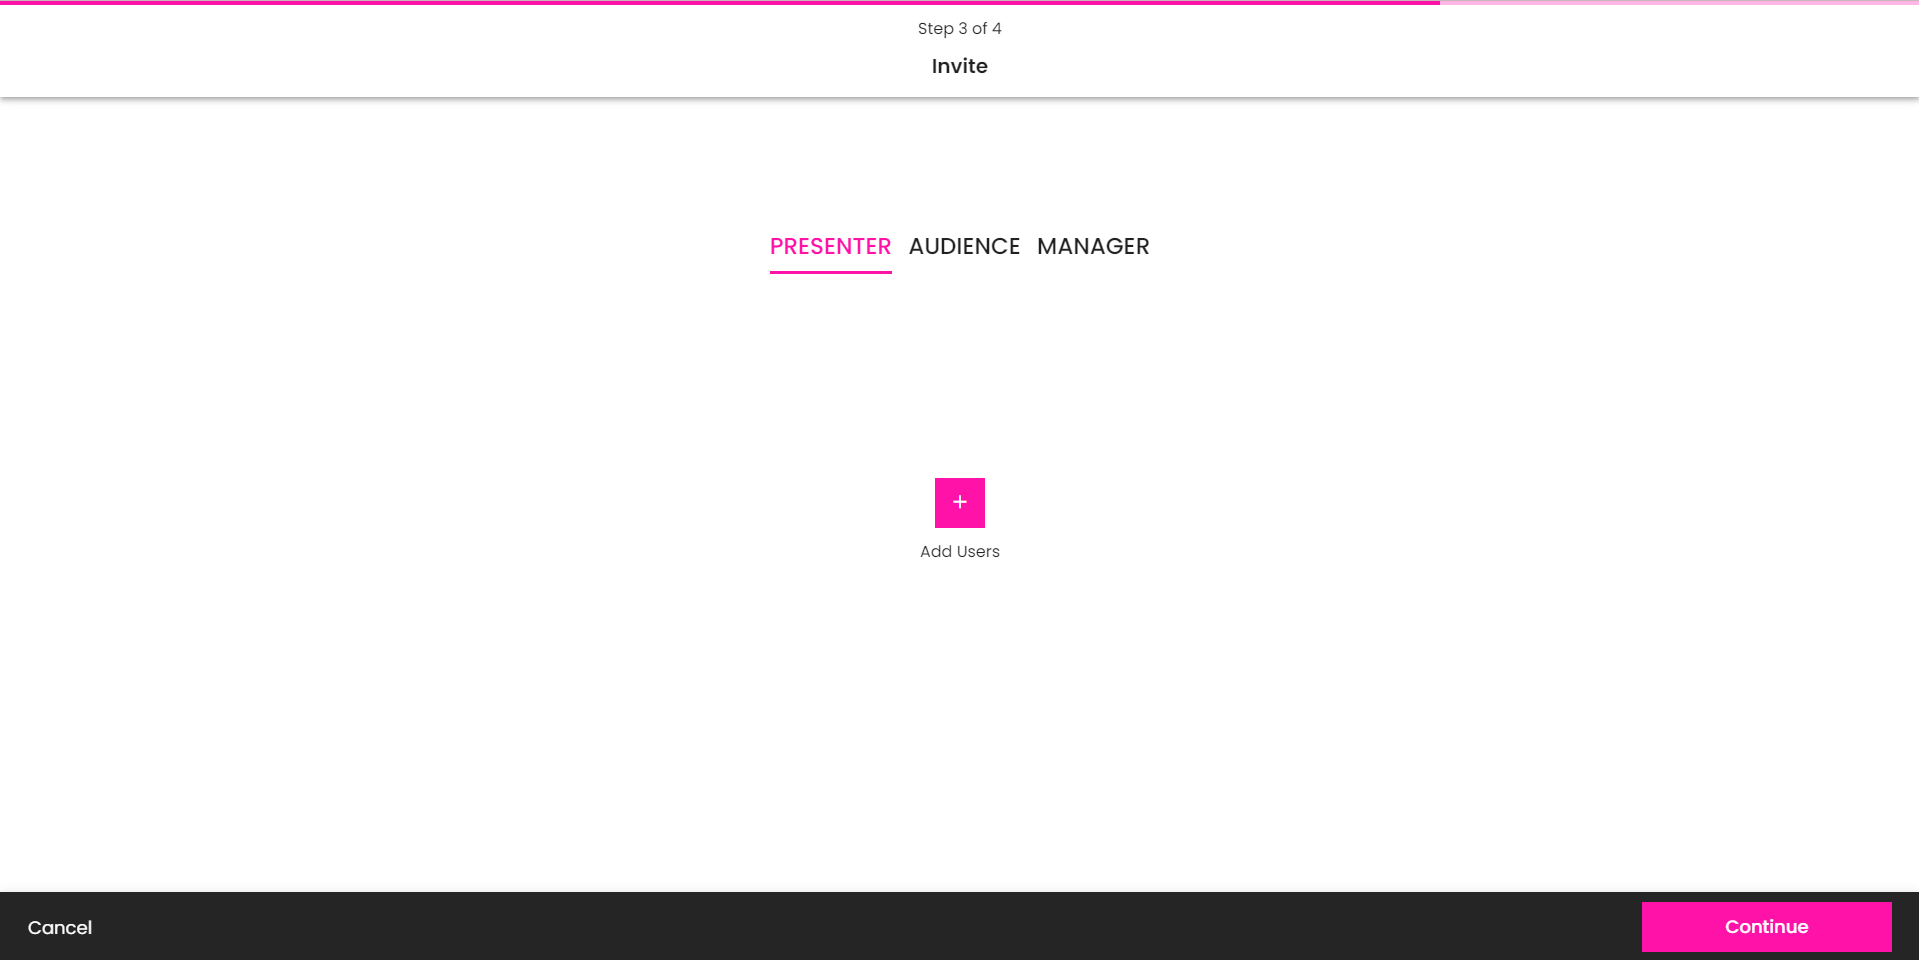
Send Invites
On the invitation page, you can include other people as presenters, managers, or as audience members. Once you provide their email addresses, they will receive an email containing details about the event.
Customize the Event Landing Page
You have the freedom to select a background that suits your preferences. You can opt for a 2D image, a captivating 360 image, or even a video.
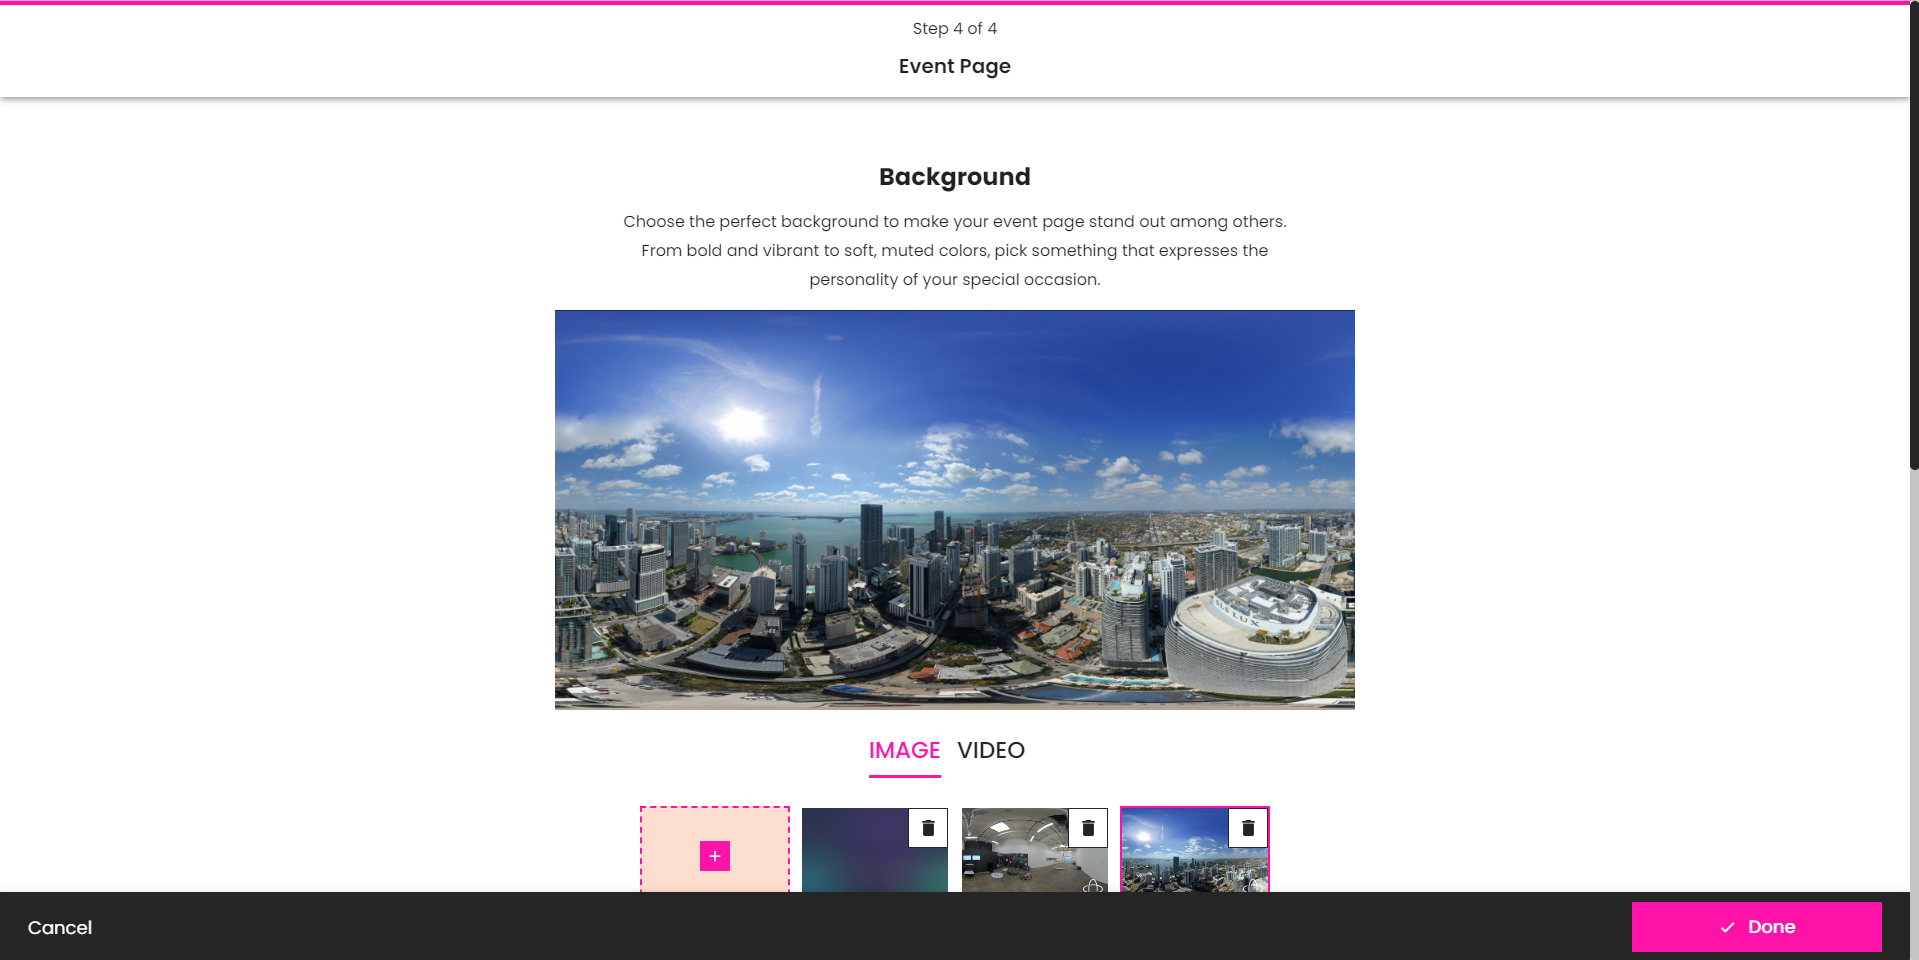
Additionally, this section allows you to display the logos of your event sponsors and integrate your company's social media platforms.

Preview and Publish your Event
Before your event is public, you can see a preview of how your event page will look once is finished. Here you can see all the information you provided in the different sections and edit it if necessary.
Once you're finished, click the Publish button. The invitations will be sent, and the landing will be open to the public.

Done! Now your event is published. You can edit the information, add presentations or invite more people any time you want.

In-Person Events
In-person events allow you to organize gatherings where attendees physically come together at a specific location. Here's how you can create an in-person event on our platform:
Start by selecting the In-person option during the event creation
Then, as in the Virtual event, set a name, give a description, and choose the date, start time, and end time for the event. The lobby option won’t be available since the event won’t have a room in the metaverse.
Presentations for In-person Events
The only difference with Virtual events is that you'll have to add a preview image for your presentation. You can upload a picture of the place where your event will be hosted or any image that conveys the essence of your event.
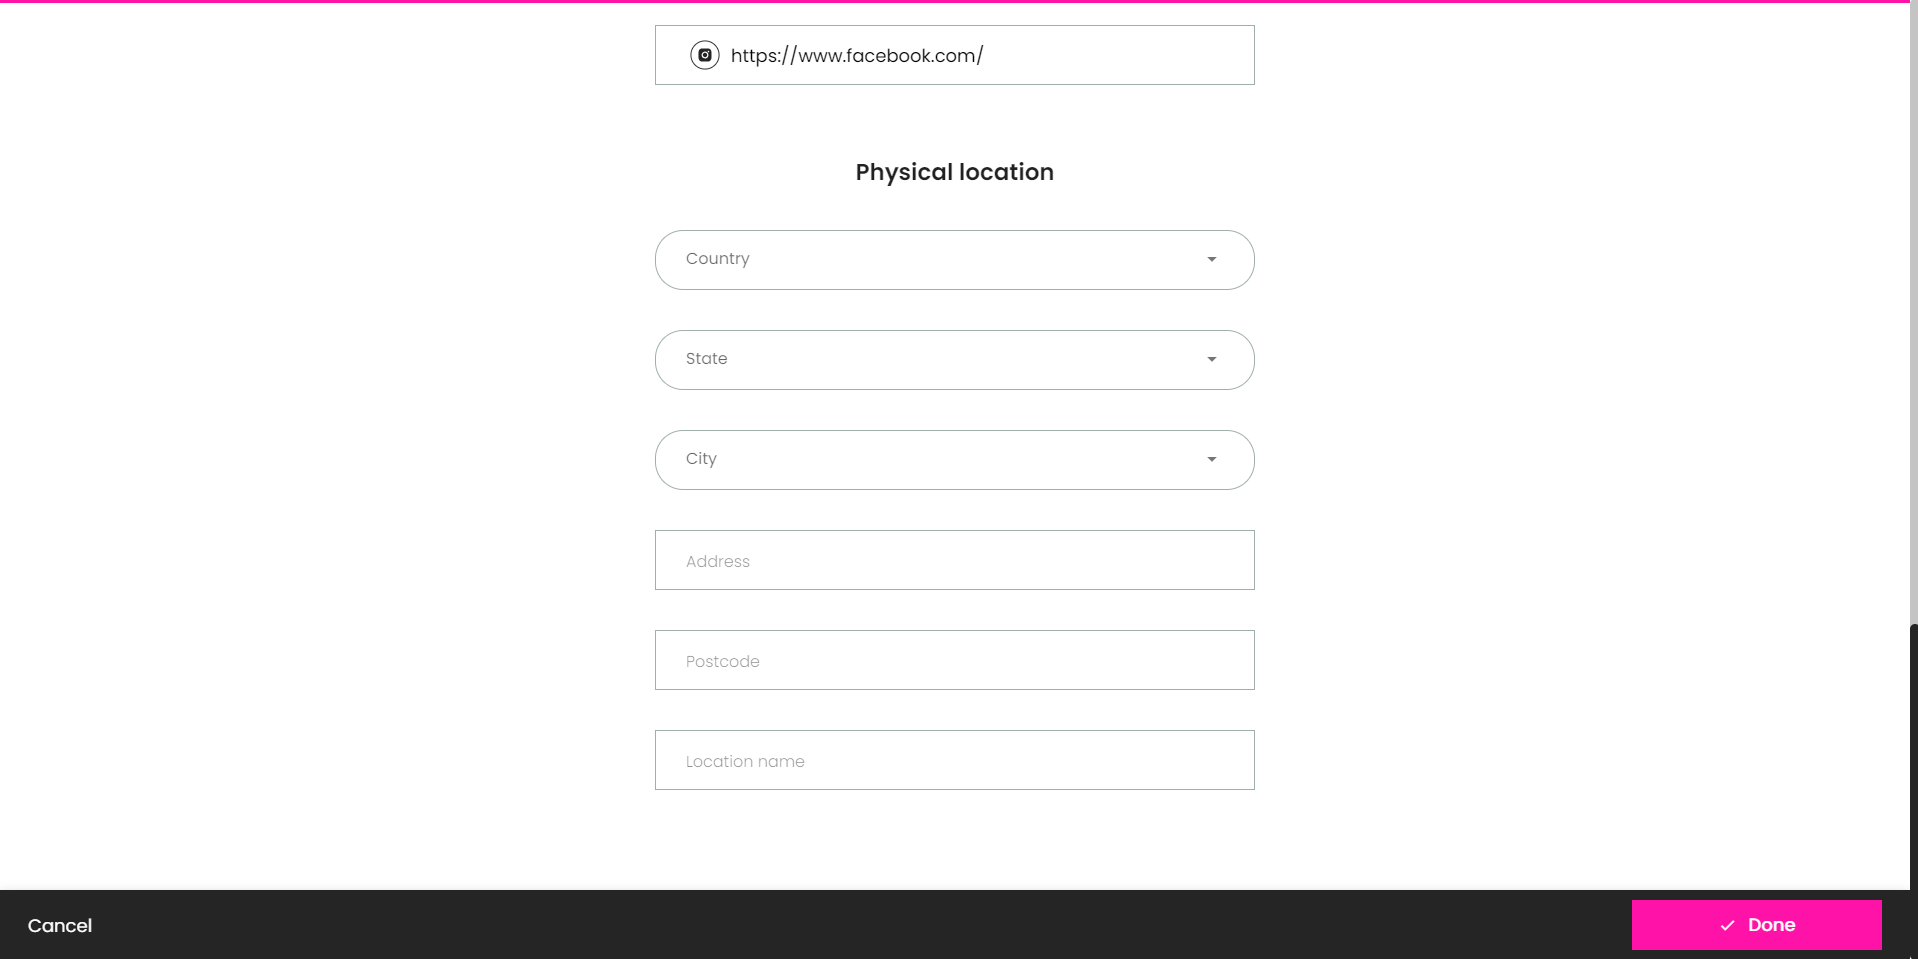
Physical Location
Another difference with Virtual events is that you can add a Location for your event. This information will be used in the Event landing and in the invitation email for your attendees.
Phygital Events
Phygital events provide the perfect blend of physical and digital experiences by combining both virtual venues with real-life activities. You can host a Phygital event in our platform with presentations that can be attended in person or in the metaverse.
Just select the Phygital option during the event creation and follow the same steps for the Event details.
Virtual and In-person Presentations
Once you’re on the presentations page, you can decide the type of presentations you want to create. For a virtual presentation, you can follow the same steps from the Virtual Presentation section. For how to create an In-person presentation, you can also follow the steps from the previous section.
Done! Once you're finished, your Program Schedule will have both types of presentations:
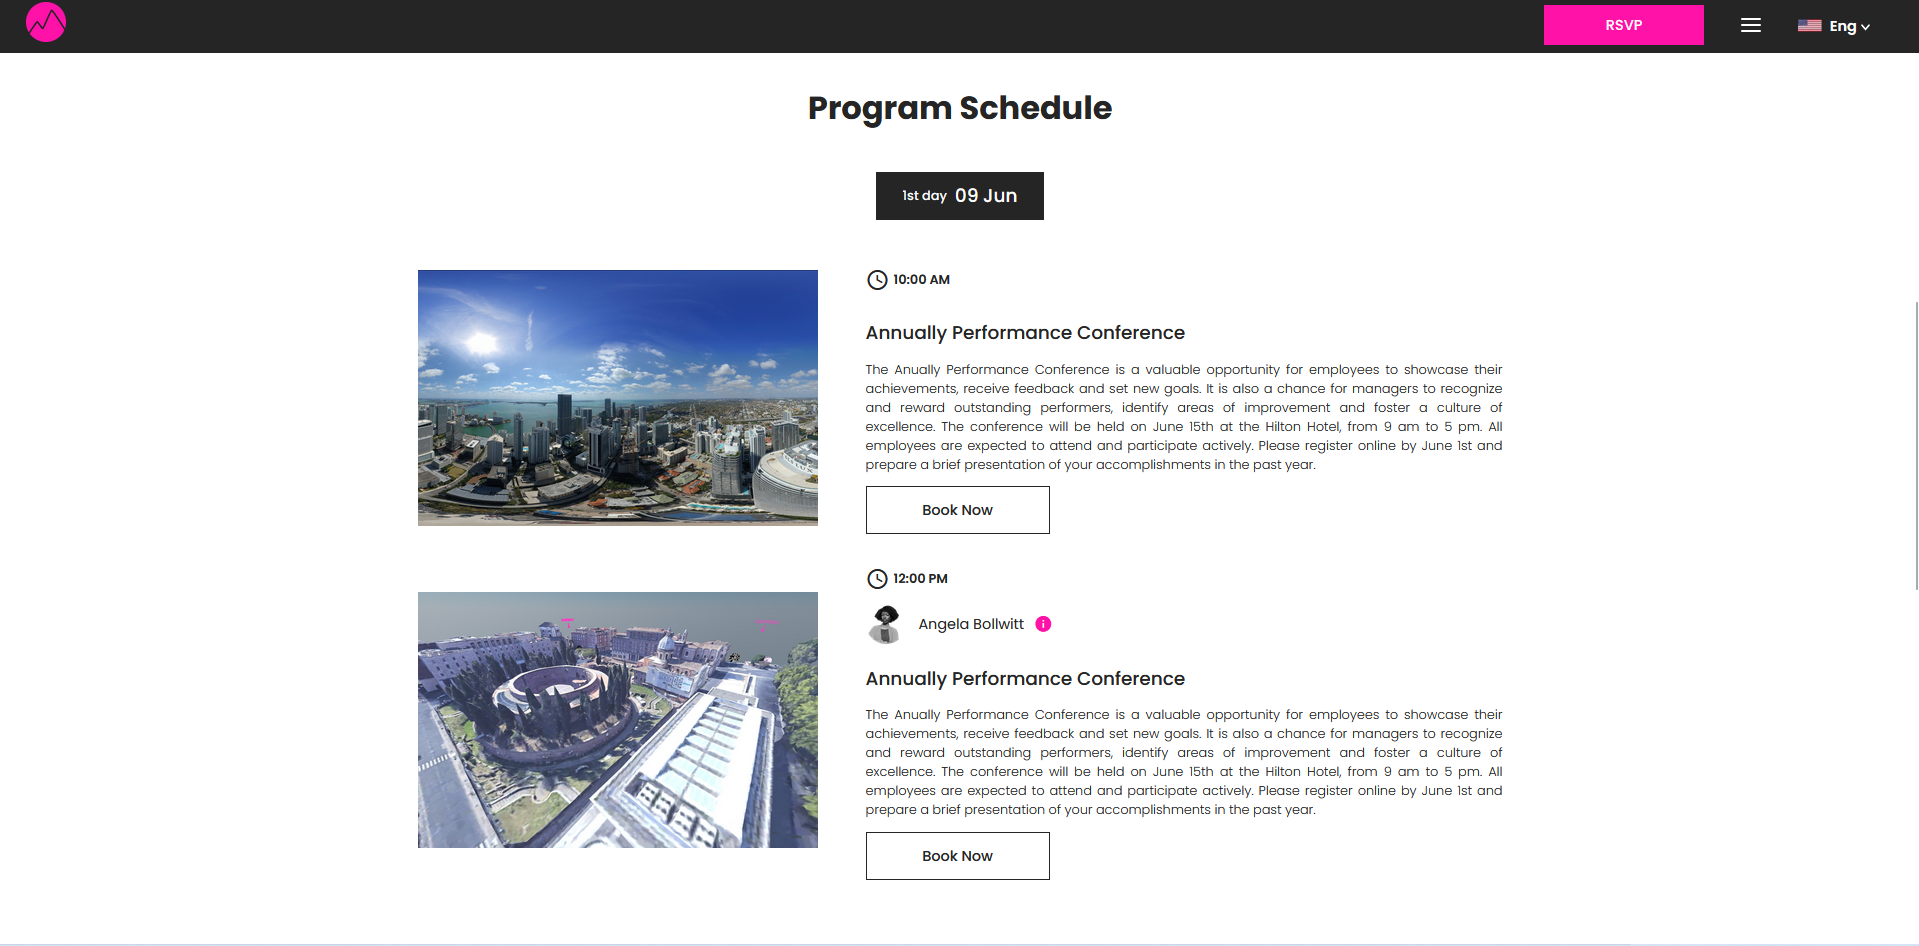
Remember, each event type comes with its unique considerations and requirements. Make sure to adapt your event planning and execution strategies accordingly to ensure a successful and enjoyable experience for all attendees, whether they are attending in-person, participating in a phygital event, or joining virtually.
Recurring Events
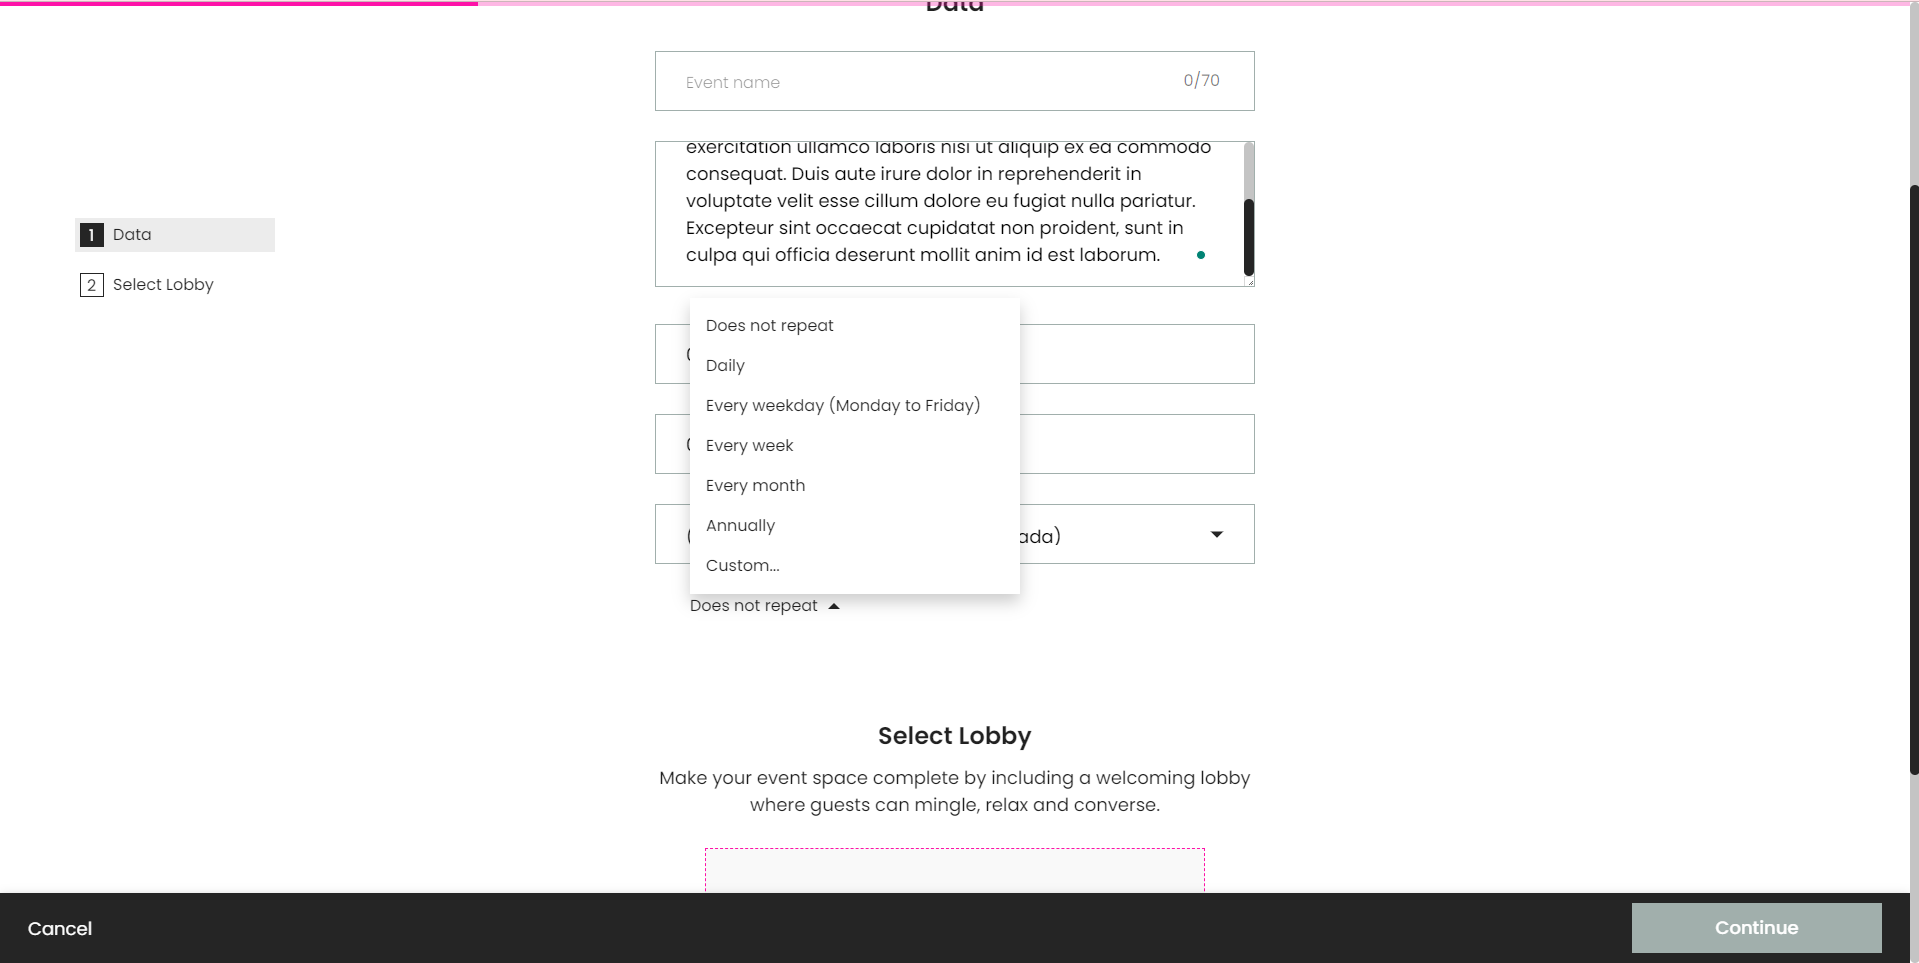
To facilitate the creation of events with multiple instances that share identical information and settings, you have the option to establish recurrent events. These events can be scheduled to occur on a daily, weekly, or monthly basis.
To configure recurrent events, simply click the "Does not repeat" option in the Details section to expand the menu. From there, you can select the desired recurrence pattern for your event.
For instance, you may choose to have the event repeat every Sunday throughout each weekend.
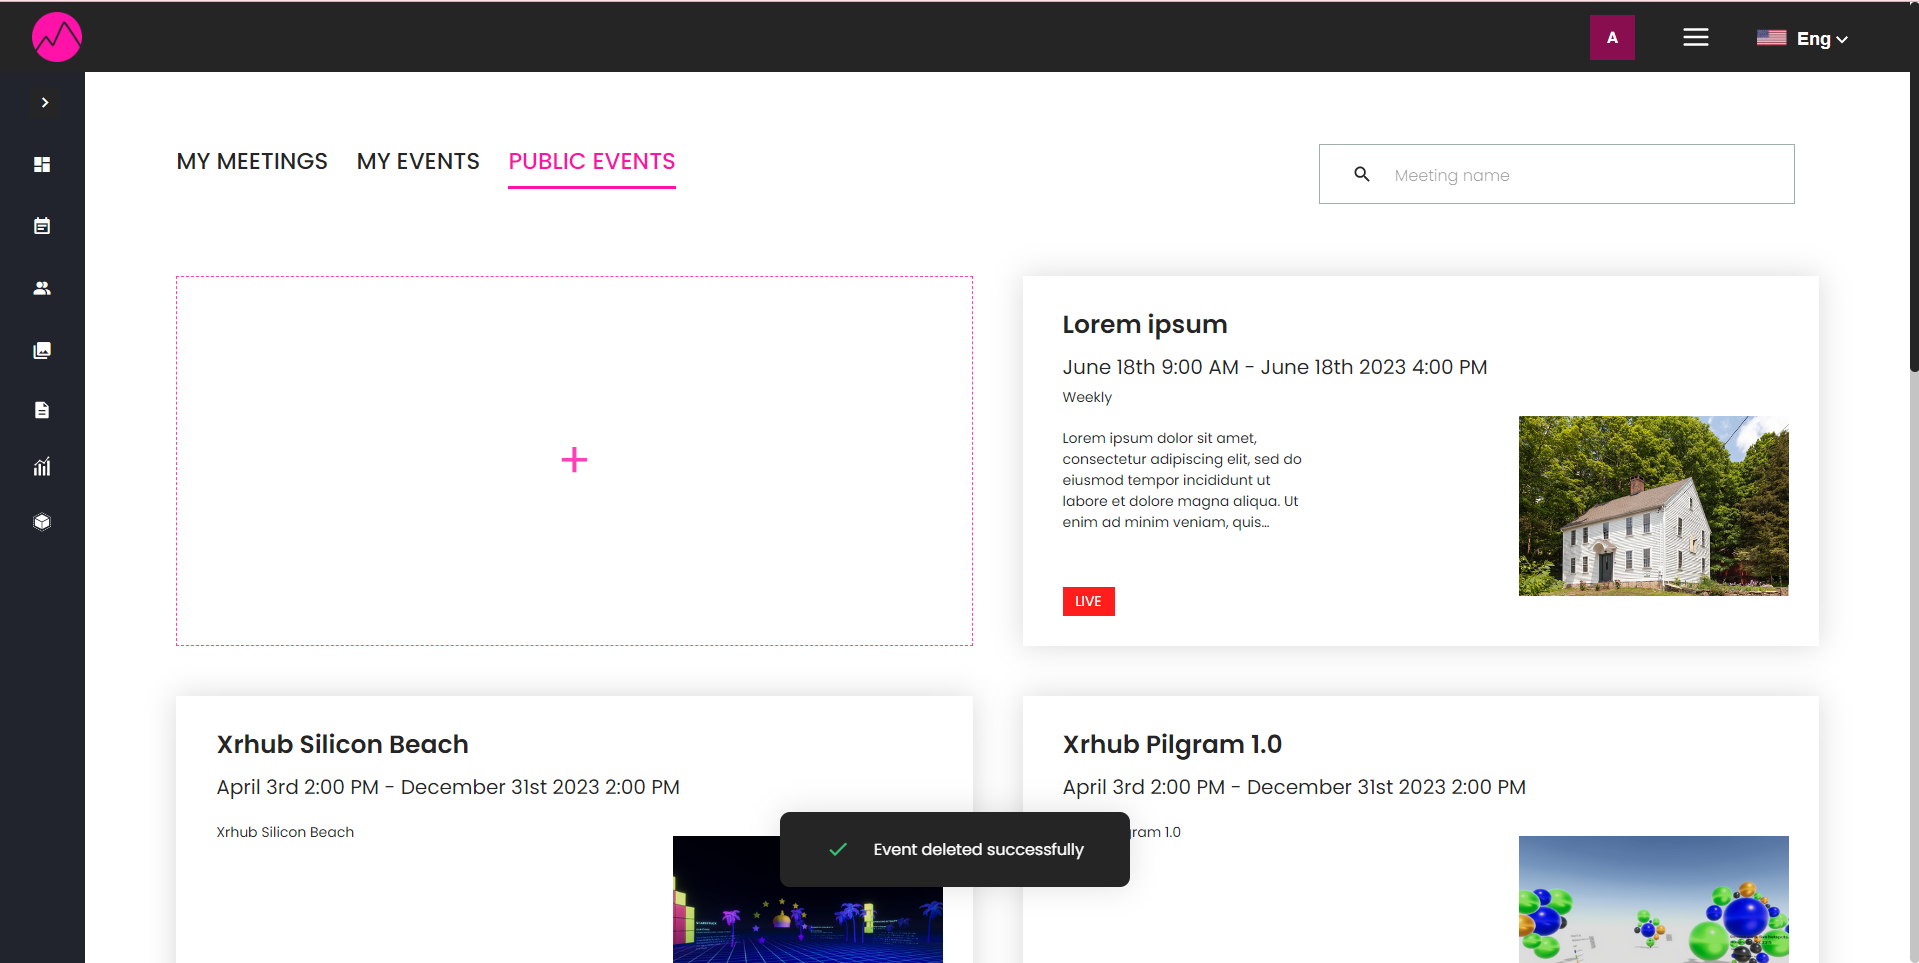
Within the dashboard card, you will find information pertaining to the recurrence of the event and its duration.
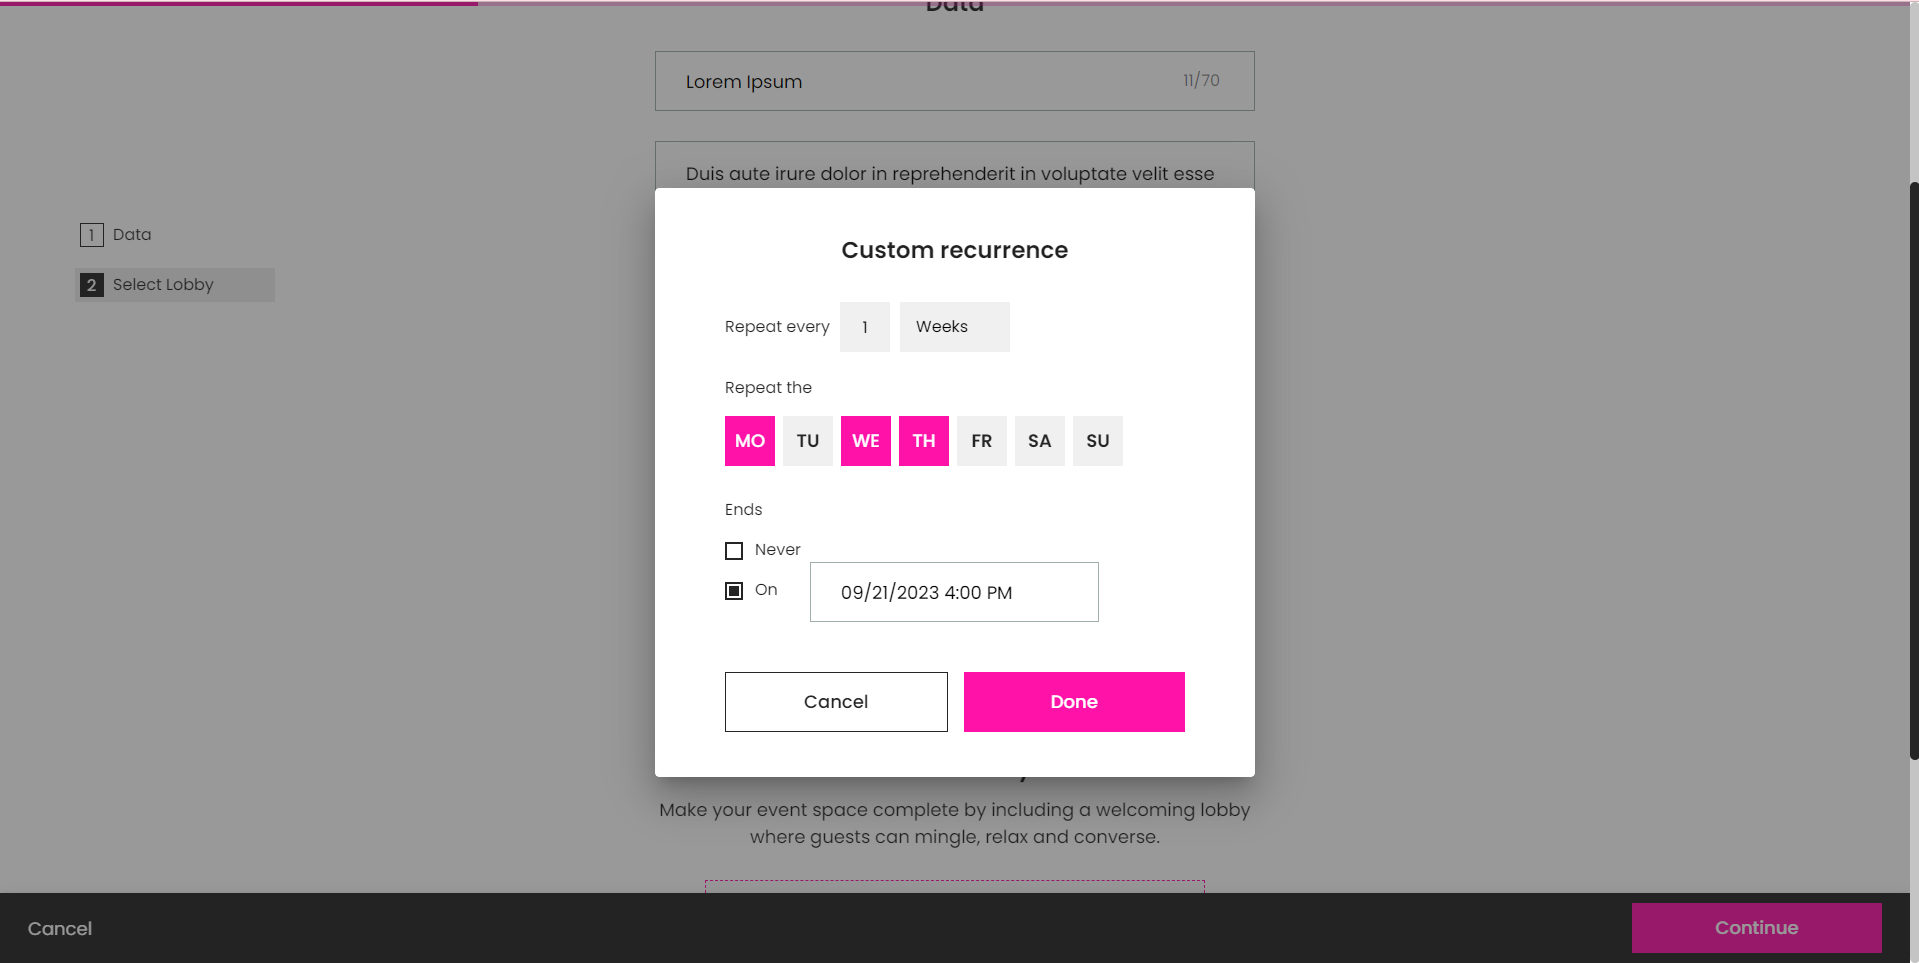
Custom Recurrence
Should you require a specific recurring pattern, such as an event that repeats at certain intervals or one that concludes on a specific end date, you can opt for a custom recurrence.
To do so, select the Custom recurrence option from the menu and specify the desired repetition frequency starting from the chosen date. If necessary, you can also indicate the desired end date for the recurrence.
RSVP or Book an Presentation
Access to your presentations is restricted to individuals who have made a booking. Once the booking process is completed, an email containing the relevant details of the reserved presentation will be sent to them. This approach guarantees that your audience can only attend the event by accessing your designated landing page, thereby preventing unauthorized entry via a direct link.