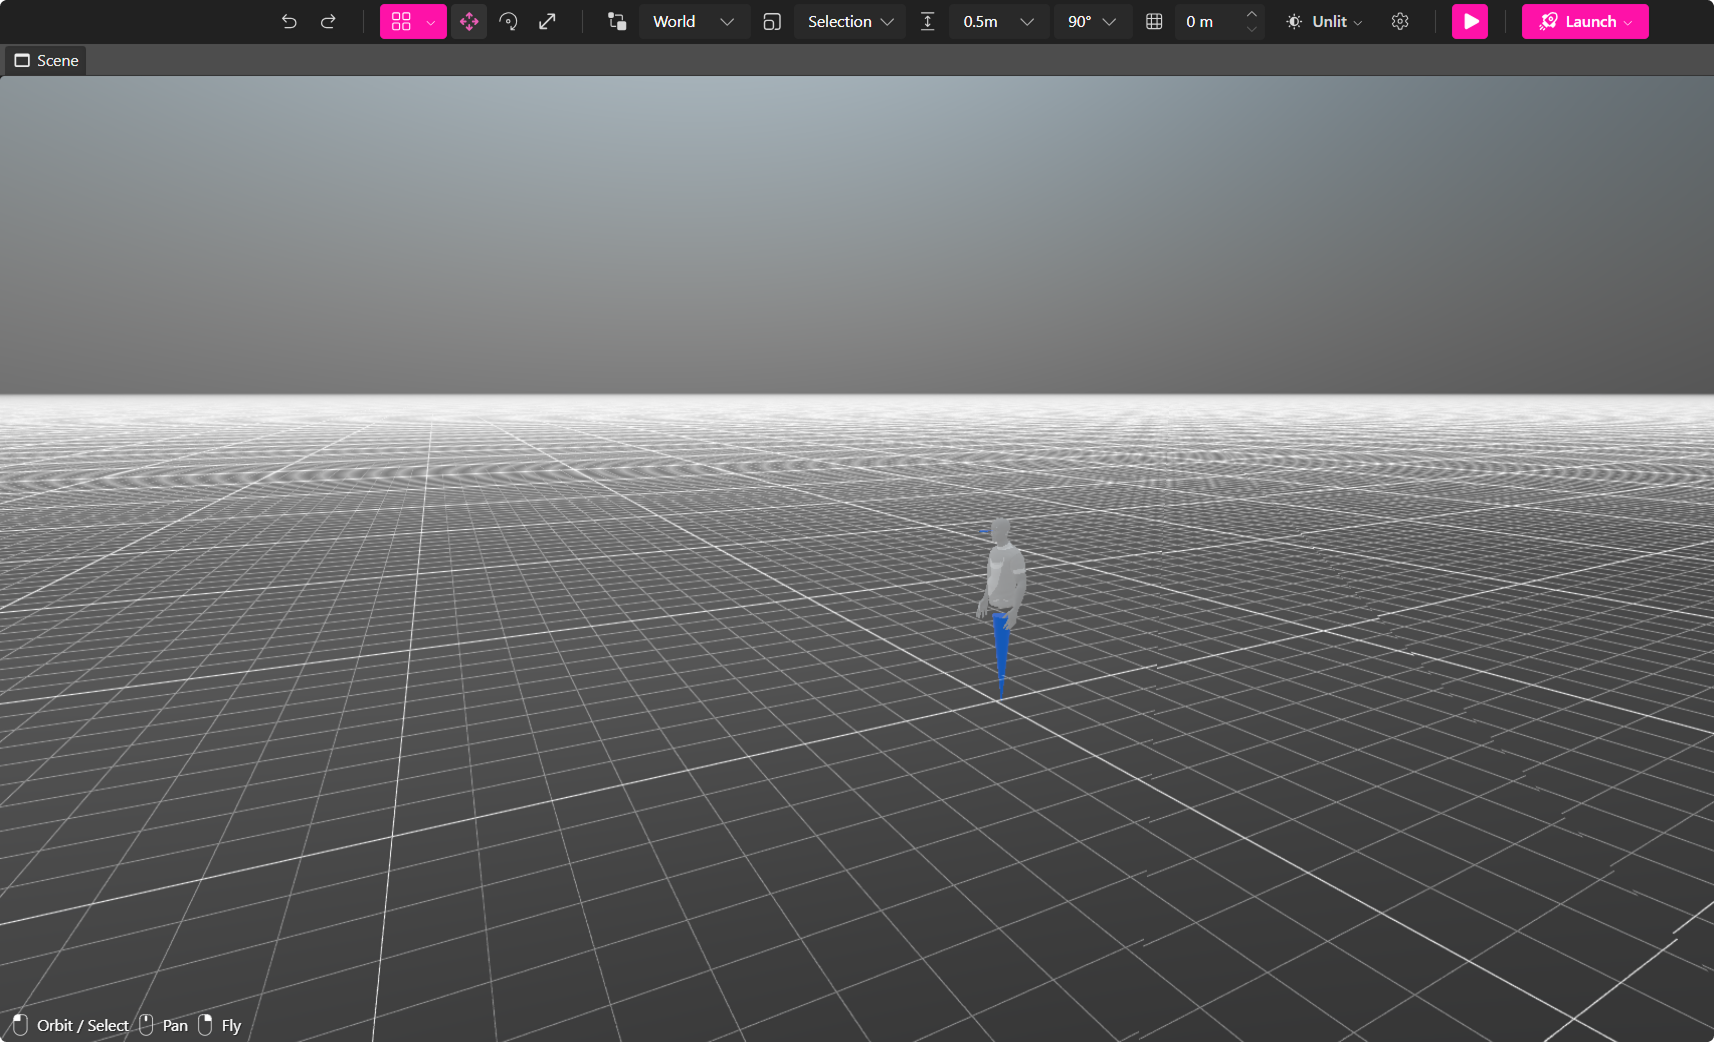
Grid System
The grid system in XR Creator Studio provides a structured workspace for precise object placement, alignment, and rotation. Whether you're designing architectural layouts, game environments, or interactive experiences, grids help maintain consistency and accuracy in your scene.

Showing or Hiding the Grid
By default, when you create a new scene, the grid is visible in the Viewport window.
How to Toggle Grid Visibility:
- Press the "Toggle Grid Visibility" button in the upper menu.
🔹 Pro Tip: Hiding the grid can help when focusing on object details or fine-tuning textures.
Using Snap Mode for Precise Placement
What is Snap Mode?
Snap Mode automatically aligns objects to the grid, ensuring:
- Even spacing between objects
- Straight alignments
- Consistent positioning
How to Enable or Disable Snap Mode
By default, Snap Mode is disabled.
- Press the "Toggle Snap Mode" button in the upper menu to enable or disable it.
🔹 Pro Tip: Use Snap Mode when aligning walls, floors, or structured layouts, and disable it for freeform object placement.
Adjusting Grid Size & Rotation Snap
Changing Grid Size
The size of the grid squares can be adjusted to fine-tune object placement.
- By default, grid squares are 0.5 meters.
How to Adjust Grid Size:
- Change the value in the box next to the "Toggle Snap Mode" button.
- Increase or decrease the grid size for precise adjustments.
Customizing Rotation Snap
You can also customize object rotation increments when using the Q + E keys.
How to Adjust Rotation Step:
- Adjust the rotation step value next to the grid size setting.
- This controls how much an object rotates per key press.
🔹 Pro Tip: Use smaller increments for precise rotations and larger increments for rapid adjustments.
Changing Grid Height for Multi-Level Scenes
Why Adjust Grid Height?
By default, the grid is positioned at y = 0. However, in multi-level environments (e.g., floors of a house), you may need to adjust the grid height to:
- Align objects on upper or lower levels
- Position floating or elevated objects more accurately
- Ensure seamless placement of furniture, walls, or staircases
How to Change Grid Height
- Select the grid height adjustment option in the menu.
- Increase or decrease the y-axis value to raise or lower the grid.
🔹 Pro Tip: Use different grid heights when working on layered structures or vertical layouts.